UDIM Mask Node
Access: Nodes > Geometry > UDIM Mask
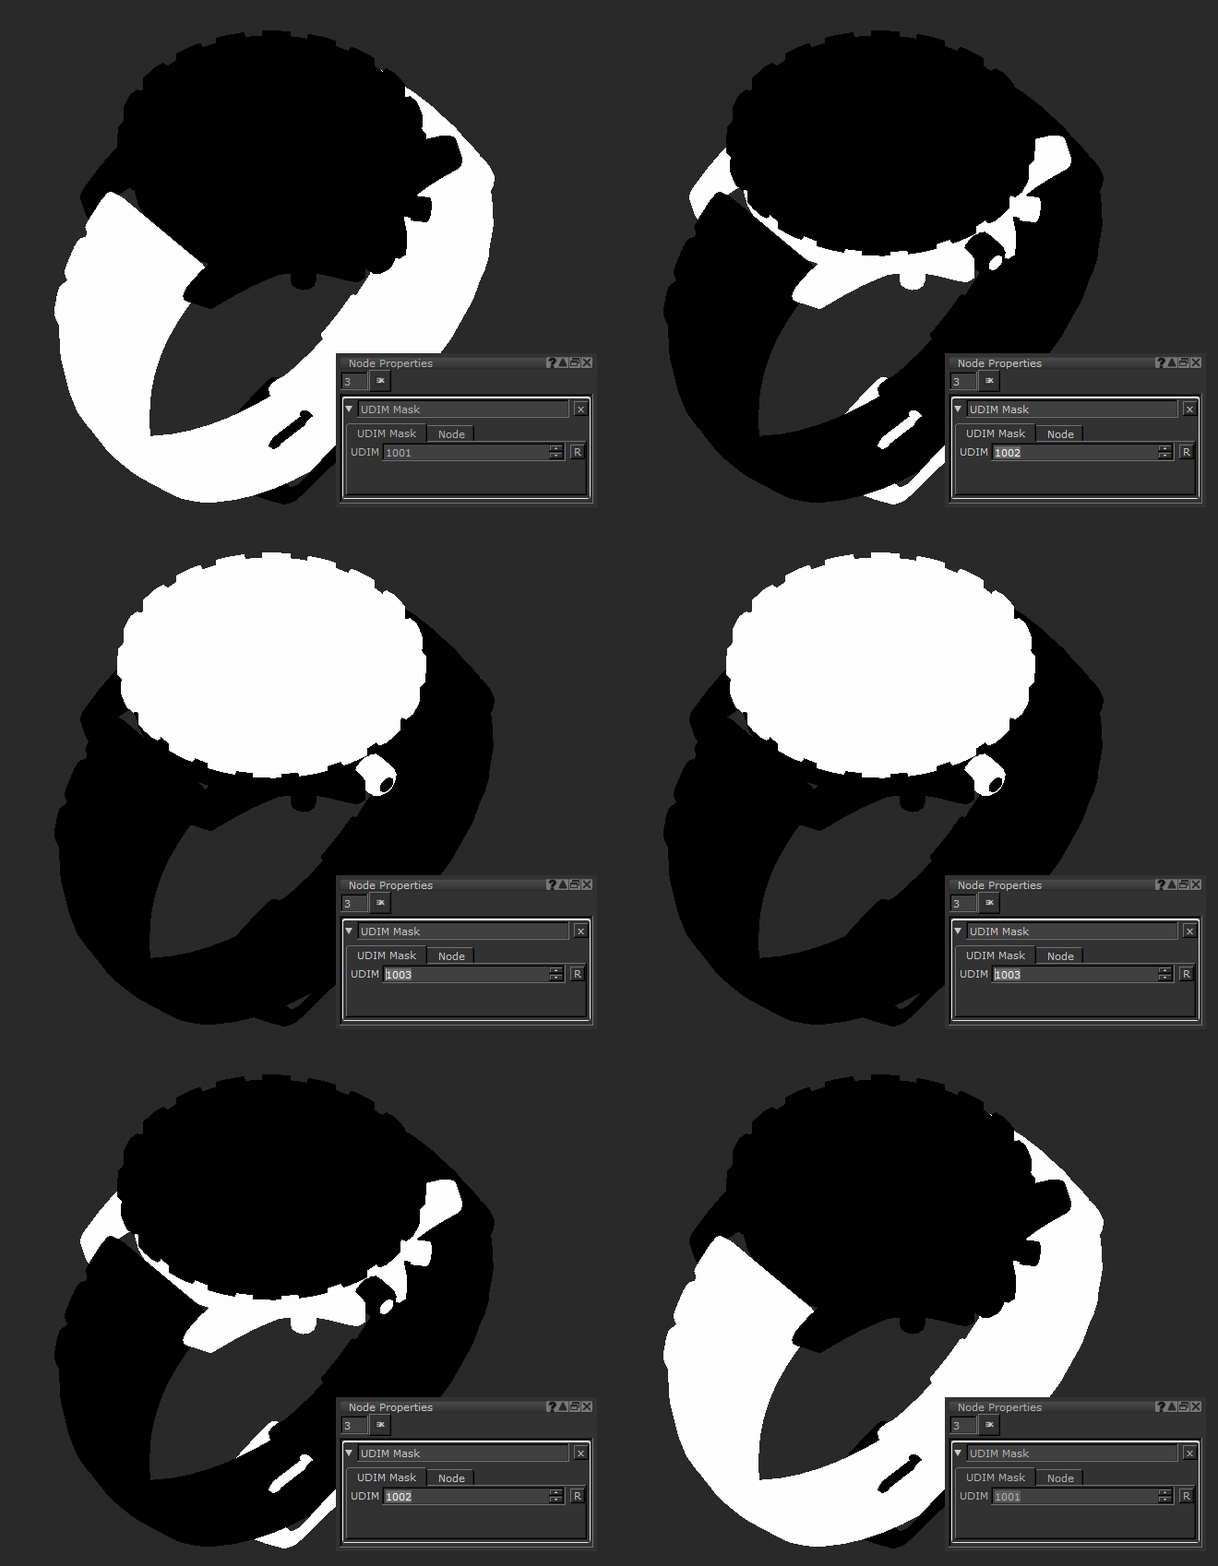
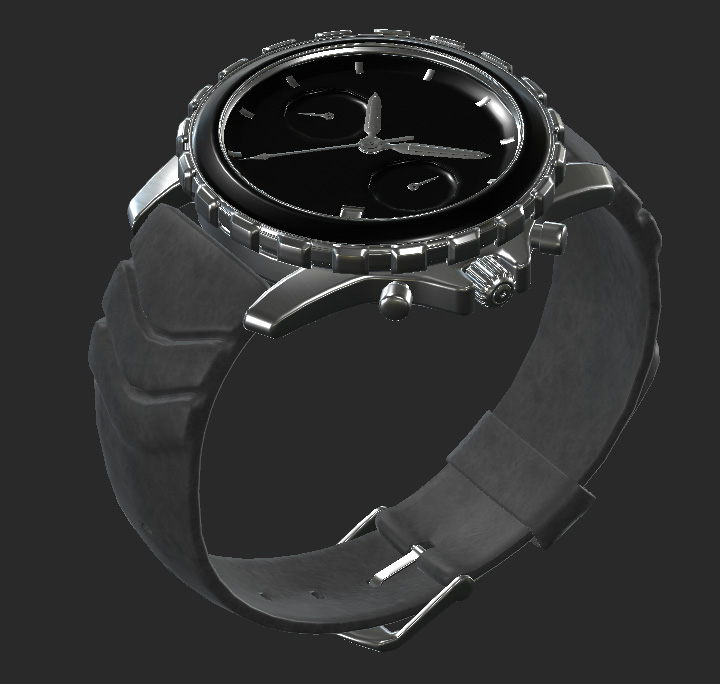
Using the UDIM Mask to mask off areas of this watches mesh.
The UDIM Mask node outputs a black and white mask of a single specific UDIM patch. It is the quickest way to create a mask for an entire patch and is more efficient than using a filled paint node.
If you have well organized UVs, then a UDIM mask can be an efficient way to mask areas. For example, put all your metallic objects onto a single UDIM, or all objects that need to be textured as wood, you can use the UDIM Mask to quickly select them all and start assigning textures to everything at once.
Note: You can only select one UDIM and cannot do a range or multiple UDIM numbers at once. To do this you would need to use a Paint node with filled colors.
UDIM Mask Node Properties
|
UDIM increments |
Using UDIM you can select which UDIM to output a mask of. The UDIM number specified here is filled with white while the other UDIMs are black. By clicking the incremental arrows up and down you can scroll through the different UDIMs starting at 1001. You can also type yourself a UDIM number. Note: You can only select one UDIM and cannot do a range or multiple.
Default is 1001. |
UDIM Mask Node Workflow Example
Quick Masking an Entire Patch
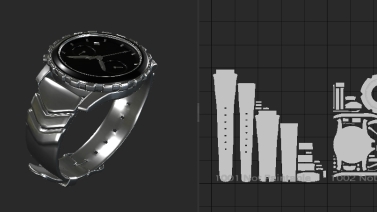
In this watch object the strap is one the same UDIM with nothing else on the patch. At the moment there is just this metal texture but that needs to change.
A watch asset with the whole rubber strap in UDIM 1001.
While you could set up a Paint node to create a mask for it, it would take longer and also be less efficient as you are storing paint data. This is the perfect time to use a UDIM Mask.
The strap is on the first patch, so by placing a UDIM Mask node down with the default UDIM setting of 1001, we have a mask for the strap in a few clicks. Now we can use that mask to add a different texture to it.
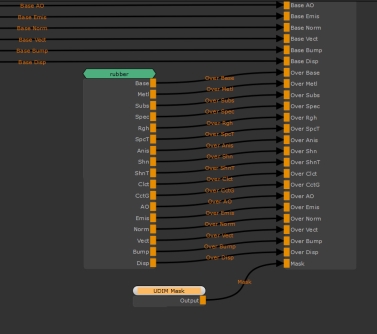
The UDIM Mask is being used to mask this rubber Material node in this Multi-Channel Merge node.
By placing the mask into the mask slot of the Multi-Channel Merge, the rubber is now only on the strap rather than merging over everywhere.
|
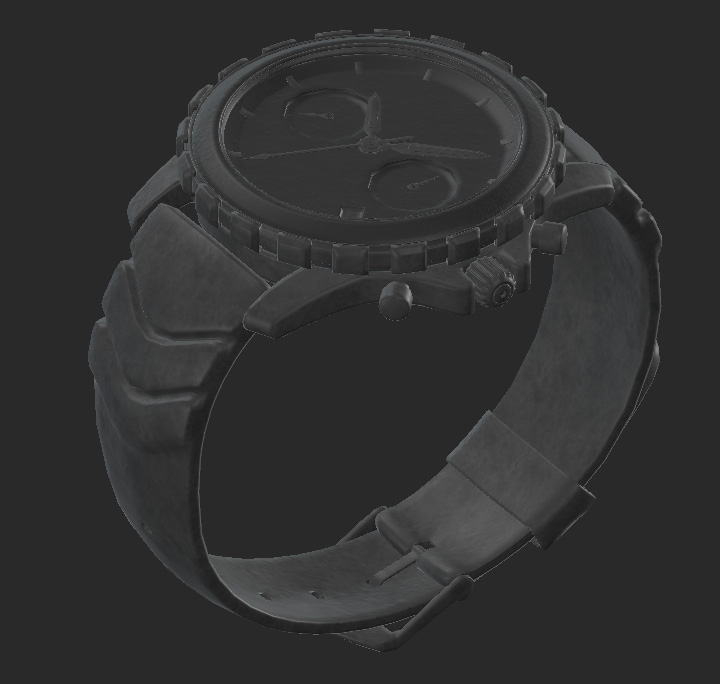
Without UDIM Mask. |
With UDIM Mask. |
A quick and super easy way to create a mask for this asset!

