Setting up a Project
This lesson teaches you what Mari projects are, and how to create them.
Resources Needed
To complete this lesson, you need access to a computer that can run Mari, and the following sample file:
• blacksmith_body.obj
How Long Should It Take?
Plan on spending about 20 minutes to complete this lesson.
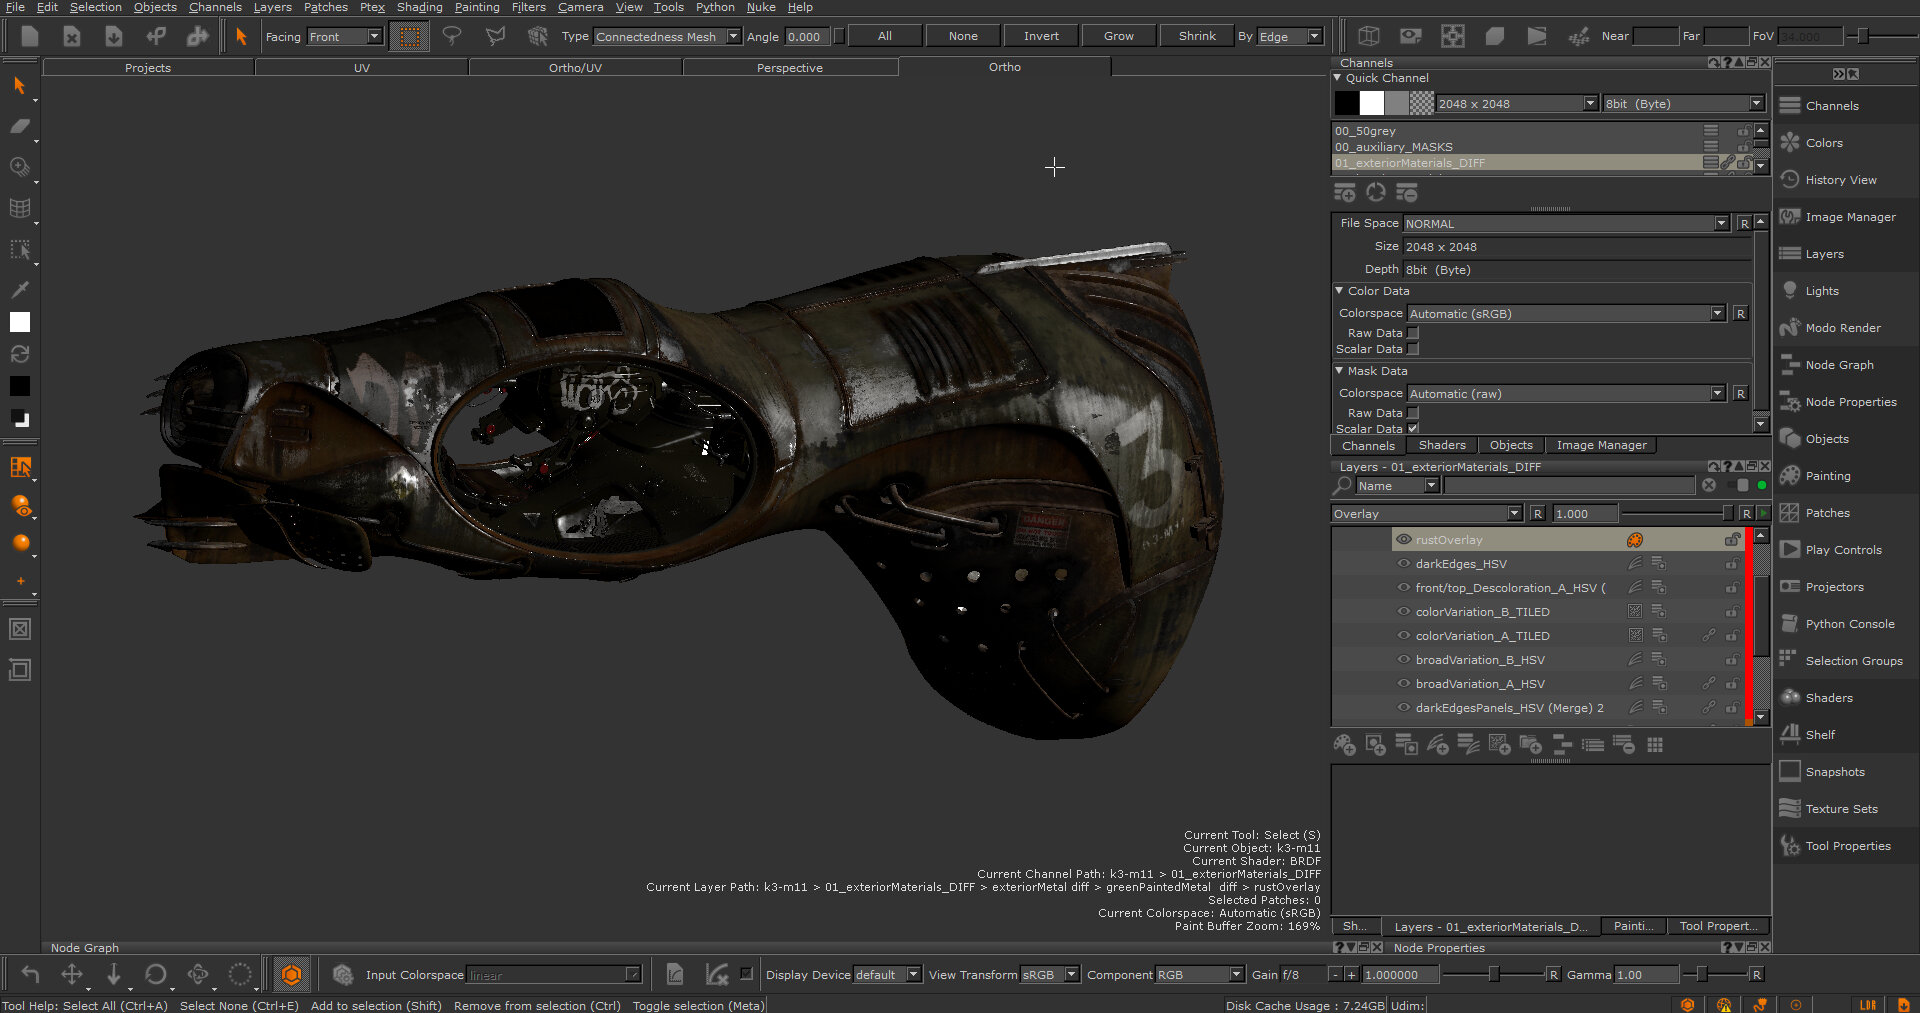
About Mari Projects
A Mari project holds your work on geometries and associated textures. Once you've created a Mari project, you can work on it, save and close - and then re-open it to continue working on the same textures later.
Projects also hold other items, such as projectors, shaders, and so on. Mari saves some settings at the project level. For instance, each project has:
• a project shelf, to hold brushes, colors, and images for you to use specifically in that project, and
• contents of the various palettes - Image Manager, and so on.
When you first create a project, you can specify its parameters, including:
• the details (such as resolution and color depth) of the initial channel in the project.
• the range of animation frames to import.
Opening a New Project
| 1. | Start Mari. |
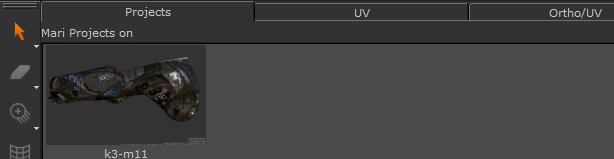
The Mari workspace displays, showing the Projects tab. This holds all the projects you have been working on.
| 2. | As with most commands in Mari, you can select the New Project option a few different ways, pick any one of the options below: |
• from the File menu, select New,
• click ![]() on the toolbar,
on the toolbar,
• click the New button,
• right-click in the Projects tab and select New from the dropdown menu, or
• press the Ctrl/Cmd+N shortcut key.
The New Project dialog box displays.
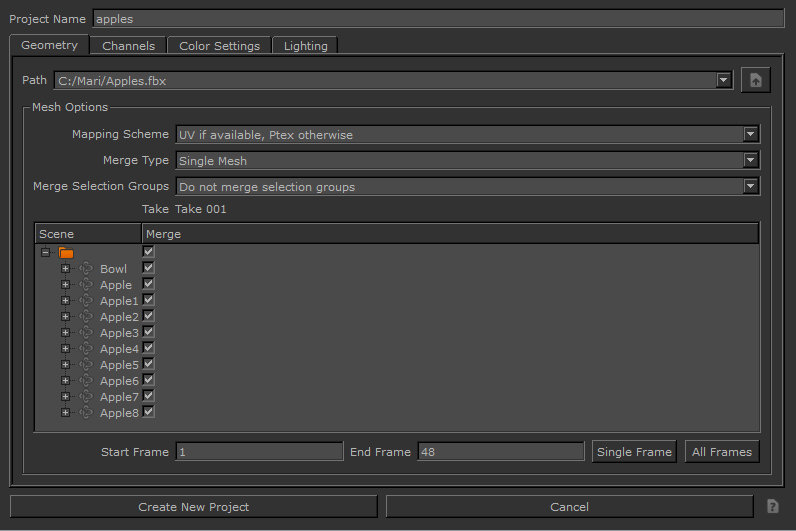
The New Project dialog displays the Name for your project and has four tabs:
• Geometry - the model you'll be painting on.
• Channels - parameters for the channels and textures you'll be creating.
• Color Settings - parameters for the colorspace of your project and for the color pickers, swatches, and images.
• Lighting - the lighting options for your model and the environment light.
Next we'll specify the name and texture options, and then select the geometry.
Note: For more information on what kind of models Mari expects, see Modeling Requirements.This model displays with no errors. Mari loads the geometry and displays it in your workspace.
Tip: For more on the different options in the New Project dialog - and other dialog illustrated in this tutorial, see the Managing Projects,
Specifying Project Options
| 1. | For the project Name, type 1-Blacksmith. |
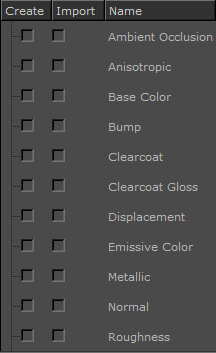
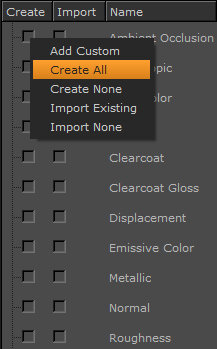
| 2. | For the Texture options, right-click on the list of channels and select Create All. |
|
|
|
Loading Geometry
| 1. | Next, to bring in the geometry, click |
The Pick Mesh dialog box displays.
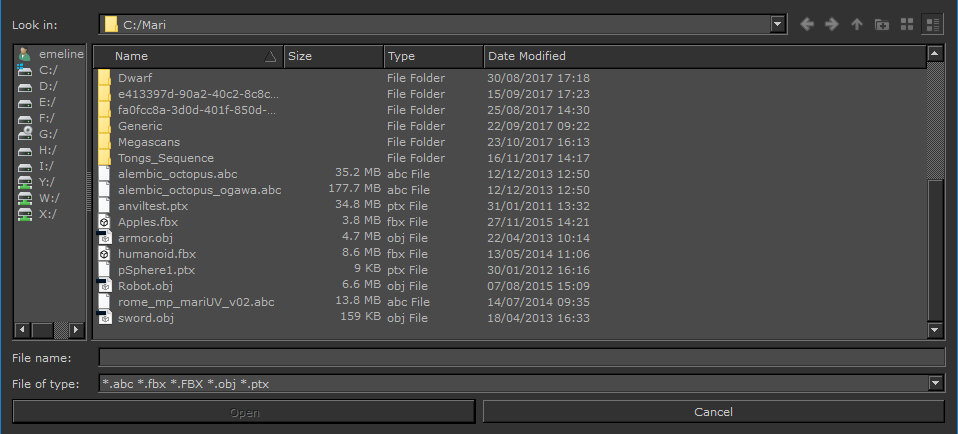
| 2. | Navigate to your tutorial folder, click to highlight blacksmith_body.obj, and click Open. |
Note: When you load geometry, Mesh Options appear for the model you’ve entered in the Path field. For this tutorial, leave the mesh options as they are, but for more information on the Mesh Options refer to
| 3. | Click Ok. |
Mari conducts a quick “sanity check” on the model to make sure there are no obvious problems. If there are any problems, it displays warnings or errors. If there are warnings, you can continue. If there are errors, you must stop and fix them.
Tip: Depending on the size and complexity of a model, it can take several minutes the first time you load it into a Mari project. Once saved, however, the project should open quickly in future.
Saving Your Project
Save your project - again you can do this a few ways:
• from the File menu, select Save,
• click ![]() on the toolbar, or
on the toolbar, or
• press the shortcut key Ctrl/Cmd+S.
Mari saves the project into its project directory. Now, if you click on the Projects tab at the top of the screen, you see your new project in the list.
Article: Take a look at the Q100042: Temporarily setting Mari's Project Location to a different folder article.
Where Do You Go from Here?
At this point, you should have a basic idea of what a Mari project is and how to create one. You learned how to:
• Name the project.
• Set texture options.
• Load geometry.
• Save the project.
Next, you'll use this project to practice some basics about setting the camera and lighting on the geometry in your project, before you begin to paint on it. When you're ready, proceed to Setting the View.