Setting the View
This lesson teaches you how to open a Mari project, and then set the view and lighting on your geometry (before painting on it).
Setting the view includes:
• orbiting
• zooming in or out
• panning
• viewing from six basic directions
• displaying a split view showing a 3D view plus UV patches
Setting the lighting includes:
• picking “flat”, “basic”, or “full” lighting,
• toggling shadows on or off,
• moving lights around and adjusting their properties.
Resources Needed
To complete this lesson, you need access to a computer that can run Mari, and the following sample file:
• 1-Blacksmith - the Mari project file you created in Tutorial 1
How Long Should It Take?
Plan on spending about 25 minutes to complete this lesson.
About Mari View and Lighting
The view in Mari is a view on the object you are painting. By default, Mari has four types of view:
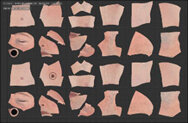
• UV - this gives you a “flat” view of the patches in the model.
• Perspective - this show the model as a whole in 3D space, through a perspective camera.
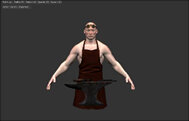
• Ortho - this shows the model as a whole in 3D space, through an orthographic camera.
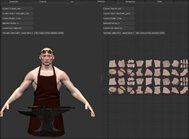
• Ortho/UV - this is a split screen, showing both the UV patches and the orthographic view.
|
|
|
|
UV View |
Ortho View |
|
|
|
Ortho/UV View |
You can move each view separately.
Tip: You can also use the ![]() ,
, ![]() , and
, and ![]() toolbar buttons or the F10, F11, and F12 keyboard shortcuts to activate a particular view on any tab.
toolbar buttons or the F10, F11, and F12 keyboard shortcuts to activate a particular view on any tab.
Within the views, you can:
• Roll or orbit the model (3D views only). Rolling turns the model on one axis, while orbiting lets you turn the model in all three axes. Think of rolling as like turning the model on a turntable, while orbit is turning it around in midair.
• Pan to move the view across the model.
• Zoom in or out.
• Focus on a selected patch.
You separately configure the lighting on the object by selecting preset settings for “flat”, “basic”, or “full”, or specifying fine details such as shading parameters and separate lighting for each of the four configurable lights.
Opening Your Project
| 1. | Start Mari. |
The Mari workspace displays.
| 2. | On the Projects tab, double-click on your 1-Blacksmith project to open it. |
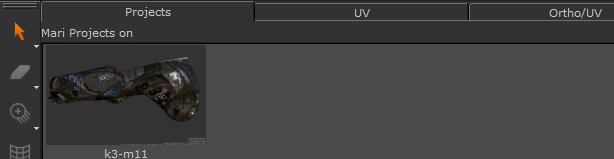
Your project opens and switches to the Ortho view.
 Adjusting the View
To adjust the view on your project, you can zoom, pan, orbit, select one of six preset views, display your model and patches in a split screen, or use perspective and orthographic views.
| 1. | To zoom out and in, hold down the Alt key, right-click and drag the cursor to the left and right. |
|
|
|

| 2. | To pan, hold down the Alt key and middle-click (or hold Alt and Shift and left-click and drag). |
|
|
| 3. | To orbit, hold down the Alt key, left-click and drag. |
|

|
Tip: You can also roll by pressing Ctrl/Cmd+R, left-clicking, and dragging. When you orbit or roll, the pivot point is located in the center of the current view.
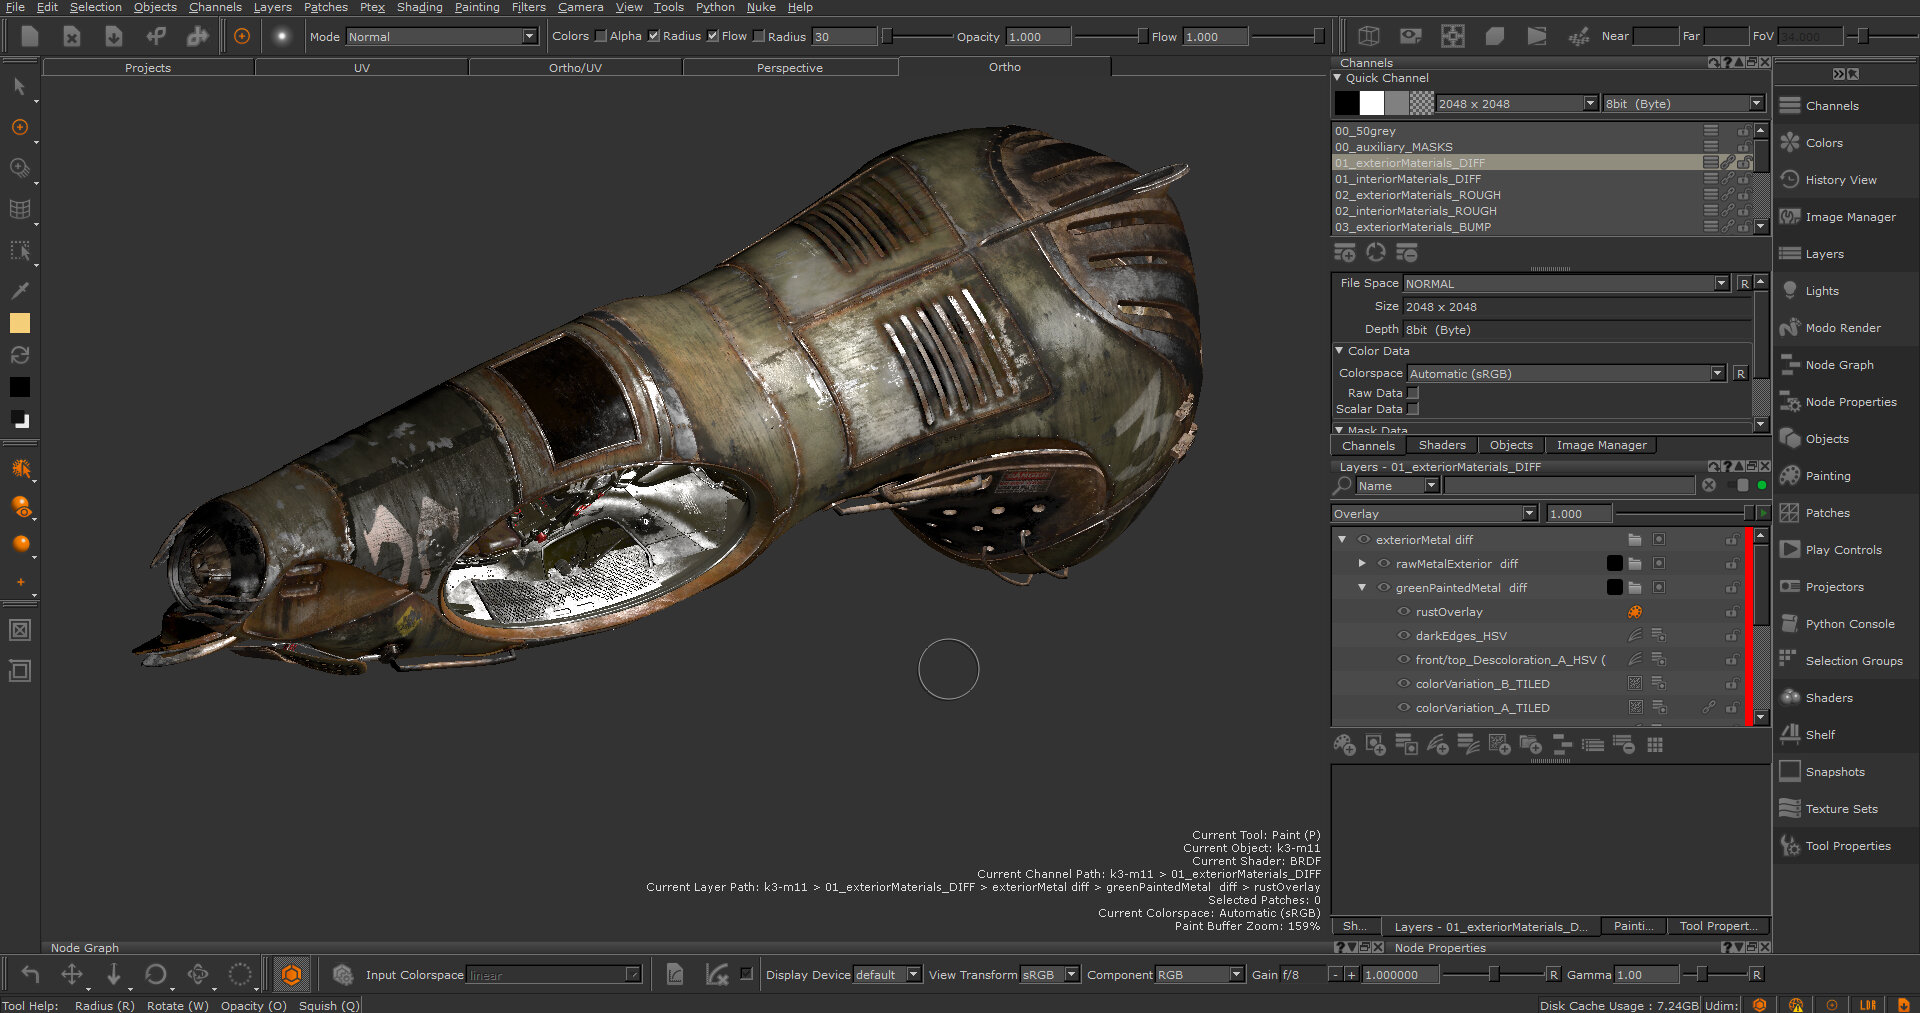
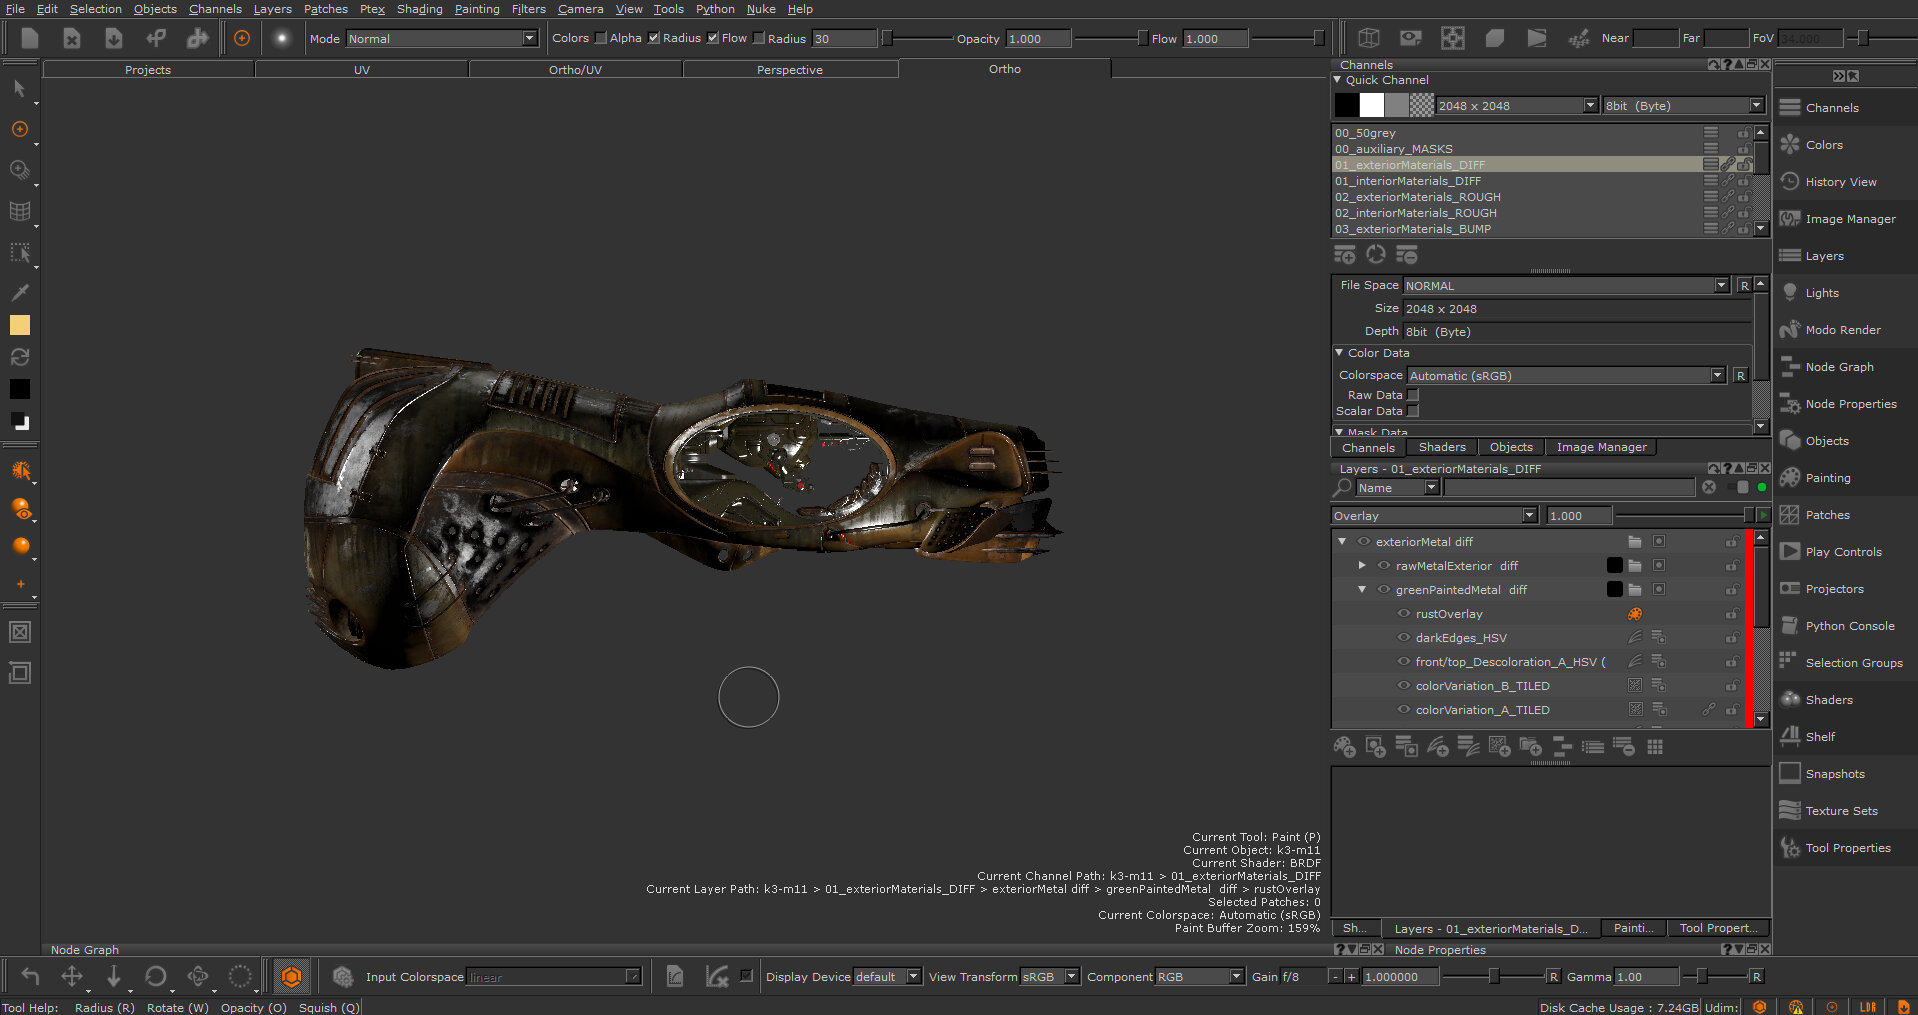
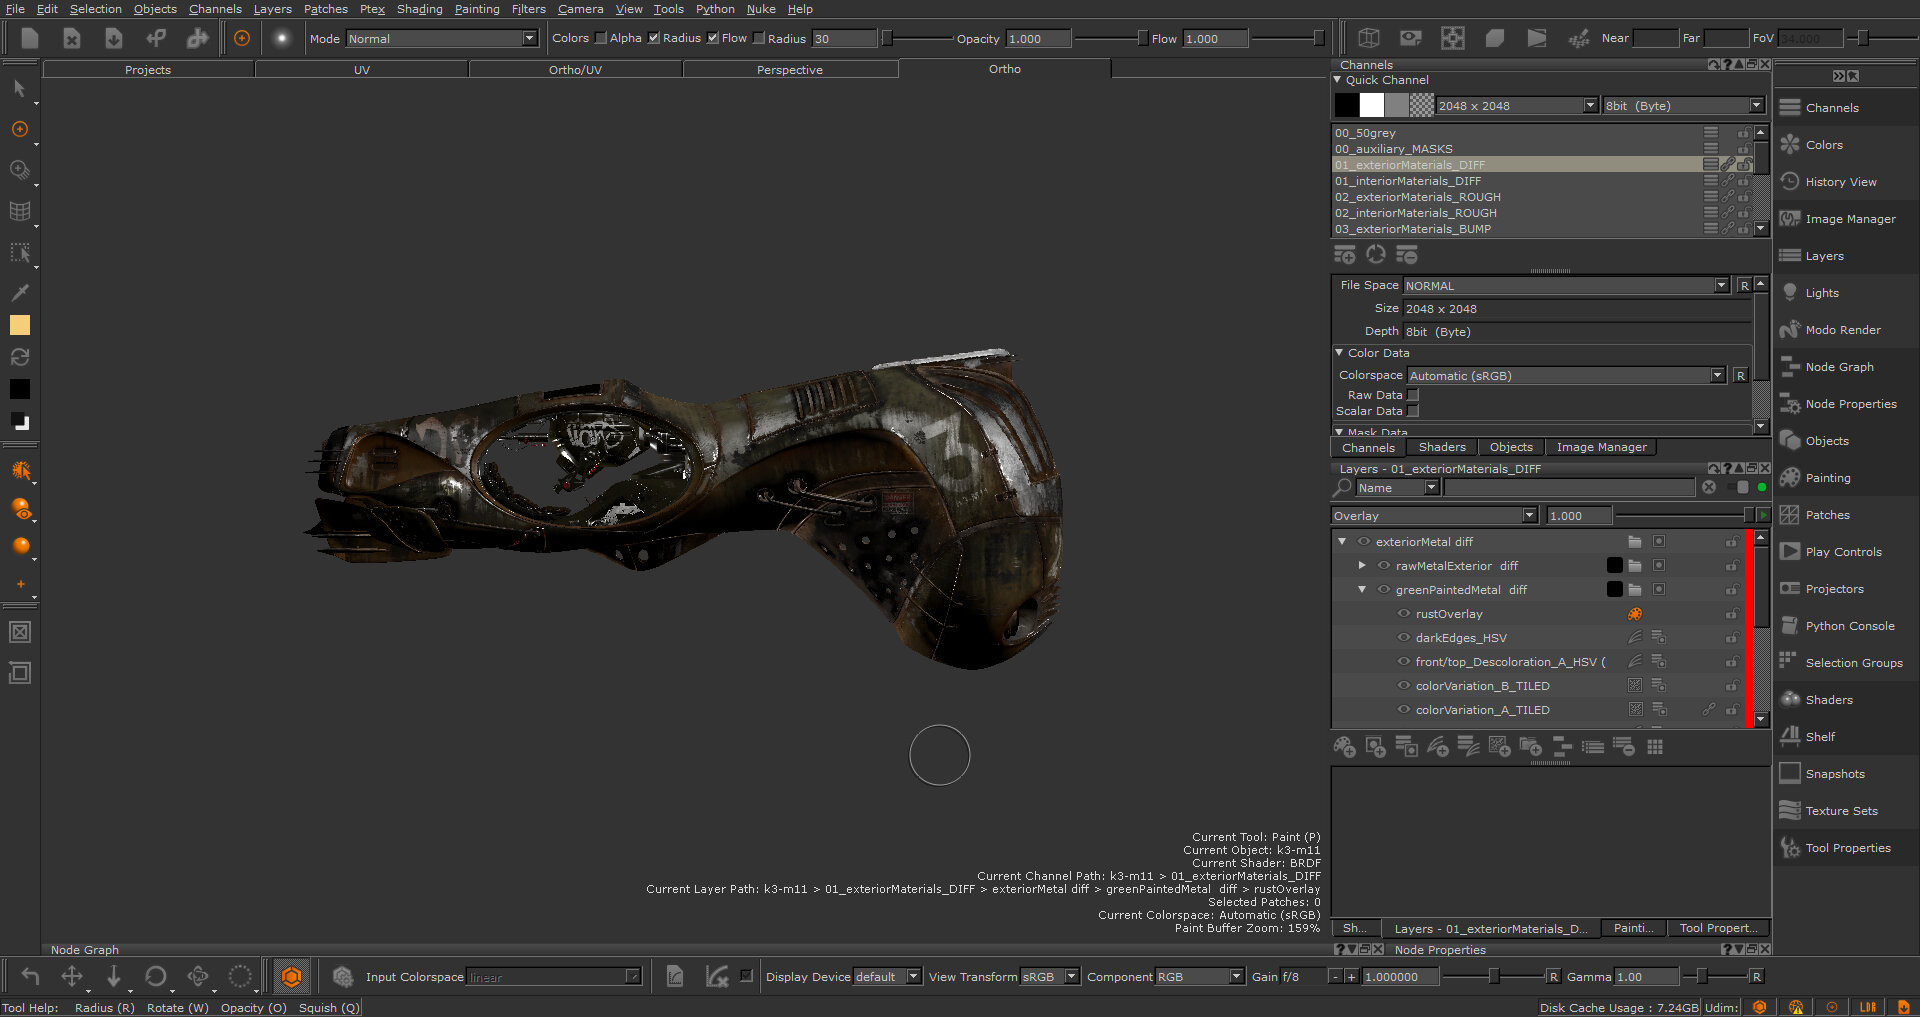
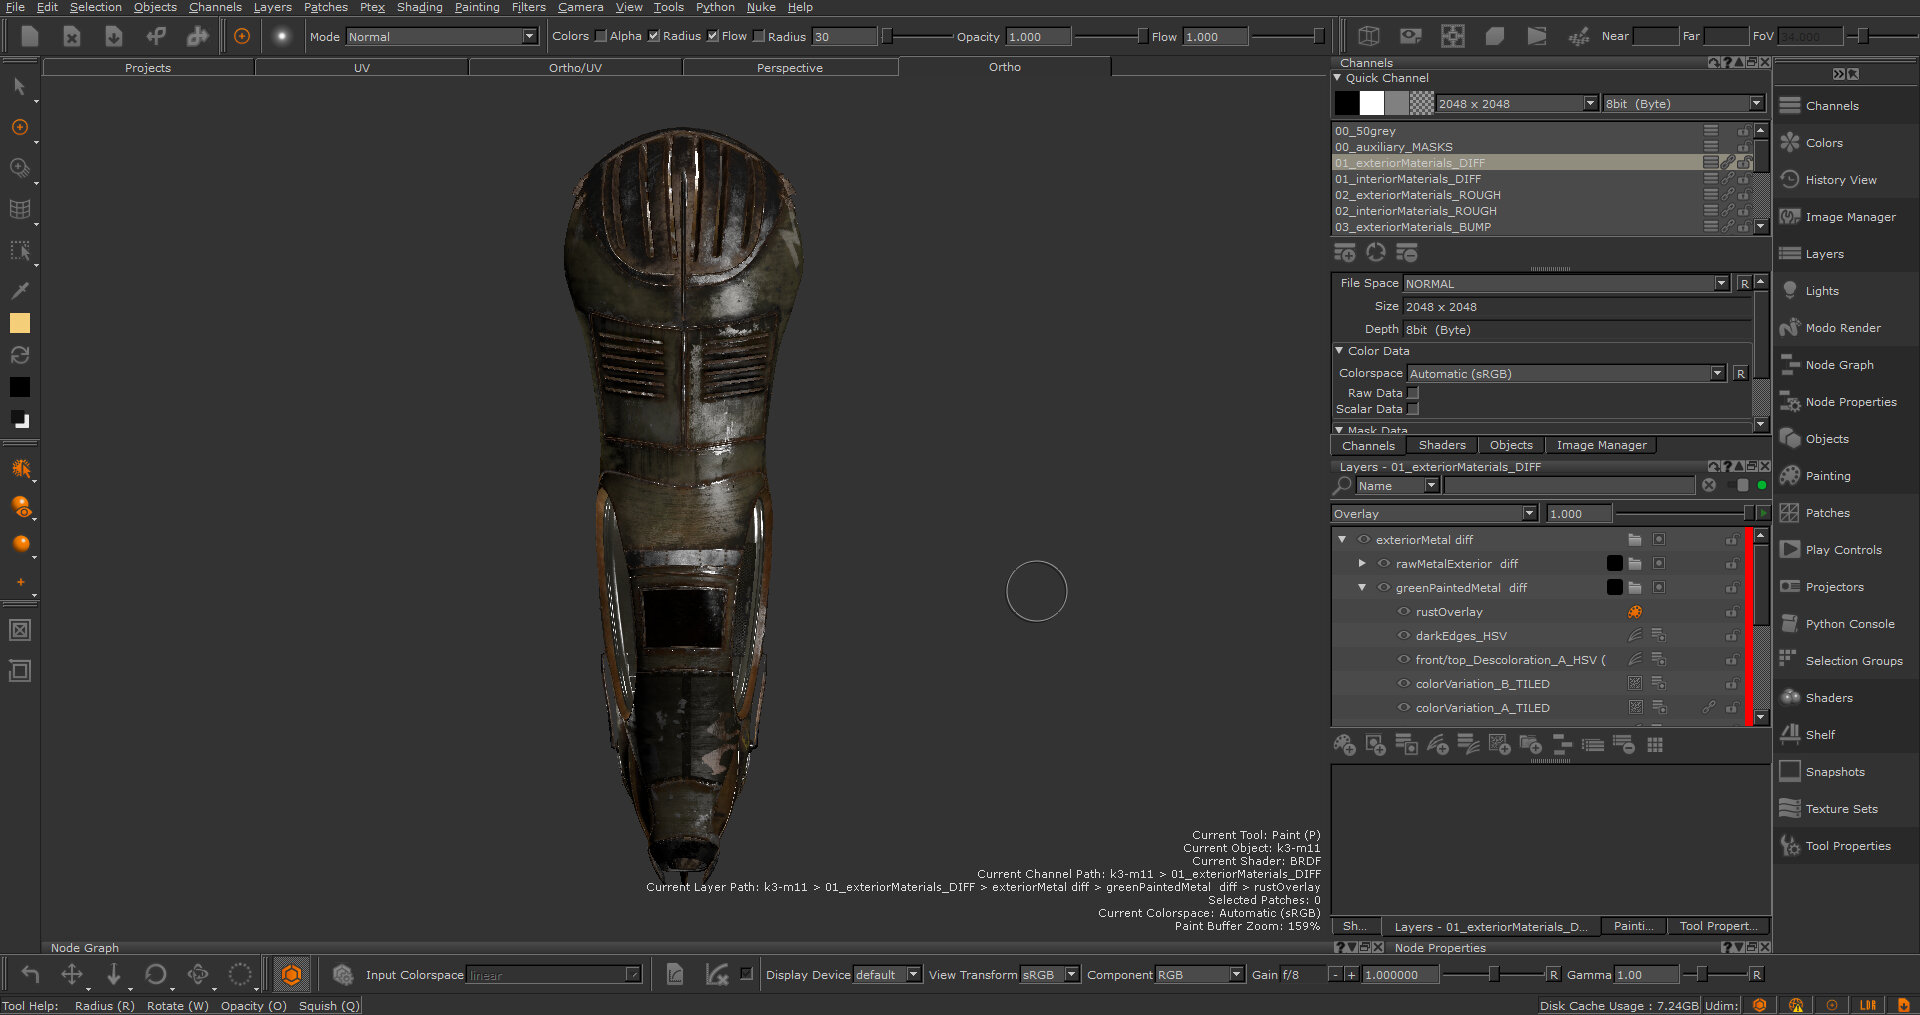
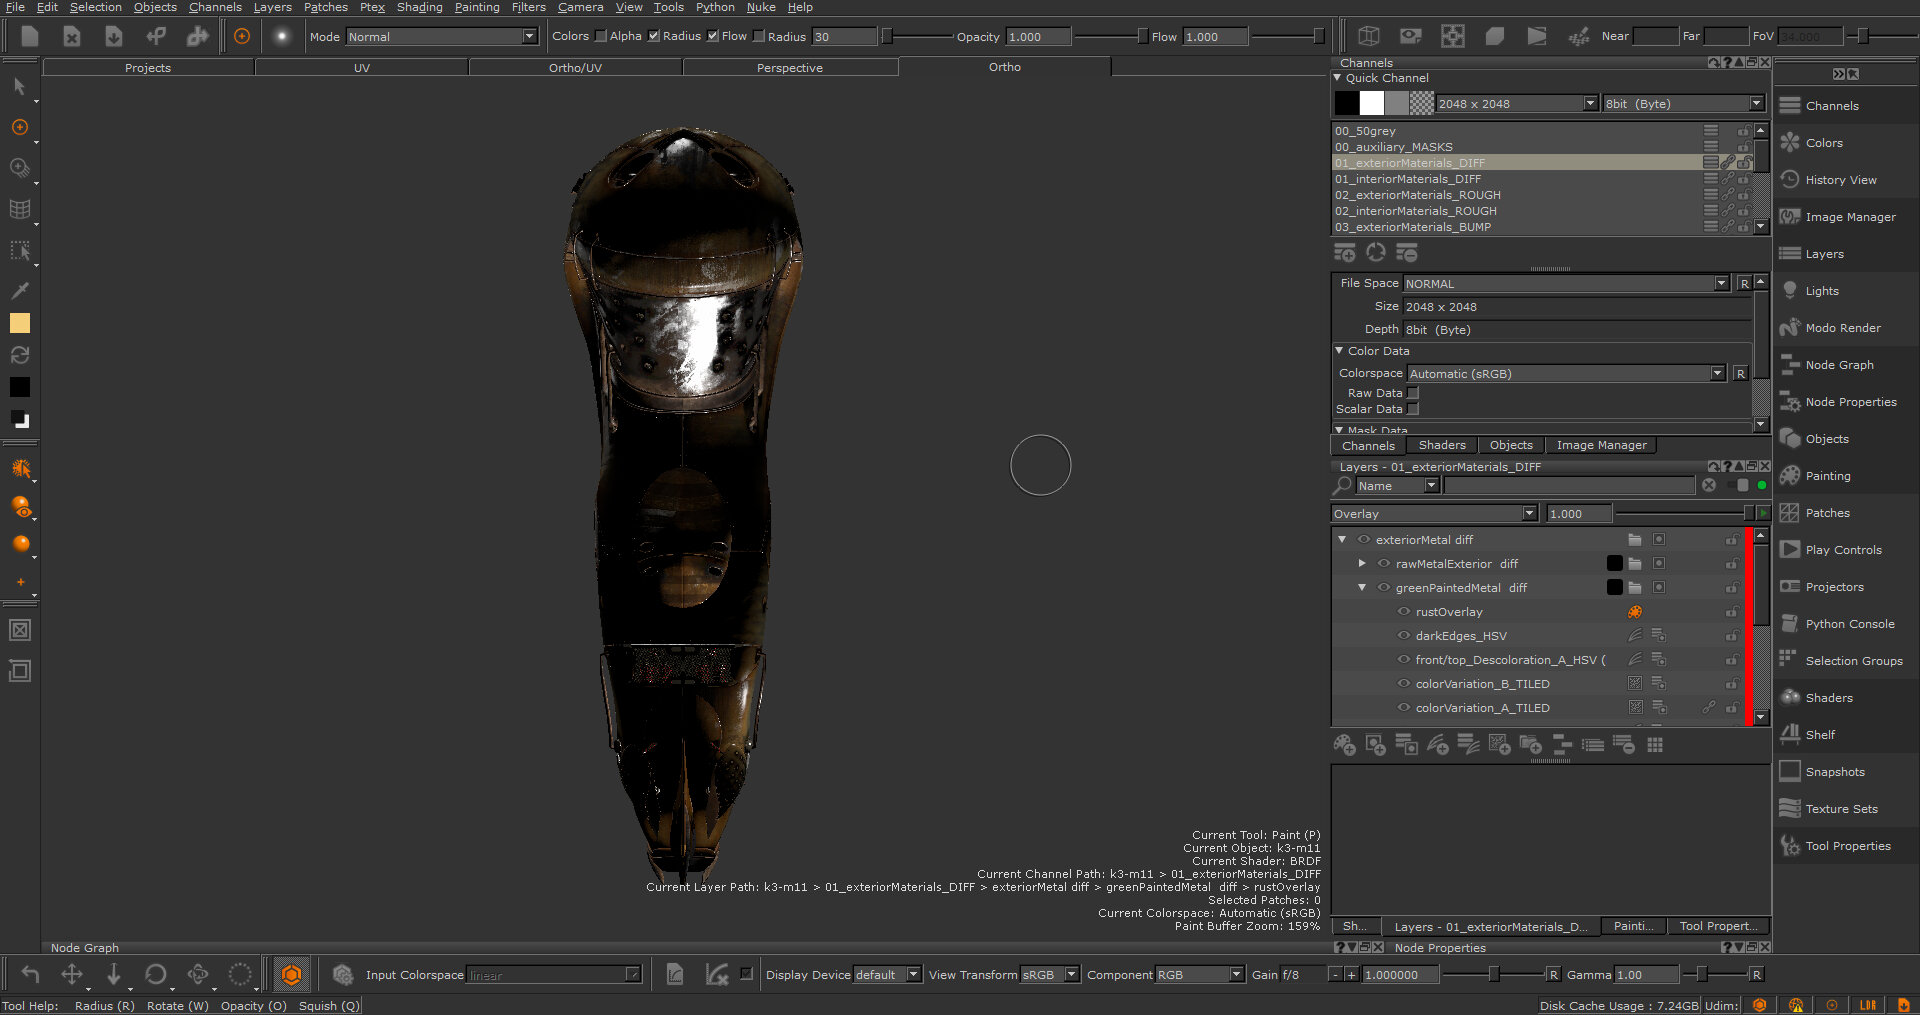
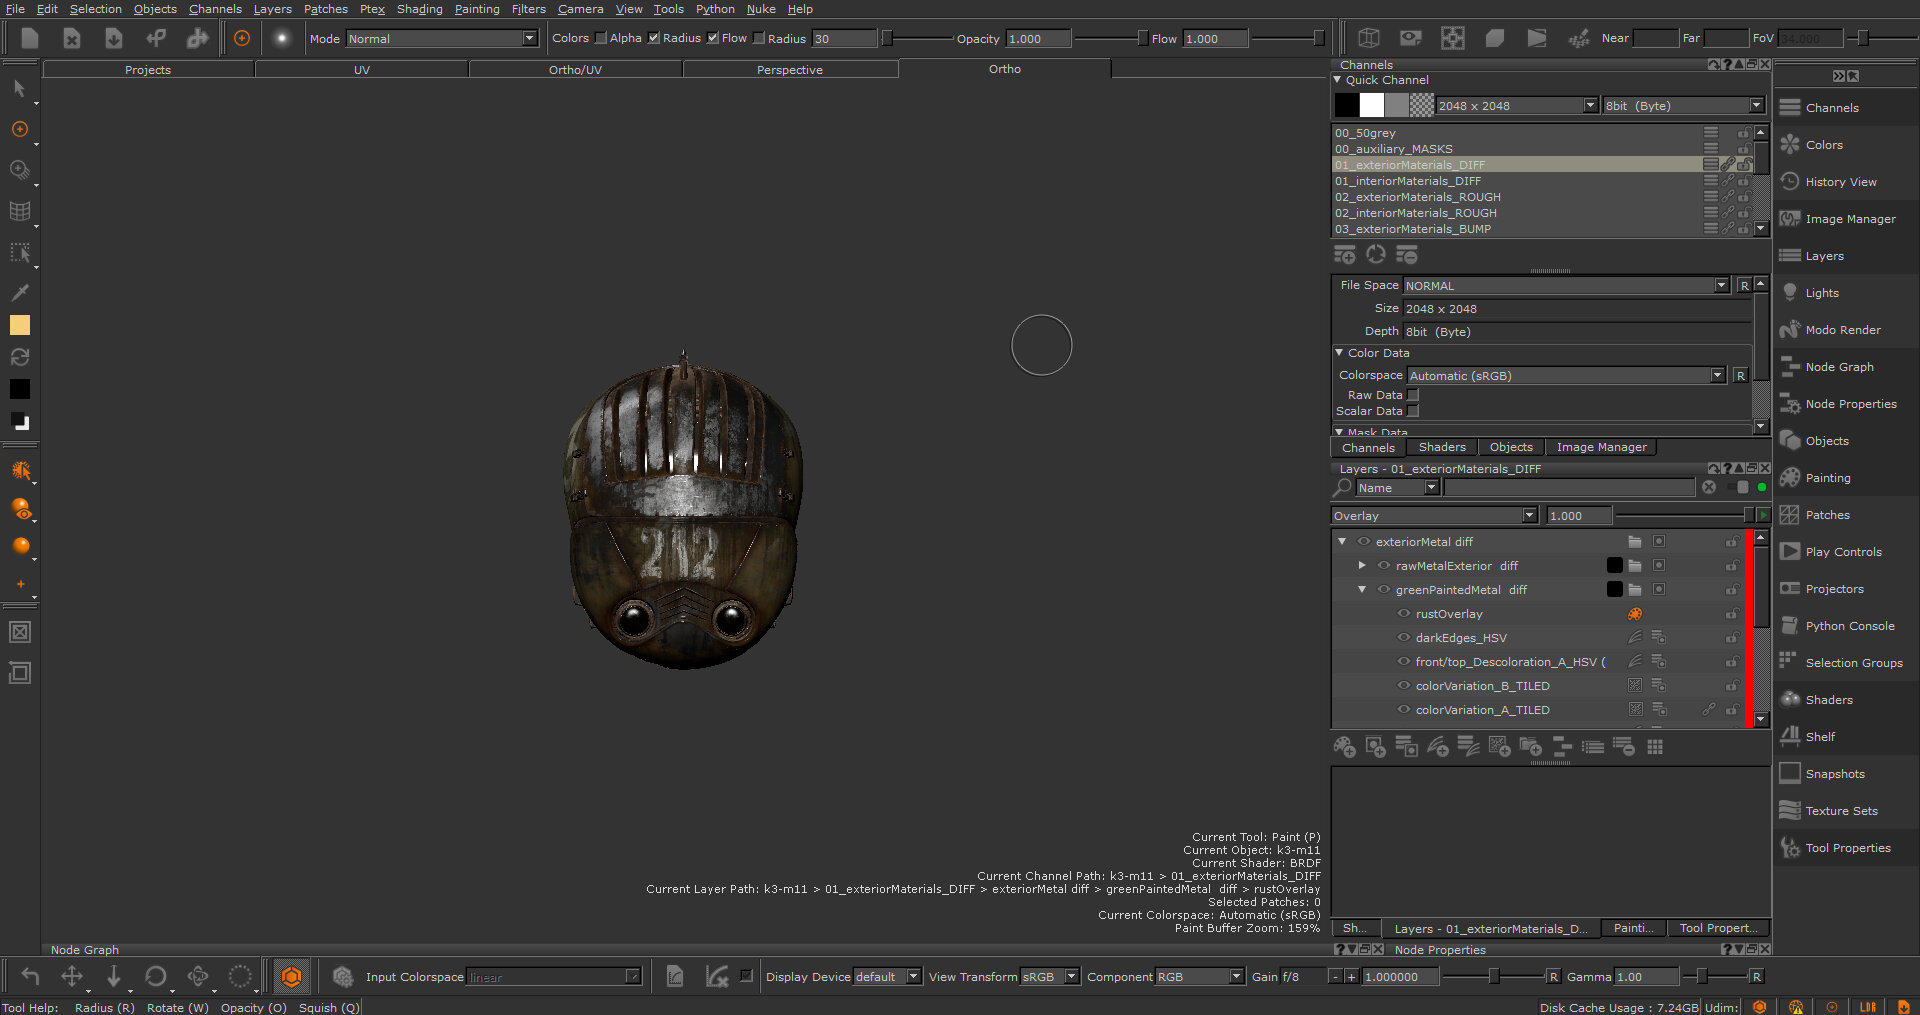
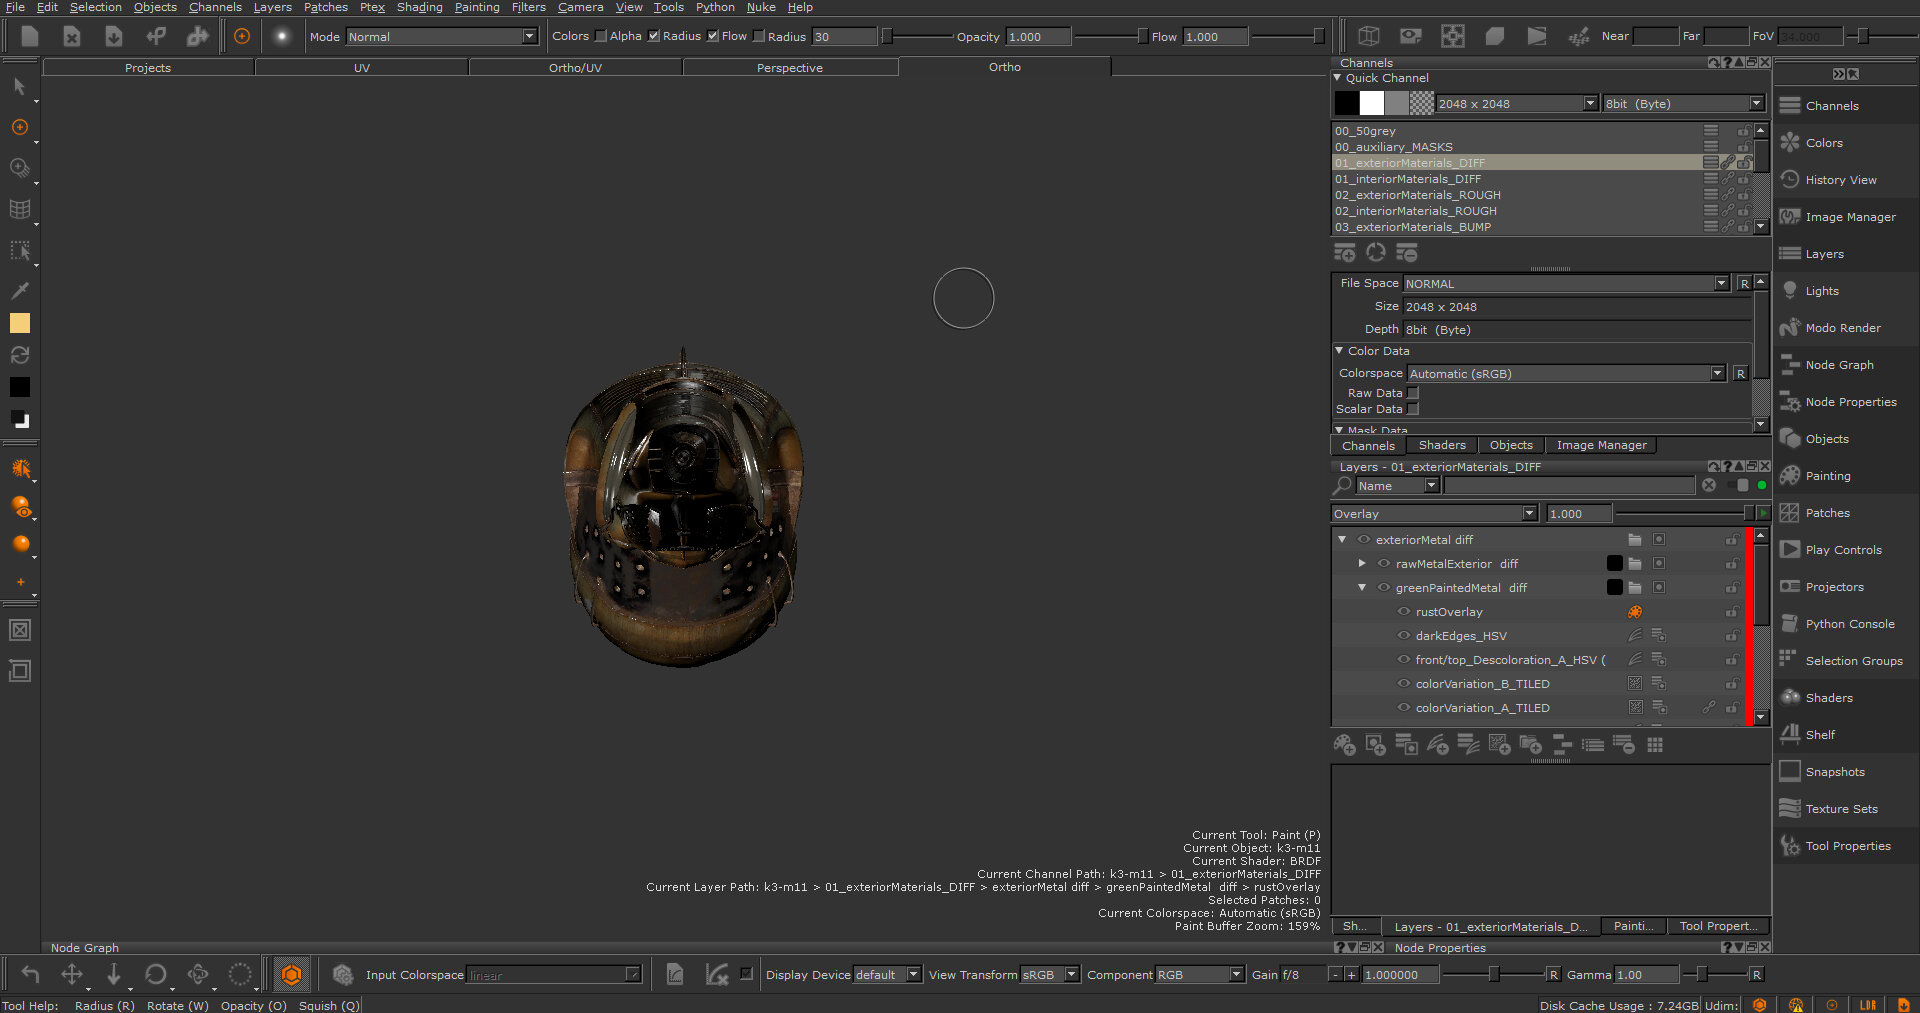
| 4. | To view from six basic preset angles (camera “left”, “right”, “top”, “bottom”, “front”, and “rear”), press 1, 2, 3, 4, 5, or 6, or select the angle from the Camera menu. |
|
|
|
|
|
|
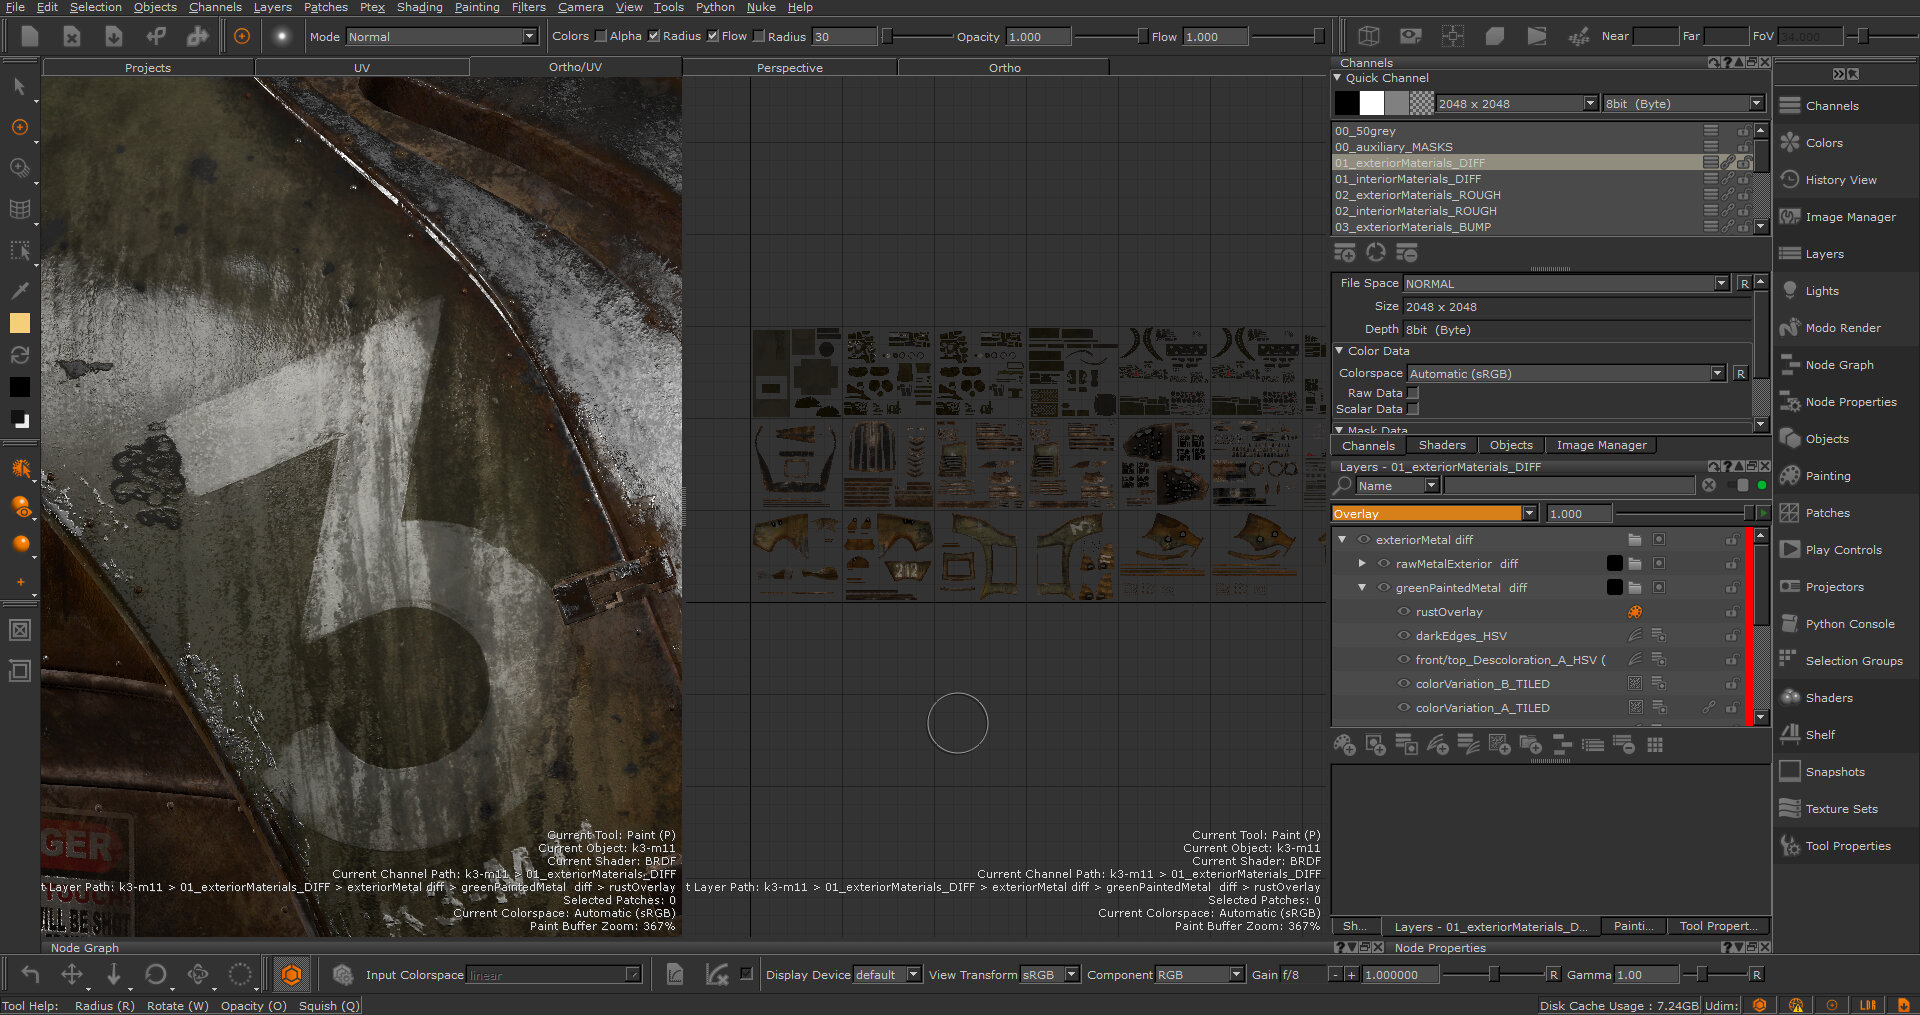
| 5. | To see a flat view of the UV patches on the model, click the UV tab. |
To see a split screen showing both the Ortho and UV views, click the Ortho/UV tab.
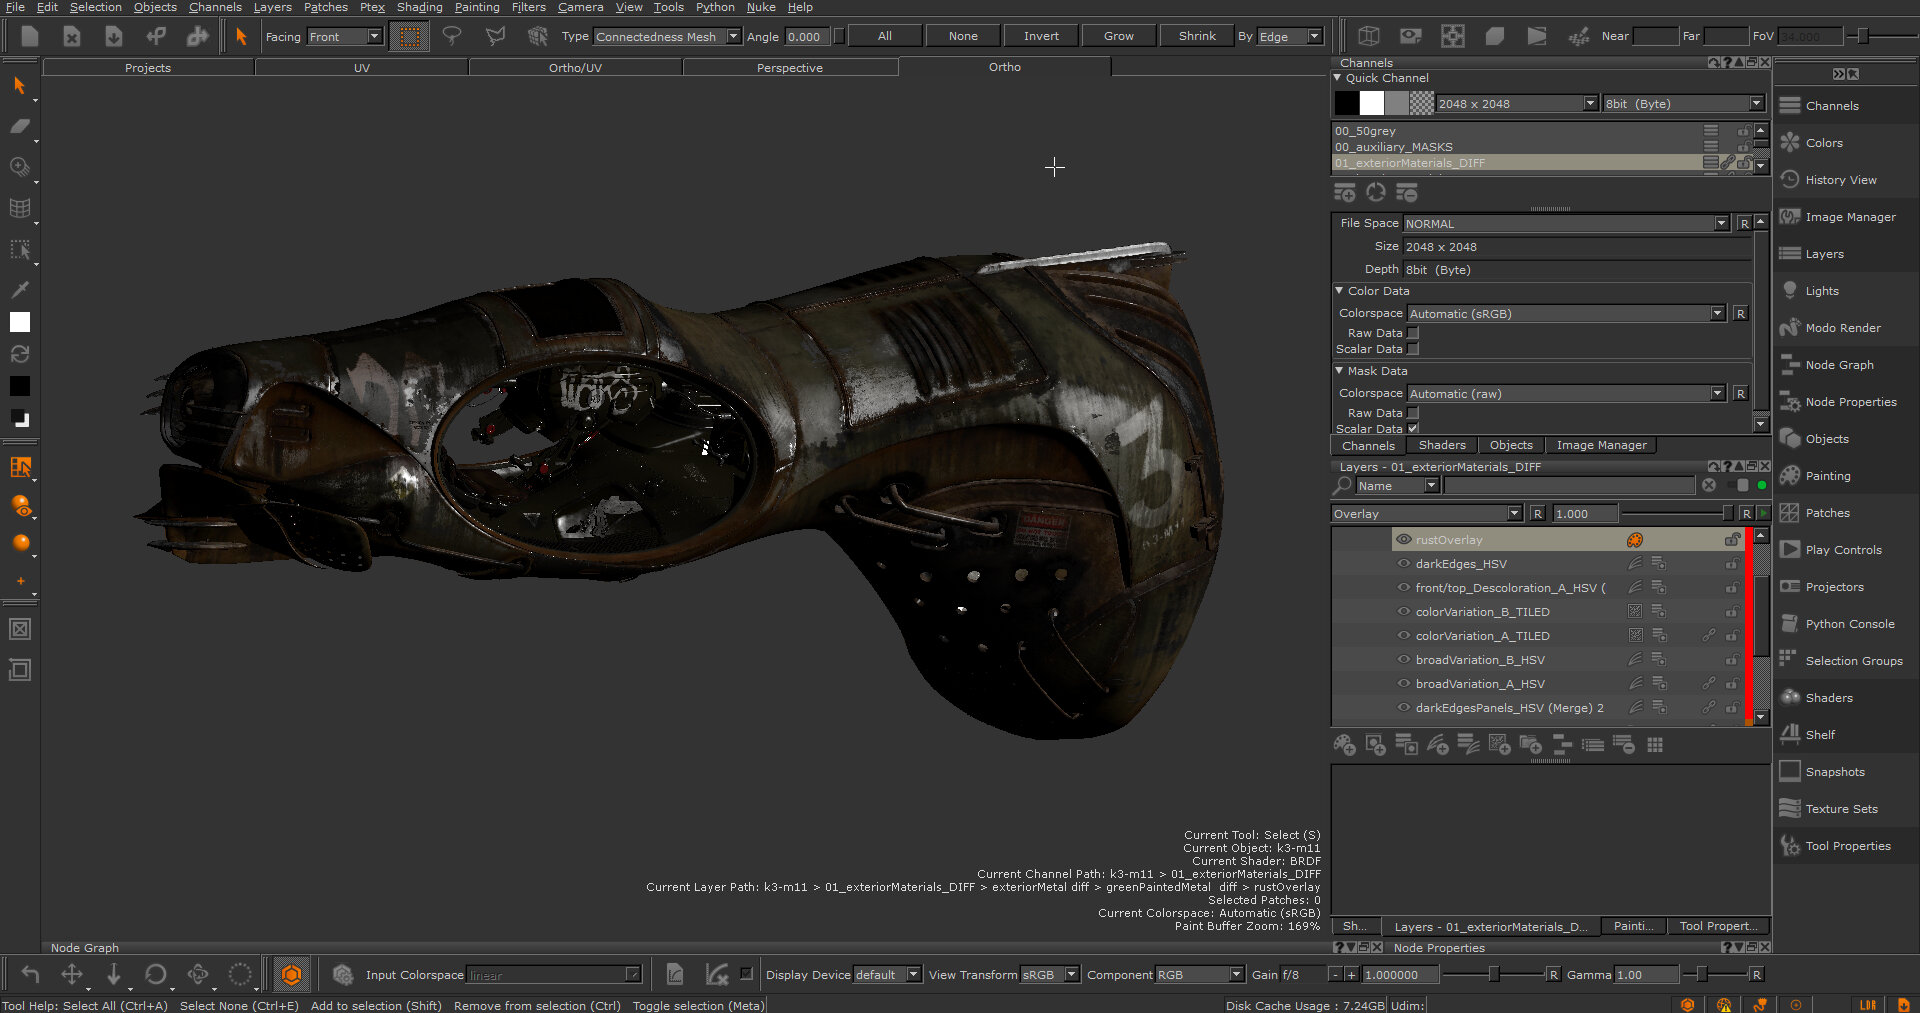
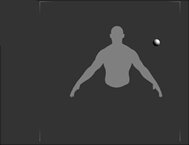
| 6. | To see a perspective view of your model, click the Perspective tab (or press F11). |
In the Perspective view, you can alter your model’s appearance in the viewer by entering Near, Far, and FoV values in the Canvas toolbar. See Setting the Perspective Camera Details.
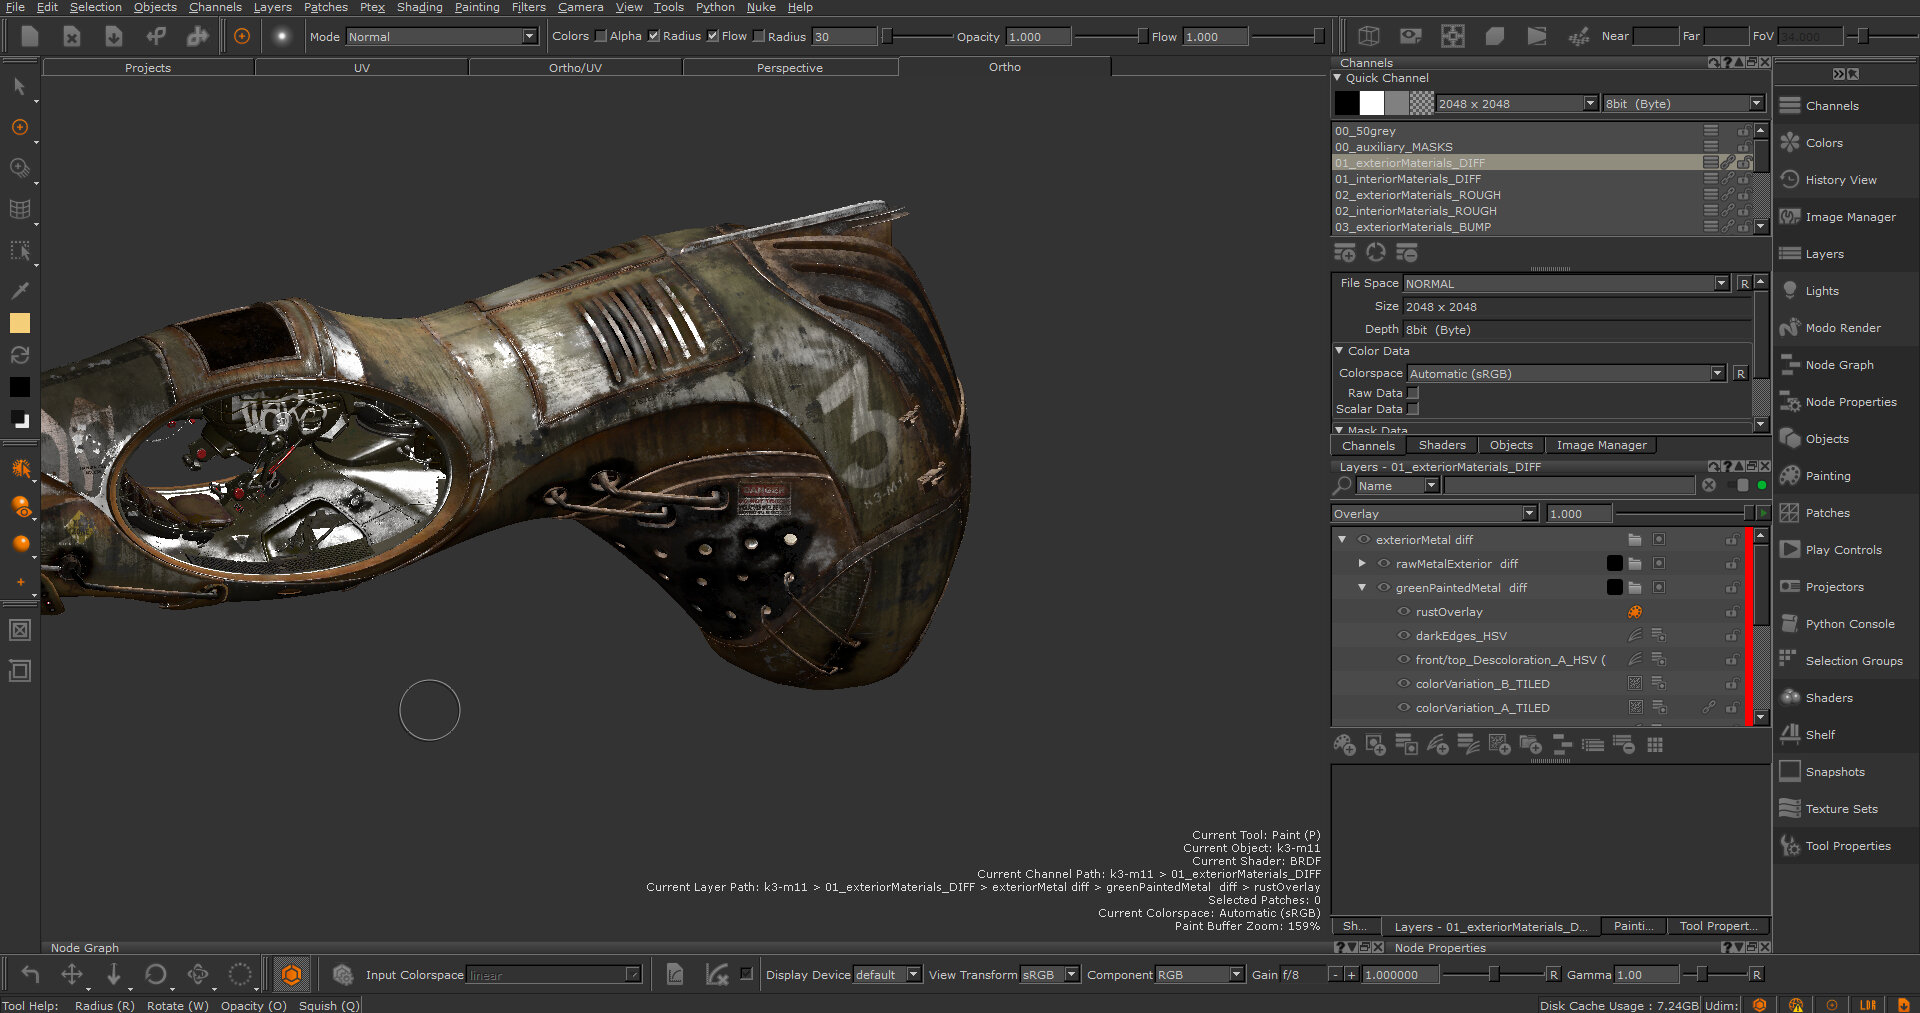
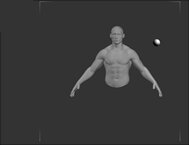
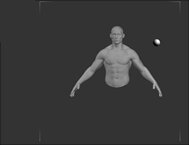
| 7. | To see an orthographic view of your model, click the Ortho tab (or press F10). This is the default view mode, that is, the view you see when you start Mari. |
Note: The model is in the same position in steps 6 and 7; only the view mode has changed. Notice that the model’s arms appear closer to the body due to the application of perspective.
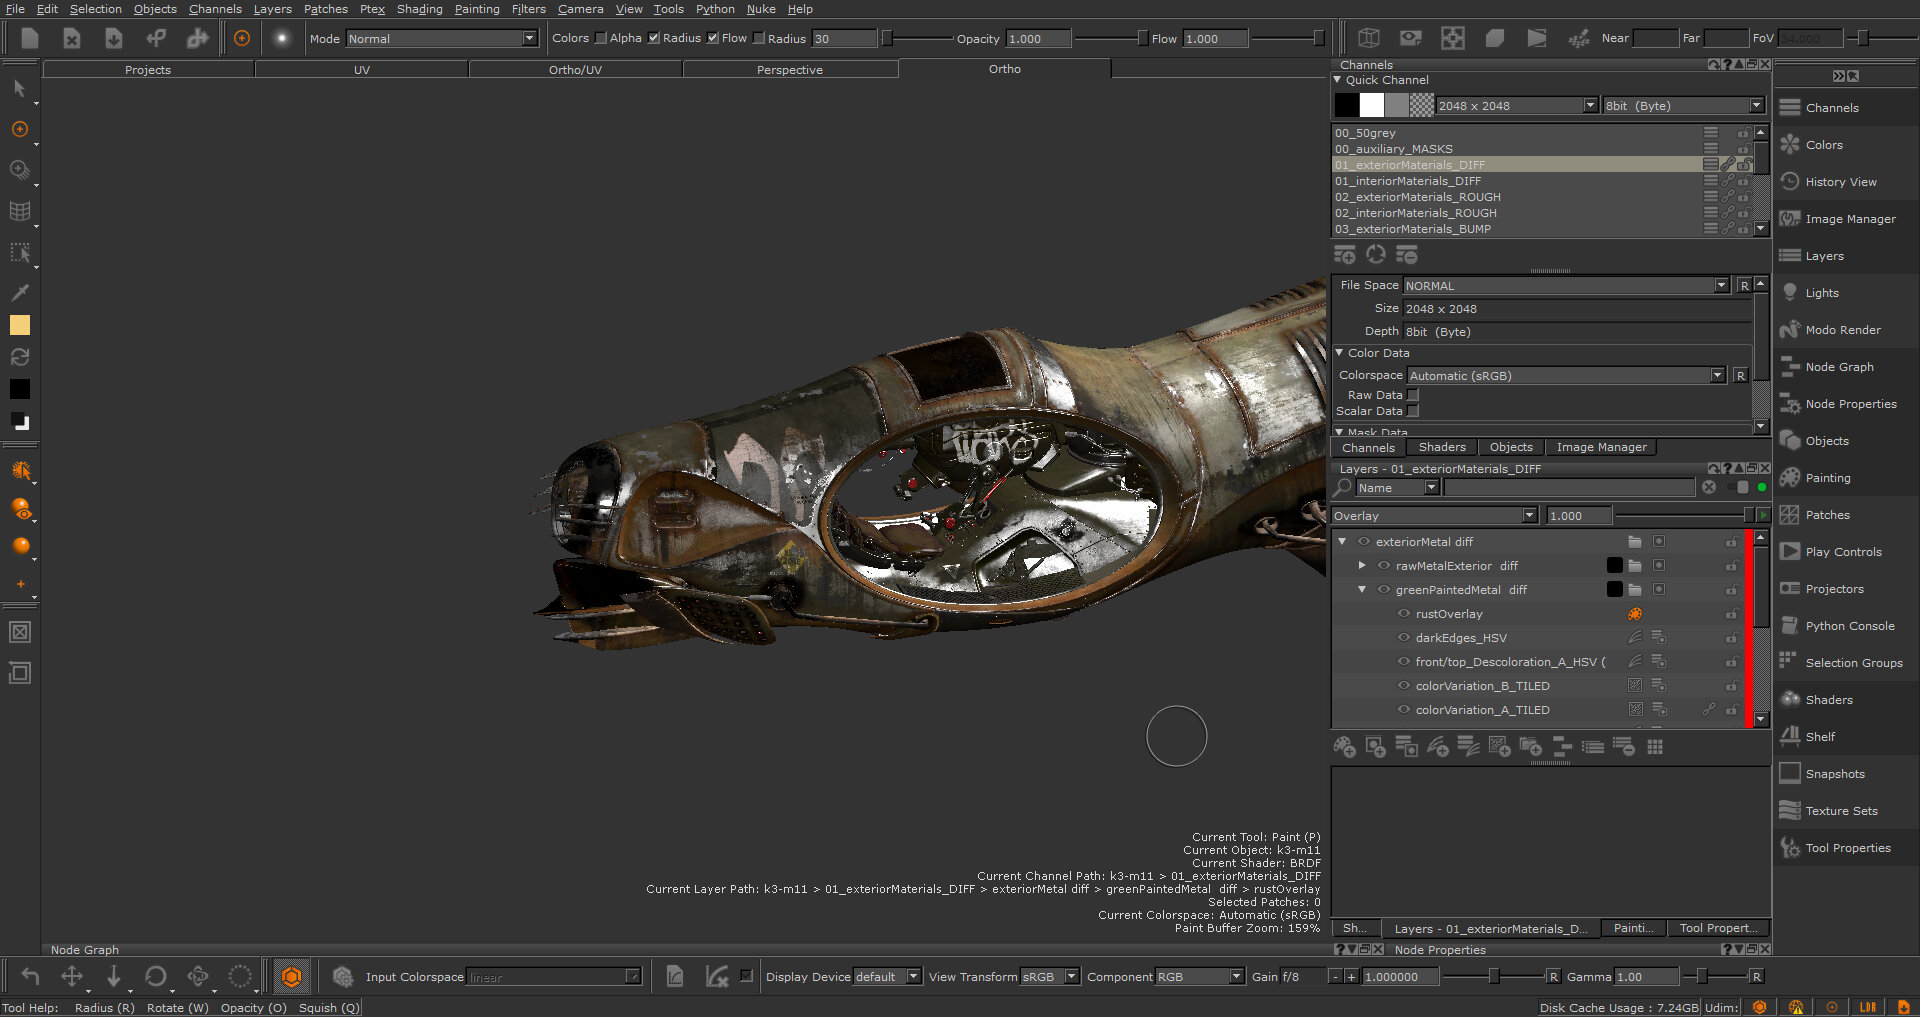
| 8. | To switch the view to display all selected patches, press A. |
If you don't have any patches selected, the view focuses on the model as a whole (changing to show the whole model).
Tip: If you find that the view starts cutting through the front clipping plane, try pressing A.
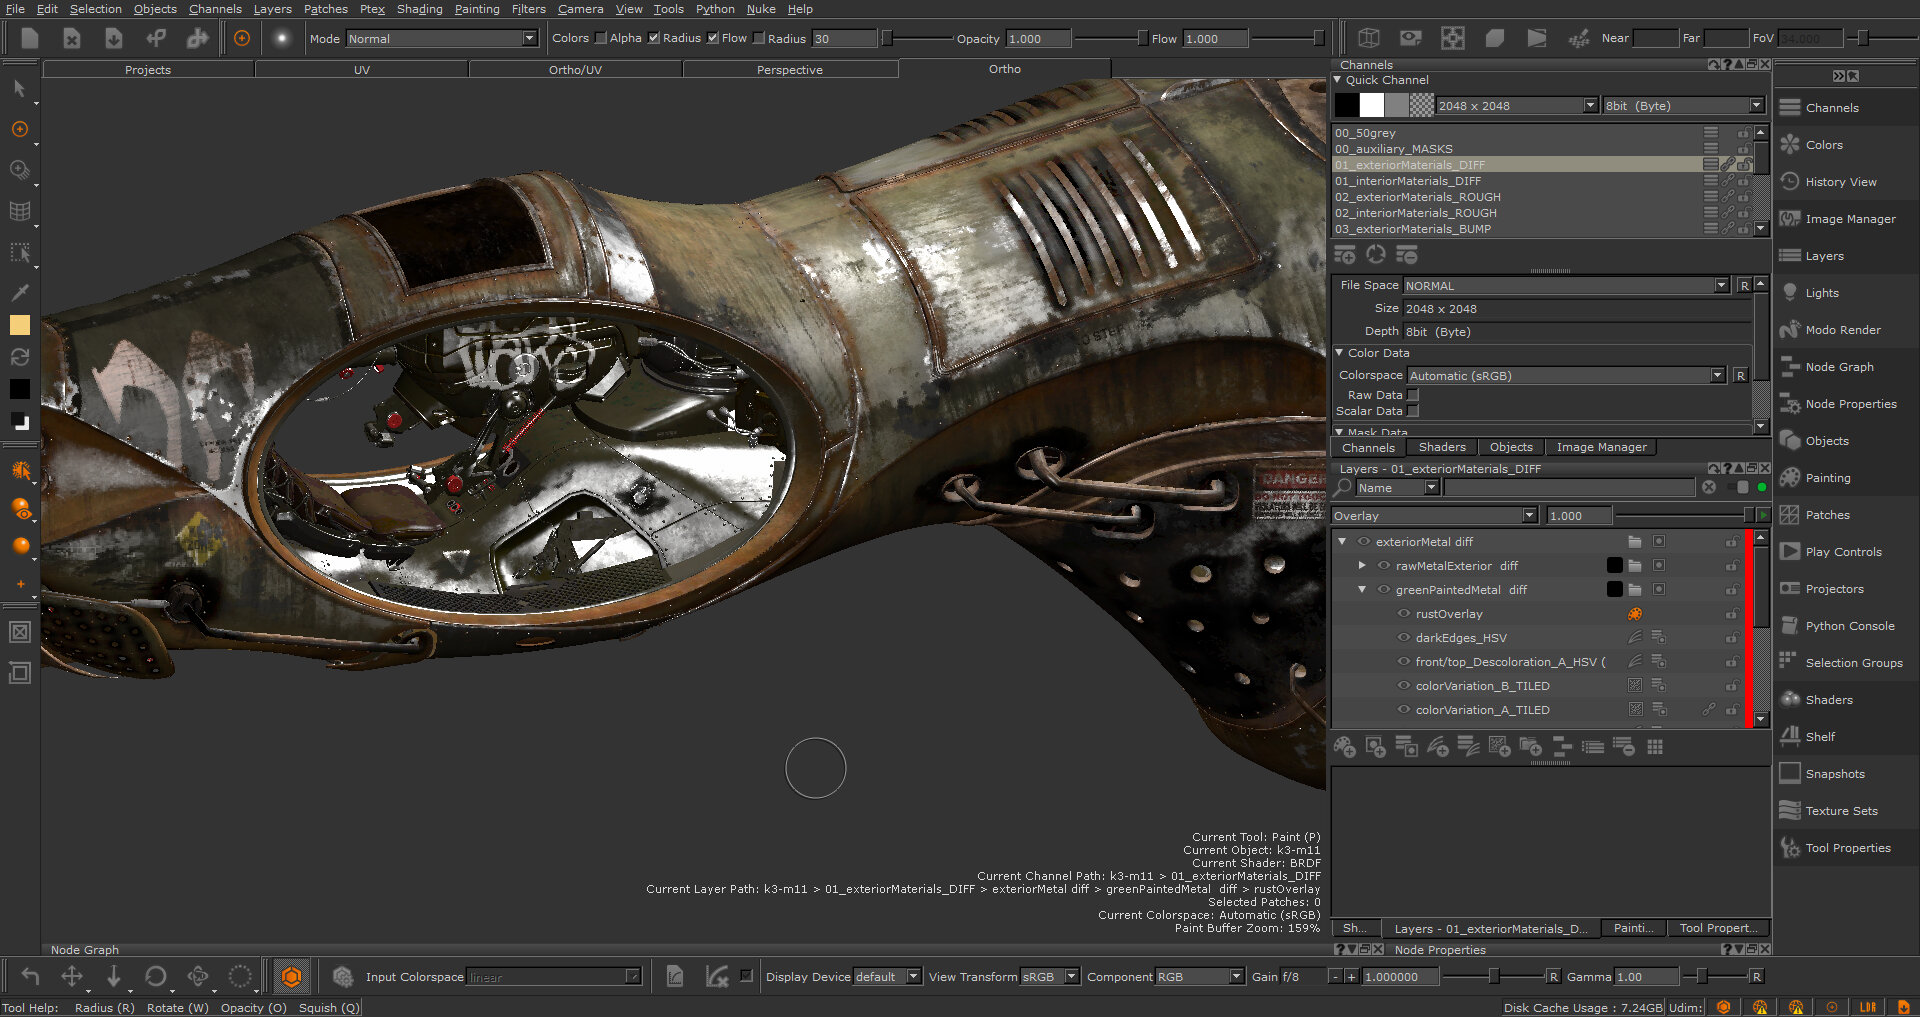
| 9. | To center the view at a particular place on the model, move the cursor there and press F. |
At the current size and angle, the view changes to focus on the cursor point. If you hover the cursor over the canvas where no part of the object is present, pressing F brings the focus on the entire object.
Tip: You can paint in any of the views.
Moving the view bakes the current paint if Bake Behavior is set to AutoBakeAndClear. You can set this on the Painting palette, under Projection (if you can't see the Painting palette, select View > Palettes > Painting to display it).
Experiment: Try zooming, panning, and orbiting with the camera. Change between Ortho and Perspective modes. Have you noticed that objects closer to the camera distort far more than objects further away?
Adjusting the Lighting
Mari comes with five lighting modes: flat, basic, basic with shadows, full, or full with shadows. In basic and full modes, you can move the lights around the model.
| 1. | To change the lighting: |
• from the Shading menu, select Flat, Basic, Basic with Shadows, Full, or Full with Shadows,
OR
• on the Project Controls toolbar, click ![]() ,
, ![]() ,
, ![]() ,
, ![]() , or
, or ![]() .
.
If you can't see the Project Controls toolbar, right-click on the toolbar area and choose Project Controls from the dropdown menu.
|
|
|
|
|
|
| 2. | Notice the four lights on the canvas (you may need to select the Transform Selected Objects tool |
By default, the lights appear as gray spheres ![]() .
.
Tip: Ensure that the lights are on by clicking any of the light bulbs in the Lights palette, and the Render Lights option in the Display Properties dialog. You may need to zoom out to view the lights on the canvas.
| 3. | To move a light around, select the Transform Selected Objects tool |
As you move the light, you can see the effect on the model.
| 4. | You can also make fine adjustments to lighting using the Lights palette. If it's already open, click the Lights tab to give it focus; or if it's closed, right-click in the toolbar area on top of the Mari workspace and select Lights to open it. |

The Lights palette displays details of four basic lights, which you can enable or disable, and customize by adjusting their Color and Fixed To information, and an environment light, which you can adjust to add environment lighting from an image. For details, see the Customizing the View.
| 5. | Lighting can be relative to the Scene or a Camera: |
• Scene (default) - the light is fixed to the model, for example if a light is set at the model's back, it always points at the model's back, no matter how you move the view.
• Camera - the light is fixed to a camera view, for example you can have a light always shining from above the camera, allowing you to move the model around and cast light on different areas.
Video: Watch the demo.
| 6. | A single light can be moved to the position of the current camera by right-clicking the light and selecting Move to Camera Position or clicking on the Move to Camera Position icon when the desired light is selected. |
| 7. | Select the Render Shadows checkbox to produce shadows for an individual light. |
Shadows render and display immediately for the selected light.
Note: Mari saves custom lighting with the project. If you need the same lights in another project, you need to set them up separately.
Where Do You Go from Here?
At this point, you should have a basic idea of the different options for adjusting the view and lighting on your model. You learned how to:
• Zoom, pan, and orbit.
• Select one of six preset angles.
• Toggle split view.
• Change to flat, basic, or full lighting.
• Move and configure lights.
Now that you know how to create a project, load geometry, and adjust the position of the view and lighting, you can (finally) begin to paint! When you're ready, proceed to Painting.