Painting
This lesson teaches you the basic steps to painting on a model in Mari. This includes, selecting a brush, selecting a color, and painting with that brush and color.
Resources Needed
To complete this lesson, you need access to a computer that can run Mari, and the following sample file:
• 1-Blacksmith - the Mari project file you created in Tutorial 1 and configured in Tutorial 2
How Long Should It Take?
Plan on spending about 25 minutes to complete this lesson.
About Painting in Mari
Painting in Mari is similar to painting in other standard paint programs - you can select and configure both brushes and colors, and then use them to paint an object. In Mari, you configure brushes in the Tool Properties palette and colors through the Colors Palette. You also have the option of saving colors and brushes to your Shelf for easy access. The Mari Shelf comes with lots of presets, as well as any items you have created or customized for yourself (and saved there).
After you paint (also as with other programs), in Mari you need to bake the paint buffer into the object. Mari includes various ways of baking onto selected patches, including an Autobake option that bakes by default every time you move the camera.
Opening Your Project
| 1. | Start Mari. |
The Mari workspace displays.
| 2. | On the Projects tab, double-click on your 1-Blacksmith project to open it. |
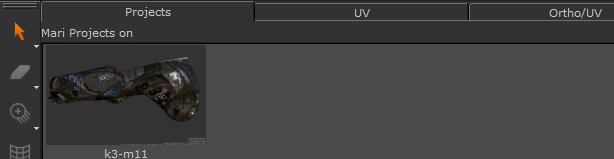
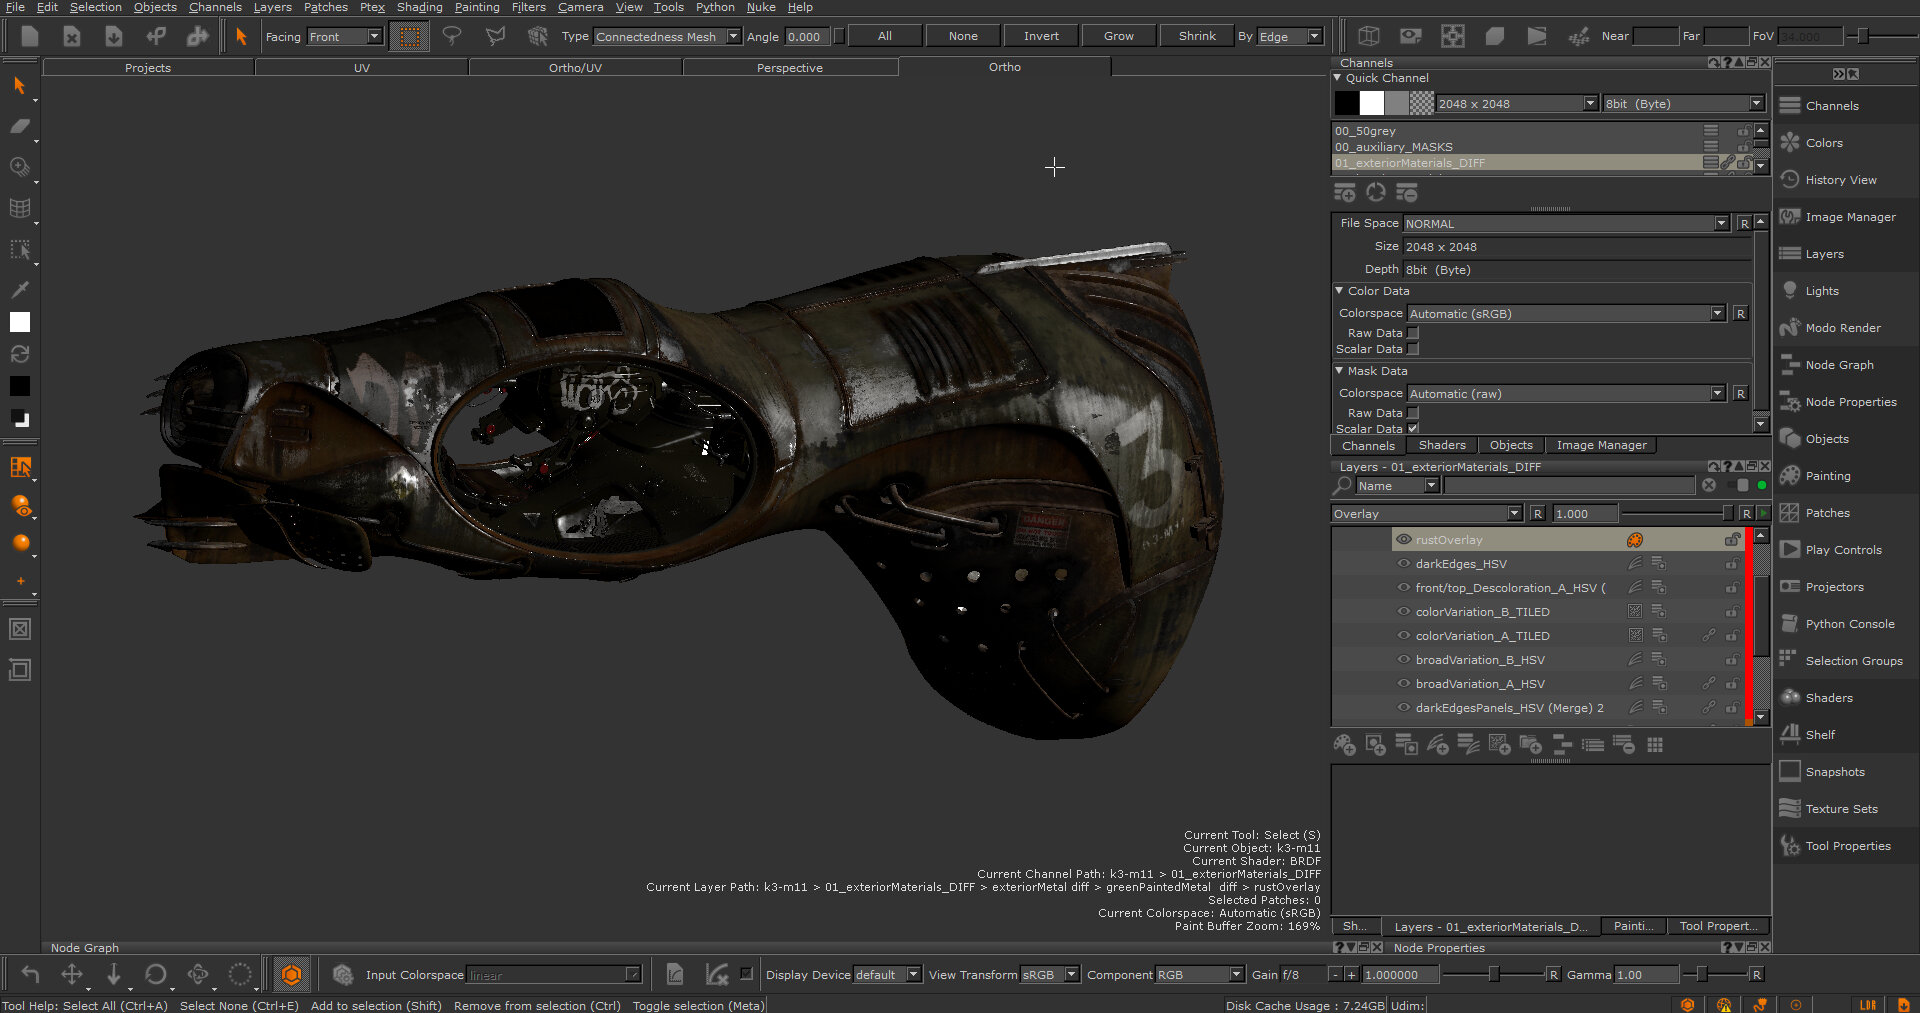
Your project opens and switches to the Ortho view.
 Opening the Colors and Shelf Palettes
Basic painting on your model involves selecting a brush, selecting a color, and using them to paint. In the steps below, you'll select a color from the Colors palette and a brush from your Shelf. To begin, let's open and arrange those palettes.
Tip: By default, the Colors and Shelf palettes are already open when you start Mari (but follow the instructions below to see how to open and close palettes).
| 1. | To open the Colors palette: |
• from the View menu, select Palettes > Colors, or
• right-click in the toolbar area and select Colors from the dropdown menu.
The Colors palette displays.
| 2. | To open the Shelf palette: |
• from the View menu, select Palettes > Shelf, or
• right-click in the toolbar area and select Shelf from the dropdown menu.
The Shelf palette displays.
The shelf can hold your customized sets of colors and brushes - but when you first start Mari, the shelf is empty.
Experiment:
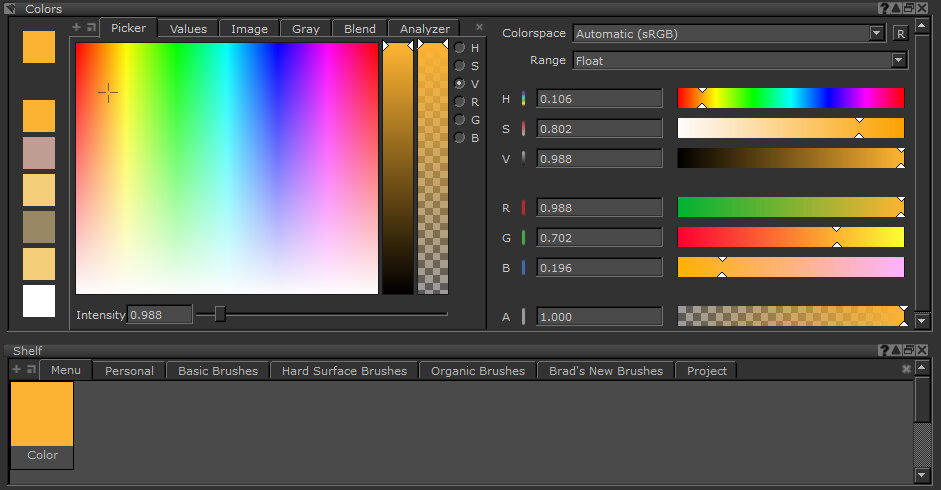
Selecting a Color
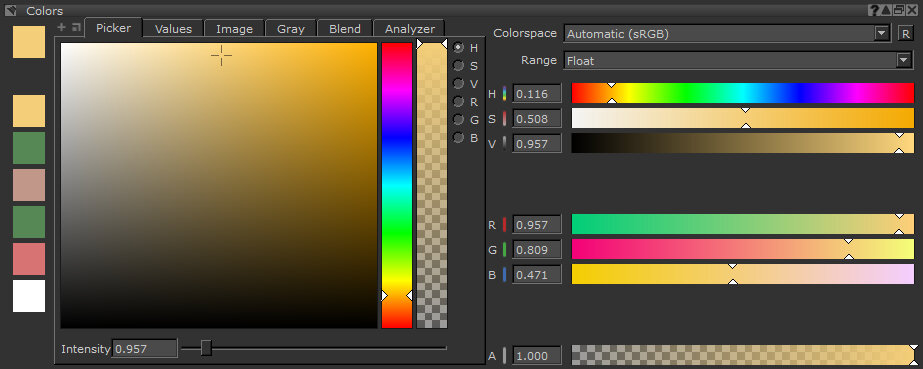
| 1. | You can select a color from the Colors palette a few different ways: |
• click in the color field
• click to select the H, S, V, R, G, or B next to the vertical sliders (to the right of the color field), then click and drag the sliders up or down to select color and alpha
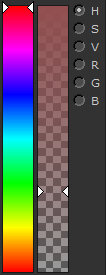
• enter an Intensity value or drag the slider to adjust the intensity of the color

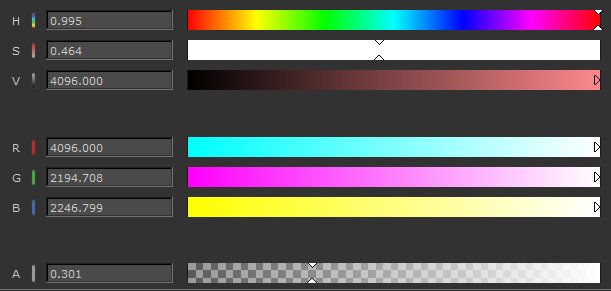
• on the right side of the Colors palette, drag the horizontal sliders left or right, or type specific values in the boxes, to specify HSV, RGB, and Alpha.
The selected color displays in the foreground swatch.
Tip: In addition to adjusting the intensity with the Intensity slider, you can also adjust it by selecting the V component, to the right of the vertical color sliders, and dragging the left slider or dragging the RGB slider.
| 2. | When the color you want is selected in the Colors palette, drag the swatch to the Shelf. |
You don't have to drag the color to the shelf to use it, but it's useful for storing colors you use regularly.
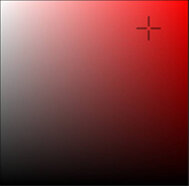
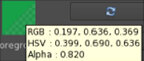
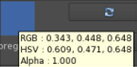
Experiment: Play around with all the different options for selecting colors. See if you can get these:


Tip: If you hover the mouse over a swatch, it displays RGB, HSV, and Alpha values: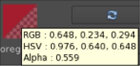
Selecting a Brush
To select a brush:
| 1. | In the Tools toolbar, select a painting tool such as Paint, Blur, Vector Paint, Paint Through, Gradient, and Clone Stamp. |
| 2. | Open the Shelf palette: |
• from the View menu, select Palettes > Shelf, or
• right-click in the toolbar area and select Shelf from the dropdown menu.
The Shelf palette displays.
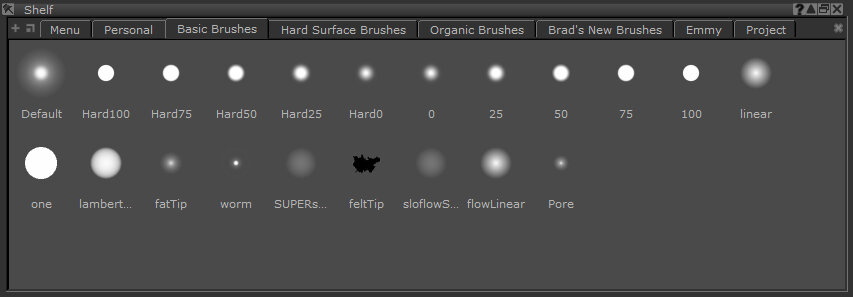
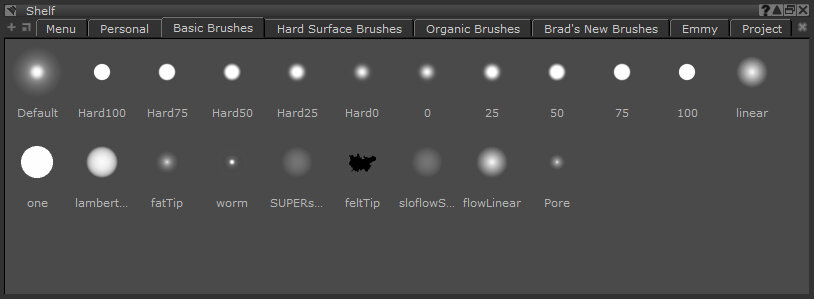
The Shelf palette has seven shelves:
• Menu - items that you can select from the F9 pie selection control menu.
• Personal - selected items you use regularly.
• Basic Brushes - a set of predefined basic brushes.
• Hard Surface Brushes - a set of predefined hard surface brushes.
• Organic Brushes - a set of predefined organic brushes.
• Brad's New Brushes - a set of predefined brushes.
• Project - items just for the current project.
| 3. | Click one of the seven shelves. |
| 4. | Click a brush to select it. |
Video: At the bottom of the Tool Properties palette is a scratch area for you to test out the selected brush. You can press N to swap back to the last brush tip you used. This lets you quickly swap back and forth between two brush tips. Watch the demo.
This video shows the workflow using Mari 3. Even though the Mari 4 workspace is different, the workflow remains the same. To have a look at the main UI differences, see Mari 3.3 vs 4.0.
Tip: You can also customize brushes in the Tool Properties palette, and save them to the Shelf palette. This basically involves selecting a preset brush from the Shelf palette, custom-configuring that brush by selecting options on the Tool Properties palette, and saving it by dragging and dropping the brush icon in the Tool Properties toolbar of your selected painting tool to the Shelf palette's Menu, Personal, Project or custom shelf. See Customizing a Brush for more information.
Paint
| 1. | When you have selected a color and a brush (from the Colors and the Shelf palettes), you can use them to paint on the model. First select the paint tool: |
• click ![]() on the toolbar, or
on the toolbar, or
• press P.
| 2. | Then paint. |
Tip: You can undo and redo any action by pressing Ctrl/Cmd+Z and Ctrl/Cmd+Y, or clicking ![]() and
and ![]() on the Project toolbar, or selecting Undo and Redo from the Edit menu.
on the Project toolbar, or selecting Undo and Redo from the Edit menu.
And, you can undo or redo multiple actions at once, by clicking on a specific action in the History View palette (from the View menu, select Palettes > History View).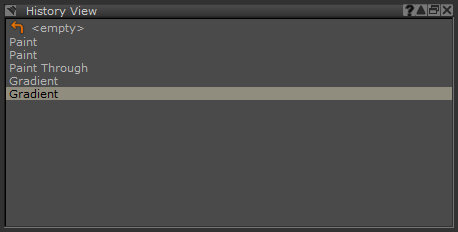
The History View palette lists all actions you've performed since opening the project. There is no limit on the size of the action history, but it clears when you close the project.
Redoing an action in Mari only reverses a previously undone action. You cannot use the Redo command in Mari to repeat a command - it's reversing an Undo (not a “do that again”).
Baking Your Painting
| 1. | As with other paint programs, what you paint stays in a paint buffer until you “bake” it onto the model. To bake in Mari, make sure all patches with unbaked painting are selected, and then: |
• from the Painting menu, select Bake, or
• click ![]() on the status bar, or
on the status bar, or
• press B.
Note:
| 2. | When you exit Mari, do not save the project. (We'll start the next lesson with the unpainted blacksmith you imported in Tutorial 1.) |
Where Do You Go from Here?
This lesson covered the most basic options for painting in Mari:
• selecting a color in various ways, and dragging it to the Shelf palette
• selecting a brush from the Shelf palette
• painting on the model and baking.
The next tutorial, Painting Through and Clone Stamping, covers two main options for using images to create textures in Mari.