Picking Colors from Paint on the Model
To pick a single color from the paint already on the model:
| 1. | Select the Eye Dropper |
Mari sets the Foreground color to the color at the point you clicked.
Tip: Mari sets the color to what's actually on the model's surface where you clicked. This may not be exactly the color you see on screen. For example, if you use full lighting and the area is in shade, it doesn’t appear darker than it actually is.
Video: Watch a demo on how to select the foreground and background colors.
This video shows the workflow using Mari 3. Even though the Mari 4 workspace is different, the workflow remains the same. To have a look at the main UI differences, see Mari 3.3 vs 4.0.
| 2. | Open the Colors palette: |
• right-click on the toolbar, and select Colors from the dropdown menu, or
• from the View menu, select Palettes > Colors.
The Colors palette opens.
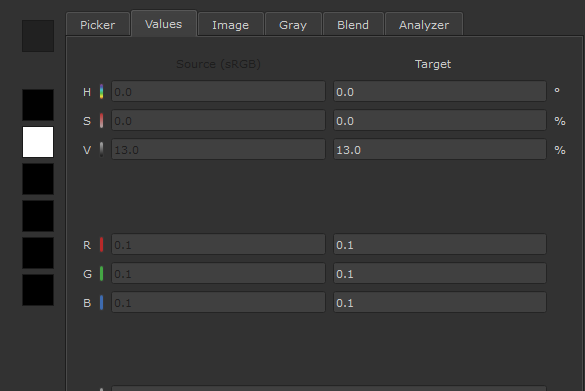
| 3. | Click the Analyzer tab. |
The Analyzer tab displays details of the currently-selected color.
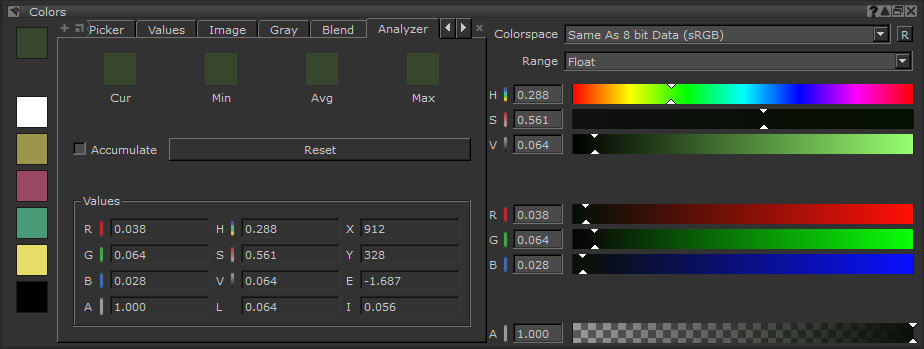
The Values section displays the color's exact numeric value, in the selected Range.
Note: Picking values for HDR images outside of the range as defined by the color picking OCIO colorspace, may result in clamped values.
Video: Watch a quick demo.
Tip: If you are analyzing pixels from an HDR image and want to maintain the correct color values, ensure that you have not ticked the Clamp checkbox in the Painting palette, and that you are painting in a 16- or 32-bit channel.
| 4. | Click the Accumulate checkbox. |
With this option enabled, Mari keeps track of the colors you select. As you click on the model, the Colors fields update to display the Current color selected, plus the Minimum, Average, and Maximum color values from the tracked series of clicks. (If you drag across the model, Mari still accumulates colors, as if it were a series of clicks.) You can then click on any of these swatches to set the foreground color to that value.
| 5. | Click Reset to clear the buffer and start again. |
Scalar and Color Picking Modes
The color picker also allows you to pick non-color or scalar values. The scalar color picker works in the same way that the perceptual color picker does but instead of picking values in the colorspace assigned to the Color Picking role, raw RGB values are picked and color management is not applied.
The color picker samples values based on the colorspace of the active paint target. This means that if a channel, or node, you’re currently painting on is scalar, you'll pick scalar data, while if the active paint target is color data, you'll pick color managed sRGB values. Your active paint target may not always be the channel or node you are viewing, so it’s important to be aware of what is and isn’t being edited.
Note: for more information on the differences between Color and Scalar data, see Color and Scalar Data
The color picker displays indicators when you choose either Color or Scalar data.
|
Color Data |
Scalar Data |
|
|
|
|
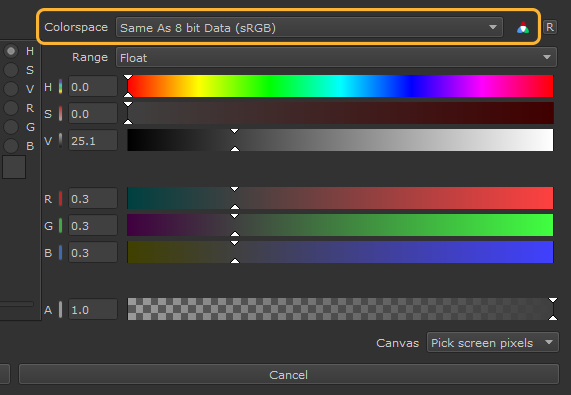
The colorspace dropdown is active and displays a colorspace icon |
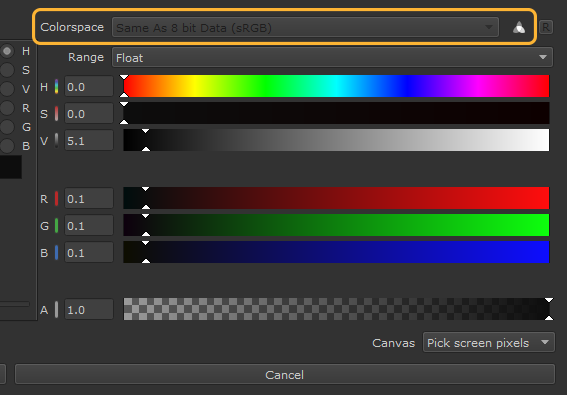
The active paint target is Scalar, so the colorspace dropdown is disabled, and the icon next to it is greyscale. |
|
|
|
|
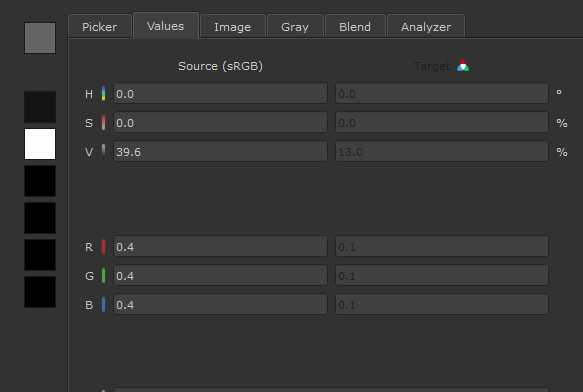
Values in the target column differ to the values in the source column, as the chosen color is being color managed depending on the colorspace applied to the Color Picking role. Target is also disabled, and cannot be edited. |
The values in both columns match, as raw data is being chosen and no color management is being applied. The Source column is also disabled, and cannot be edited. |
However, you can manually force what type of data you are picking within the color picker. This is useful for layer-based workflows or projects that contain no paint nodes, where you are unable to assign an active painting target.