
Found in the Deform sub-tab of the modeling toolbox (sometimes as a sub-option of the Jitter or Quantize tools), the Smooth tool refines any jagged, rough surface. (These surfaces can be called jittered polygons.) How you adjust the settings vary depending on the target geometry. The Smooth tool operates in the 3D and UV viewports as an excellent tool for smoothing overall topology or for smoothing specific areas of a UV map. This tool also uses any active falloffs (including a Background Constraint) for you to target specific areas for smoothing.

Smooth—
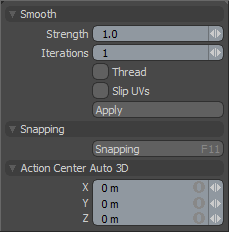
Strength: Controls the amount of smoothing applied to the model.
Iterations: Determines the number of times that Modo applies the smoothing. Combinations of both Strength and Iterations control the overall smoothing of the model.
Thread: When enabled, provides faster feedback on the smoothing results, but this can reduce overall system interactivity. On complex models it may be useful to enable this option even though the smoothing calculations are processor intensive.
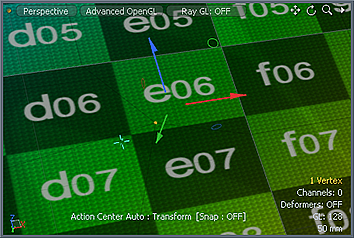
Slip UVs: When enabled, edits applied to the geometry do not change the existing UV map. UV values are generally fixed to specific vertices; therefore, further edits to the geometry may warp, deform, or otherwise distort the UV values in undesirable ways. When this happens, you may need to adjust the map or to redo it altogether. To avoid this undesirable result, you enable Slip UVs so as to not disturb any existing UV mapping applied to the geometry.

Slip UVs function disabled (notice the texture warping) |

Slip UVs function enabled (texture remains even) |
Snapping—
See the Snapping topic for details about this feature.
Action Center Auto 3D—
See the Action Centers topic for information.