Align UV
The Align tool on the Texture > UV Operations menu takes the bounding box of the selected UV vertices and moves all the vertices in the specified Direction to the line in the box indicated by the Align To option.

The options in the Align UVs dialog include:
|
Direction |
Moves the vertices in the specified direction. Both Up and Down move the vertices in the V direction. Both Left and Right move vertices in the U direction. |
|
Align to |
Determines how to align the vertices in relation to the bounding box. The following options area available: • Low is the minimum value of the box. • Average is the average of all the values. • Center is the center of the bounding box. • High is the max value of the box. |
Other Useful Alignment Tools
On the left panel, under the UV tab, displays tools to quickly align UVs up, down, left, or right.
![]()
|
Option |
Icon |
Description |
||||||||
|
Up |
|
Flattens selection to the farthest up vertex point position. Tip: Press Alt and click to align multiple edge selections.
|
||||||||
|
Down |
|
Flattens selection to the farthest down vertex point position. Tip: Press Alt and click to align multiple edge selections. |
||||||||
|
Left |
|
Flattens selection to the farthest left vertex point position. Tip: Press Alt and click to align multiple edge selections. |
||||||||
|
Right |
|
Flattens selection to the farthest right vertex point position. Tip: Press Alt and click to align multiple edge selections. |
||||||||
|
Quick Align (Auto) |
|
Rotate the UV island so that your first selected edge or the line between your two selected vertices is aligned to the nearest grid axis. (A UV island is a connected group of polygons in a UV map.)
|
||||||||
|
Quick Align (Horizontal) |
|
Rotate the UV island so that your first selected edge or the line between your two selected vertices is aligned to the horizontal axis. (A UV island is a connected group of polygons in a UV map.)
|
||||||||
|
Auto Align (Vertical) |
|
Rotate the UV island so that your first selected edge or the line between your two selected vertices is aligned to the vertical axis. (A UV island is a connected group of polygons in a UV map.)
|
||||||||
|
Island Align |
|
Moves selected UVs so that their extremities are aligned vertically (along V axis) and/or horizontally (along U axis). Each axis (U or V) has options for minimum, maximum, and center. The following Island Align options are available:
The following animation is an example using the Left, Top option.
|
||||||||
|
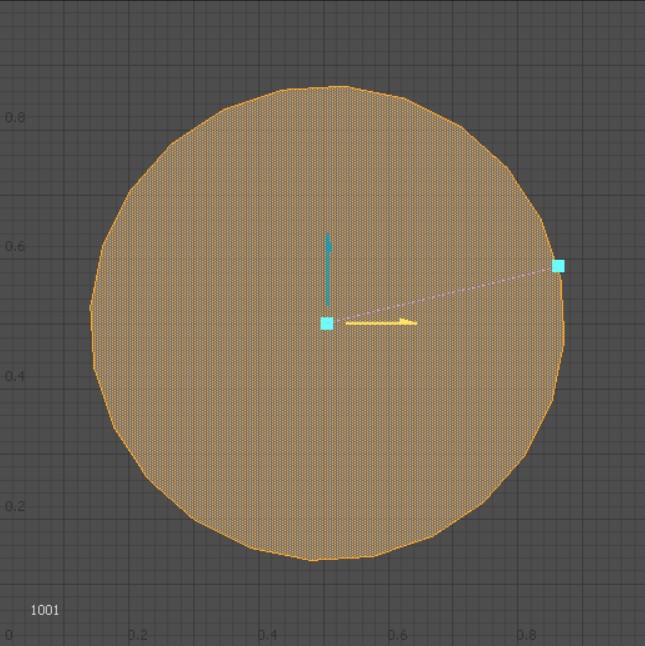
Radial Align |
|
Radial Align moves selected UV positions along a circle or polygon. When the tool is activated, Modo calculates the center and radius of selected elements based on the location of the first click in the viewport.
Note: For more information on the tool properties available within the Radial Align tool, see Radial Align. |
||||||||
|
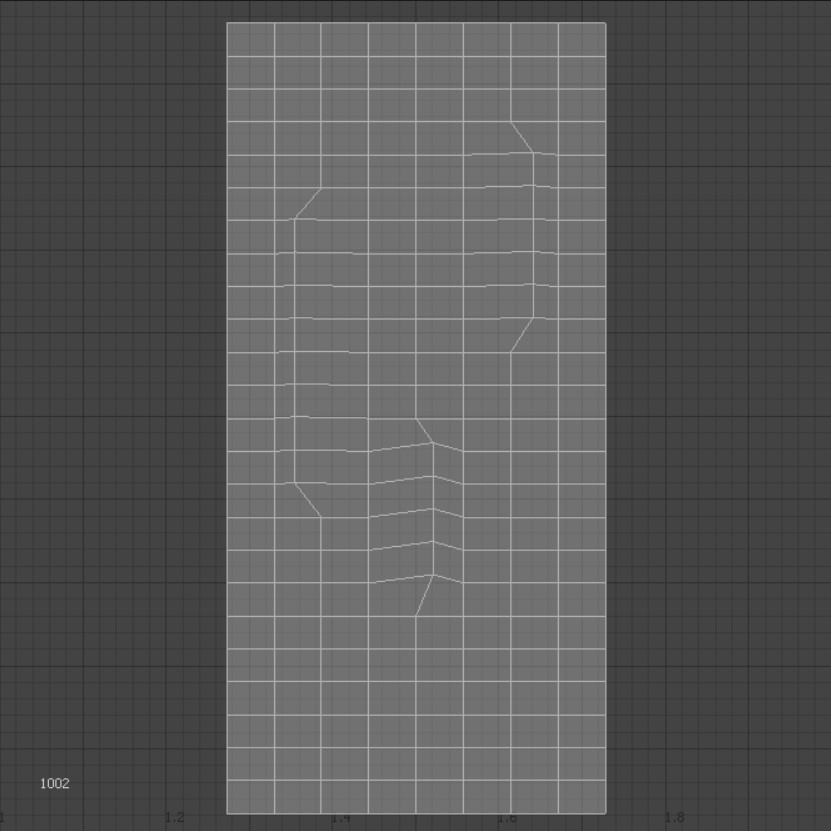
Linear Align |
|
Linear Align aligns selected UV positions along a line.
Note: For more information on the tool properties available within the Linear Align tool, see Linear Align Properties. |
||||||||
|
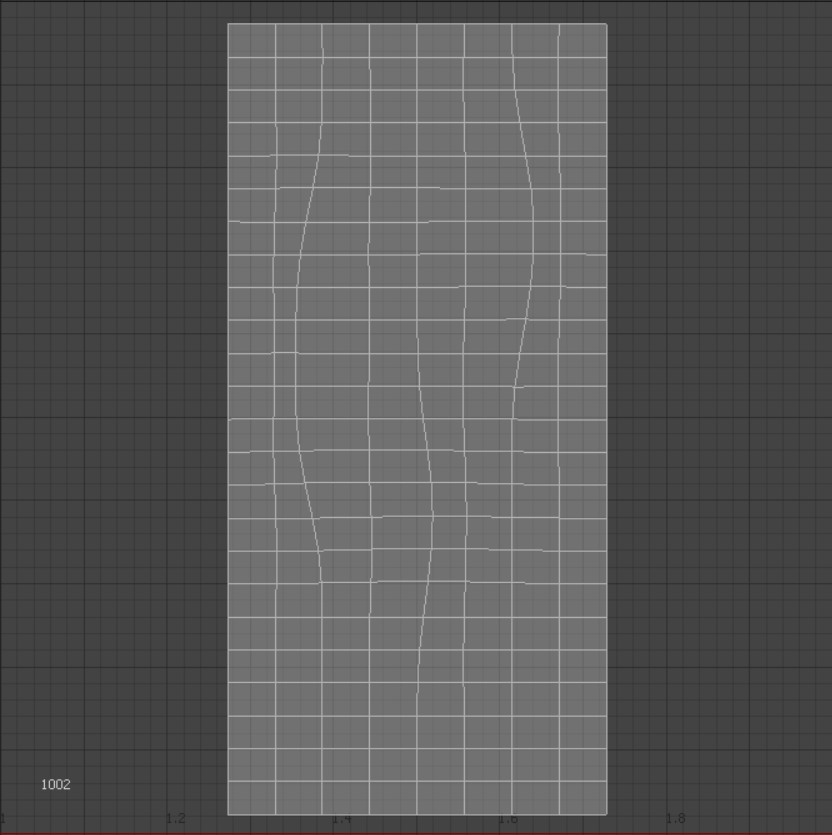
Quick Align |
|
Quick Align allows you to manipulate the alignment of UV sections by interacting with them in the 3D viewport. Note: For more information on the tool properties available within the Quick Align tool, see Quick Align Properties. |
||||||||
|
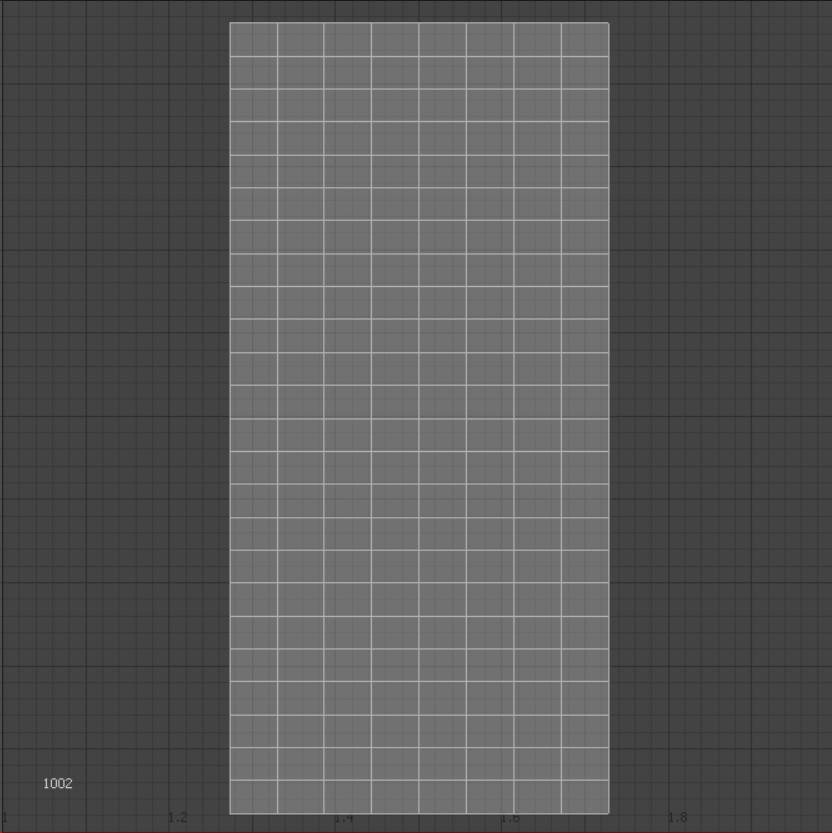
Rectangle |
Rectangle allows you to straighten quadrangle sections of UVs into rectangular sections.
|
|||||||||
|
Orient Pieces |
Orient Pieces automates the process of organizing UV islands. Orient Pieces has three modes:
|
|||||||||
|
To Origin |
Moves UV sections to the origin of a chosen UDIM. The UDIM whose origin the UV section should be aligned to can be set in the Move UVs to Origin window that opens when the tool is activated. |


Aligning a UV Island
Modo provides a number of UV alignment tools, which allows you to rotate a UV Island by making a selection of vertices or edges and selecting the appropriate rotate tool. You can align the UV island to the nearest grid axis, horizontal axis, or vertical axis. (A UV island is a connected group of polygons in a UV map.)
To apply an align UV island tool:
| 1. | Open the UV layout and select a mesh item from the Items list on the right panel. |
| 2. | From the Toolbox on the left panel, click Map and select Texture or any other UV Map you have previously created. |
The UV Island displays in the UV Viewport.
| 3. | Enable either the Vertices or the Edges selection mode and make a selection. |
| 4. | In the Toolbox on the left panel, open the UV sub-tab, expand the Align tools, and click one of the following icons. |


The UV island is aligned.
Aligning a Selection of UV Islands
Modo provides a simple workflow to align a selection of UV islands at once.
To apply alignment to a selection of UV Islands:
| 1. | Open the UV layout |
| 2. | From the Items list, on the right panel, select two mesh items. |
Two UV Islands display in the UV Viewport.
| 3. | Enable the Polygons selection mode and make a selection. |
| 4. | In the Toolbox on the left panel, open the UV sub-tab, expand the Align tools, and click the  Island Align icon. Island Align icon. |
The dropdown menu displays, listing a number of different alignment icons.
![]()
| 5. | Click one of the Island Align tools. |
The selection of UV Islands for your mesh items are repositioned to the specified location.