Quickstart Guide: Getting and Setting up a License
You will need a license for every RenderNode you have. This is because RenderNodes fetch floating licences from a license server when they run. This license server can run on the same machine as the one you’re running your Nuke Stage Editor on, or a different one if needed. It needs to be a machine that every RenderNode has network access to.
Note: Nuke Stage’s UI, Nuke Stage Editor, does not require a license to run.
To get a license key, you will need your machine’s system ID. You can find this through the Foundry Licensing Utility (FLU) - you can download the installer from this page: Foundry Licensing Tools. Unzip and run the installer file. If you’re using multiple RenderNodes, you only need to do this process on the machine running the license server (not the RenderNodes themselves).
| 1. | Within the FLU application, locate your System ID and send it to the contact details found in the onboarding email. You will then be sent your generated license key. |

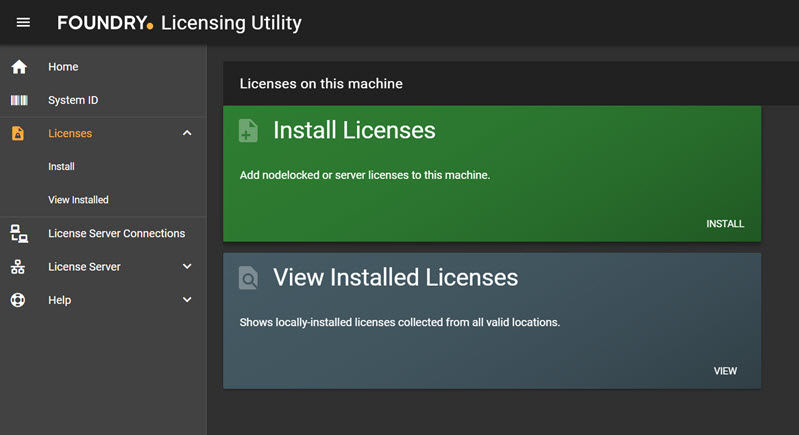
| 2. | Once you have your generated license key, you can then use the FLU to install your license automatically. To do this, go to Licenses > Install. |
| 3. | Either attach the license file that you have been provided, or simply copy and paste the license into the text field. |
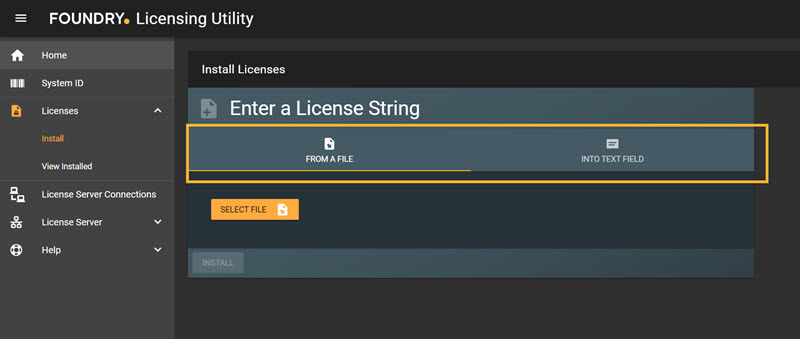
| 4. | Click Install. |
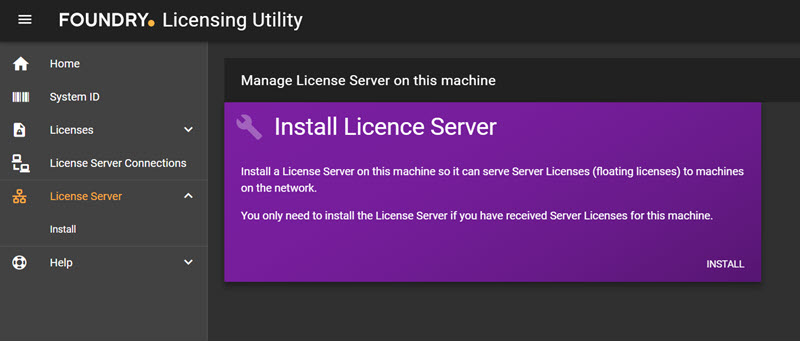
| 5. | If the machine has not run a license server before, follow the additional instructions to install and run a license server within FLU. |
| 6. | If there was already a license server on the machine, please restart the license server from the License Server > Control section to enable the new license. |
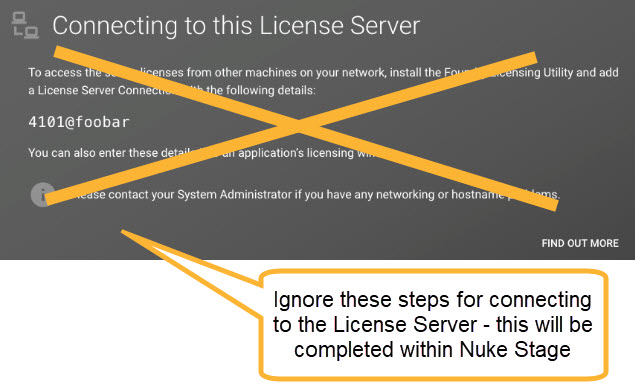
| 7. | Once you have installed the License server, you can close FLU and continue setting up the License server within Nuke Stage, which is covered in the next section. Note that you can ignore the Connecting to this License Server panel in the FLU. |
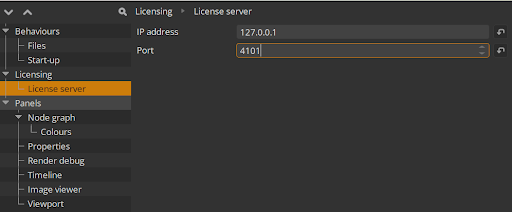
Next you need to set your license server location in Nuke Stage. To do this, open up Nuke Stage Editor. Go to Edit > Preferences > Licensing > License server. Here you can define an IP address and port for the server.
Note: The default settings (127.0.0.1:4101) are set up for a server located on the same machine as the Nuke Stage Editor. If the server is located on a different machine, these will need to be adjusted.
Confirm you have a successful connection:
| 8. | In the Network panel, when first connecting to the RenderNodes, the License column will let you know if the license has been picked up successfully: |
Unsuccessful license connection:

Successful license connection:

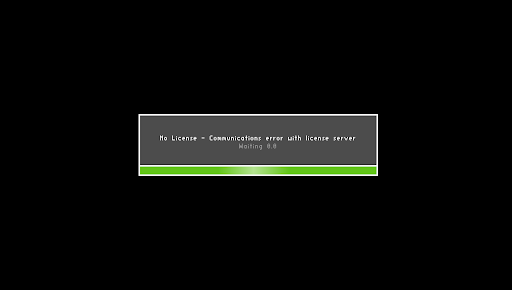
| 9. | In the RenderNode window, if you’re connected but not licensed you will see the following message: |
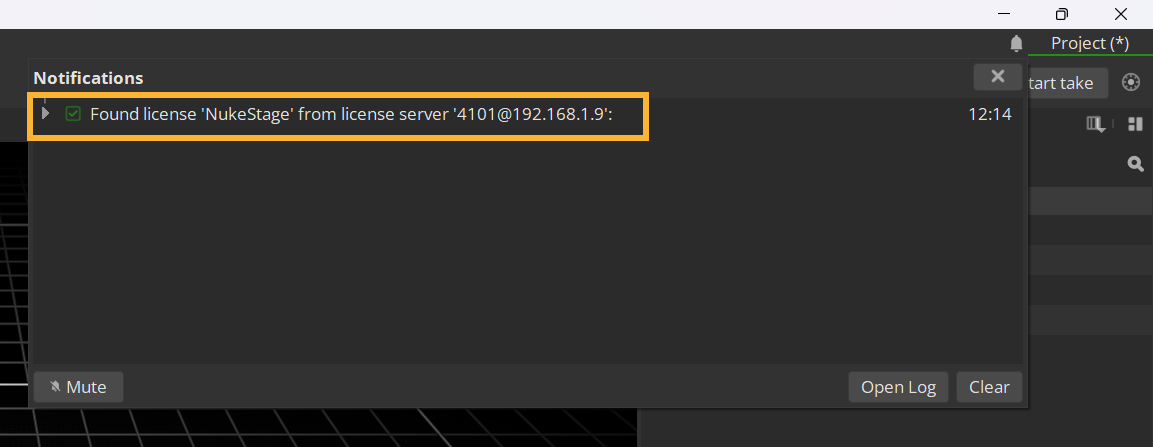
| 10. | Once the RenderNode obtains a license from the server, you will see a success message in the Notifications panel of Nuke Stage Editor. |
Successful license connection:
Unsuccessful license connection:
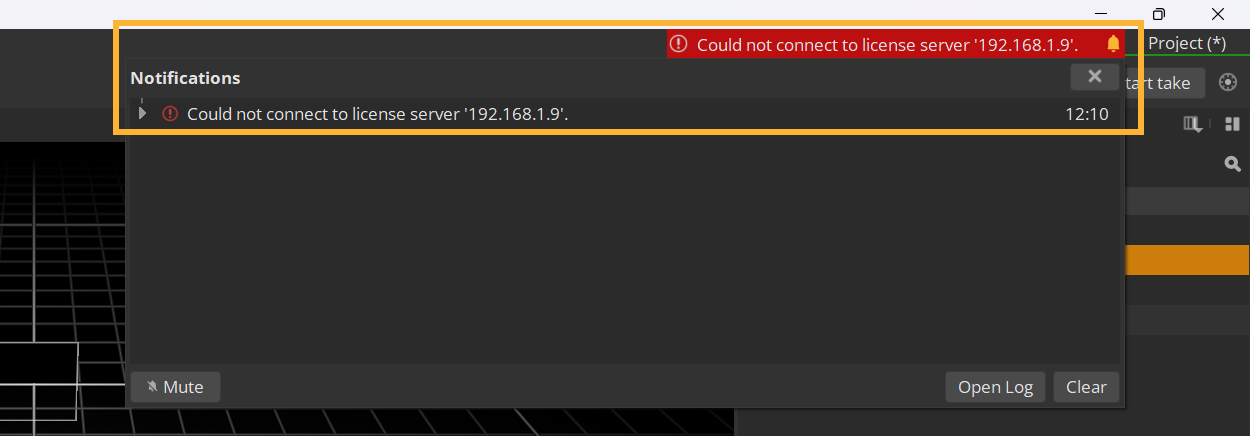
If the RenderNode fails to obtain a license, you can go through the troubleshooting steps on the User Guide Licensing page, or contact Foundry Support.
Now the license is connected, the quickest way to get up and running on Nuke Stage is by opening and running the Launcher, which we will cover in the next section Quickstart Guide: Launching Nuke Stage