Using Axis Node in Your Scene
The Axis node allows you to add input pipes, enabling more options to transform and constrain cameras.
• The Axis node works similarly to the Camera node. You can use Import From File or Source Prim knobs to import data.
• If you have the Live Read knob enabled, any updates you make to the Axis knobs will be updated live and there is no need to manually export it. The Axis node is then able to be connected to other nodes where you want to use that data via an axis input.
• You can push an Axis created in Nuke to your USD stage using the Output Prim Path.
• The Axis node’s Xform Extract Options controls work the same way as the Camera node. See Xform Extract Options to learn more.
• There are various Transform options in the Axis node's Properties. Using Transformation Tools to learn how to use them.
• The Axis node includes Constrain options. You can see an example of this below, at more information at Constraining Prims.
Note: You can find more information on the controls in the Node Reference Guide - Axis.
Using the Look At Input
For example, you can connect an Axis node to a Camera’s look at input so that the camera rotates to face the axis, wherever it is moved.
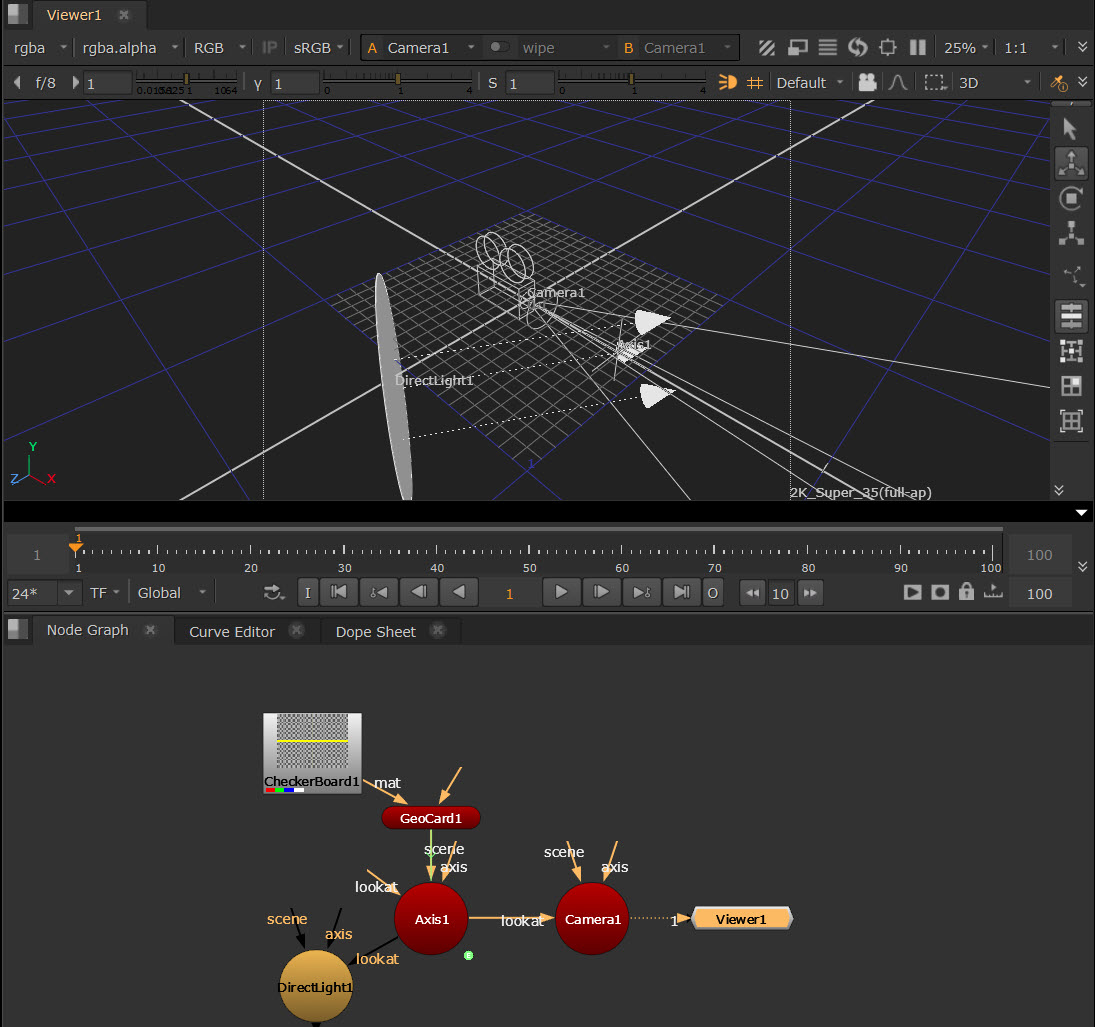
If you animate a card to move along the x axis, you can attach a camera and a light node with the look at inputs so that they automatically rotate and face the card as it moves. To do this, complete the following steps:
| 1. | After animating your GeoCard, insert an Axis node. |
| 2. | Expression link the Axis node to the GeoCard node by holding Ctrl, clicking on the translate animation button in the GeoCard node's properties, and dragging it to the translate animation button in the Axis node's properties. The expression link is displayed as a green line with an arrow denoting the direction of the expression. See Linking Expressions for more information. |
| 3. | Insert a Camera node and either drag the camera to the required position in the Viewer, or use the Camera node properties to adjust the position of the camera. |
| 4. | Connect the Camera's look at input to the Axis node. |
Note: If you amend the Type in the Constrain section, the input pipe switches label depending on which constrain type is selected. Learn more about constraint at Constraining Prims.
| 5. | Insert a light node, such as DirectLight, and drag the light to the required position in the Viewer, or use the light node properties to adjust the position of the camera. |
| 6. | Connect the light node's look at input to the Axis node. |
| 7. | Playback your animated card and notice that the camera and light follow the animated card. |