
To review the results:
| 1. | Zoom in to review the results. |
| 2. | To compare the denoised image with the original, press D on the Denoise node repeatedly to disable and re-enable it. |
|
|
|
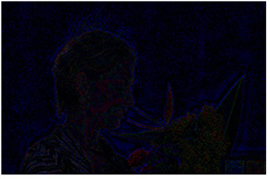
| The original image. | The denoised image. |
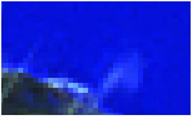
| 3. | It can also be useful to look at the noise that was removed from the original image. To do so, set Output to Noise. |
Only noise should be visible in this image. If you can see a lot of picture detail, it means the current settings are making Denoise work too hard and remove too much of the image, which leads to a soft result.
|
|
| If you can see picture detail in the Noise output, too much of the image is being removed. |
| 4. | To emphasize detail and highlight the edges that are kept, you can temporarily set Sharpen to a higher value. This affects any pixels that fall above the Roll Off threshold. The default value of 0 applies no sharpening. |
| 5. | To blend the denoised luminance with the image’s original luminance, you can temporarily increase Luminance Blend. This brings back some of the image detail in the result. You might want to have this set to 1, for example, when you’re working on denoising the footage, but for the final result, you’ll want to decrease it. The default value is 0.7. |
| 6. | If you’re not happy with the results, you can try: |
• moving the analysis box to a different, flat area of the image,
• analyzing on a different frame (by moving to a different frame and clicking Analyze Noise), or
• tweaking the Denoise controls (Denoise Amount, Roll Off, and Smoothness in particular). Proceed to Fine Tuning.