After animating your shapes, you can apply motion blur to individual shapes in the shape list or to the all shapes in the current node using the controls in the properties Motion Blur tab.
Shape Blur determines the exposure for each moving shape and blends the resulting blurred shapes. This may be more efficient than the global motion blur since each shape will only be blended once.
NOTE: Shape motion blur may result in artifacts when shapes blur over the same region.
To apply shape motion blur:
| 1. | Select the target shapes in the shape list or in the Viewer. |
| 2. | In the properties panel, select the Motion Blur tab and make sure that shape mode is enabled. |
| 3. | Check the on box next to the motionblur field to apply motion blur to your shape. If you don’t want any motion blur on your shape, leave the on box unchecked. |
TIP: You can also toggle motion blur on and off in the shape list by clicking in the motion blur column for each shape ![]() .
.
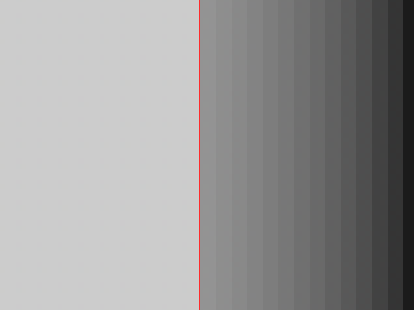
| 4. | In the Shape Blur > motionblur field, enter the sampling rate. This affects the number of times the input is sampled over the shutter time. The higher the rate, the smoother the result. In many cases, a value of 1.0 is enough. |
|
|
|
| A motionblur value of 0.5 produces less samples. | A higher value, in this case 2.0, produces a smoother blur. |
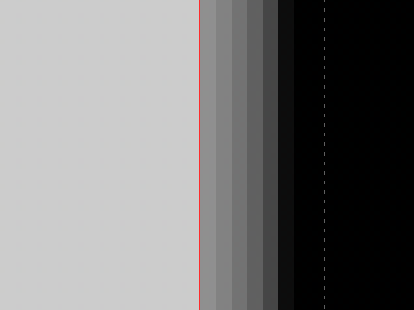
| 5. | In the shutter field, enter the number of frames the shutter stays open when motion blurring. For example, a value of 0.5 would correspond to half a frame. Increasing the value produces more blur, and decreasing the value less. |
|
|
|
| A shutter value of 0.2 produces less blur. | A higher value, in this case 1.0, produces more blur. |
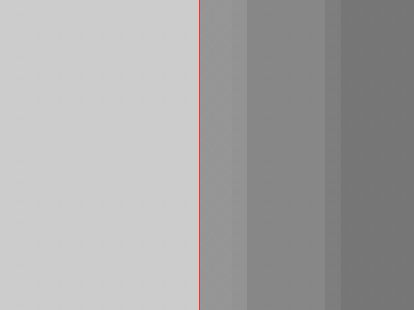
| 6. | Adjust the shutter offset using the shutter offset dropdown menu. The different options control when the shutter opens and closes in relation to the current frame value. Select: |
• centered - to center the shutter around the current frame. For example, if you set the shutter value to 1 and your current frame is 30, the shutter stays open from frame 29.5 to 30.5.
• start - to open the shutter at the current frame. For example, if you set the shutter value to 1 and your current frame is 30, the shutter stays open from frame 30 to 31.
• end - to close the shutter at the current frame. For example, if you set the shutter value to 1 and your current frame is 30, the shutter stays open from frame 29 to 30.
|
|
|
|
| Centering the shutter around the current frame. | Opening the shutter at the current frame. | Closing the shutter at the current frame. |
• custom - to open the shutter at the time you specify. In the field next to the dropdown menu, enter a value (in frames) you want to add to the current frame. To open the shutter before the current frame, enter a negative value. For example, a value of - 0.5 would open the shutter half a frame before the current frame.
Global Blur correctly accounts for interaction between motion blurred shapes. This may be more expensive than the shape motion blur since it may blend each shape for every sample, in the same way as TimeBlur. See Applying the TimeBlur Filter for more information.
Global motion blur requires that shutter and sampling parameters are the same for all shapes and has been optimized for consecutive shapes with the same properties using the over blend mode.
NOTE: Global motion blur overrides per-shape motion blur, applying your settings to all shapes in the current node's shape list.
To add global motion blur:
| 1. | In the properties panel, select the Motion Blur tab and make sure that global mode is enabled. |
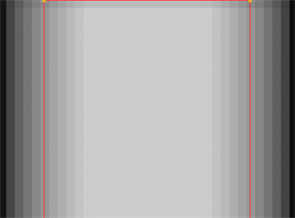
| 2. | In the Global Blur > motionblur field, enter the sampling rate. This affects the number of times the input is sampled over the shutter time. The higher the rate, the smoother the result. In many cases, a value of 1.0 is enough. |
|
|
|
| A motionblur value of 0.5 produces less samples. | A higher value, in this case 2.0, produces a smoother blur. |
| 3. | In the shutter field, enter the number of frames the shutter stays open when motion blurring. For example, a value of 0.5 would correspond to half a frame. Increasing the value produces more blur, and decreasing the value less. |
|
|
|
| A shutter value of 0.2 produces less blur. | A higher value, in this case 1.0, produces more blur. |
| 4. | Adjust the shutter offset using the shutter offset dropdown menu. The different options control when the shutter opens and closes in relation to the current frame value. Select: |
• centered - to center the shutter around the current frame. For example, if you set the shutter value to 1 and your current frame is 30, the shutter stays open from frame 29.5 to 30.5.
• start - to open the shutter at the current frame. For example, if you set the shutter value to 1 and your current frame is 30, the shutter stays open from frame 30 to 31.
• end - to close the shutter at the current frame. For example, if you set the shutter value to 1 and your current frame is 30, the shutter stays open from frame 29 to 30.
|
|
|
|
| Centering the shutter around the current frame. | Opening the shutter at the current frame. | Closing the shutter at the current frame. |
• custom - to open the shutter at the time you specify. In the field next to the dropdown menu, enter a value (in frames) you want to add to the current frame. To open the shutter before the current frame, enter a negative value. For example, a value of - 0.5 would open the shutter half a frame before the current frame.