Sorting and Searching Media
Nuke Studio's Project panel includes several sorting and searching methods so you can organize, manage, and navigate through media more easily. You can sort items alphabetically, by type, or manually and select the appearance of media within bins. The search functionality allows you to enter strings and apply searches on all or partial matches. You can control the poster frame displayed by items in the project, selecting either an absolute or relative frame.
You can also color-code items in the Project panel and timeline to quickly sort and locate media. See Color-coding Source Clips and Shots for more information.
Sorting the Project Panel
The Project panel can be sorted in the left-hand directory side and right-hand file side independently, though files have more sorting and display options.
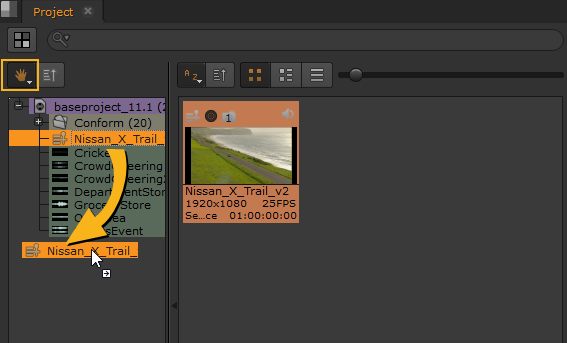
In the left-hand directory pane, items are sorted alphabetically in ascending order by default. To sort project items manually:
| 1. | Click and hold, or right-click, the sorting dropdown and select Manual. |
| 2. | Drag-and-drop items into your preferred order. |
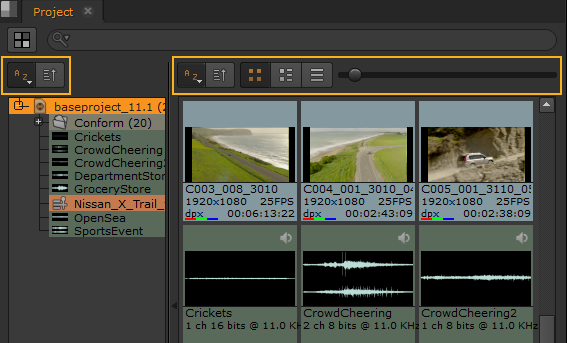
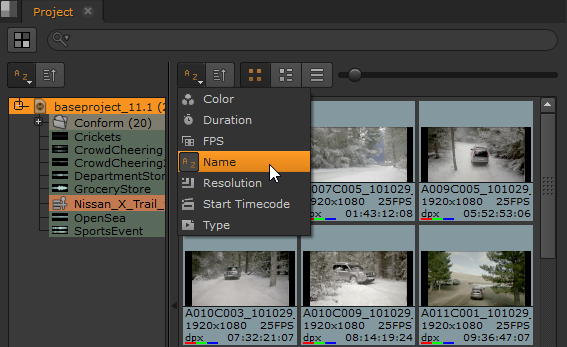
The right-hand bin pane is also sorted alphabetically in ascending order by default, and there are more options available in the sorting dropdown. Click and hold the dropdown to display the various options, including Duration, Resolution, and Type.
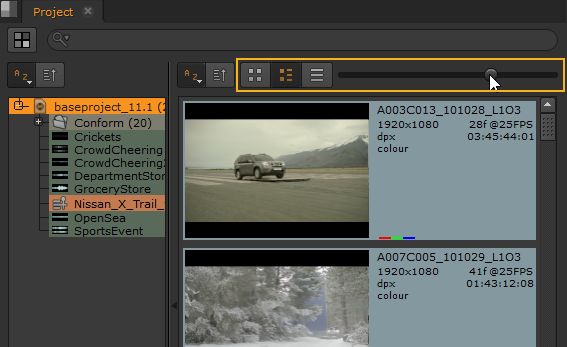
You can also change the layout and size of items in the right-hand bin pane. Choose a layout from thumbnails, list, and details and use the slider to determine the size of the items. The slider is disabled in details mode.
Searching for Media
Nuke Studio's search functionality allows you to enter strings and apply searches on all or partial matches with the option to include metadata searches. Nuke Studio searches for items that match any of the input string and displays only those items by default.
Tip: Nuke Studio also examines file metadata for the search string by default, but you can disable this behavior by disabling Include Metadata in the search dropdown.
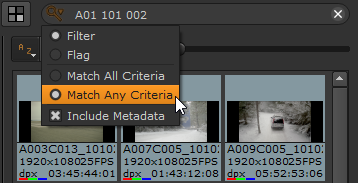
• Match All Criteria - media that matches all the entries in the search string are matched. For example, entering A01 DPX only matches media containing both A01 and DPX.
• Match Any Criteria - media that matches any of the entries in the search string are matched. Using the same example, A01 DPX matches any media containing A01 or DPX.
Tip: This functionality extends to the media spreadsheet if you prefer to search for items there. See About the Media Spreadsheet for more information.
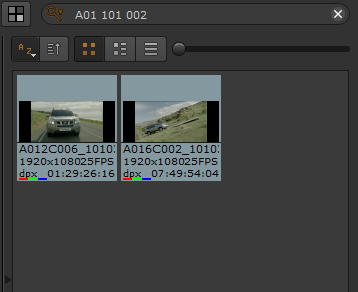
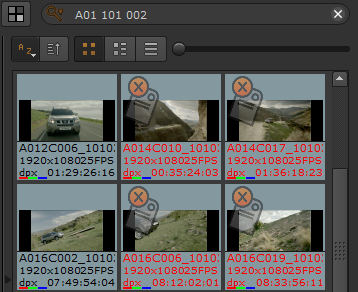
Filtering and flagging produce the same search results, but they are presented differently. Filtering only displays files that match some or all of the search string, whereas flagging displays all content and flags files that don't match some or all of the search string.
|
|
|
|
Filtering ... |
... and Flagging |
You can also filter and flag media by tag. See Filtering and Flagging Media Using Tags for more information.
Setting Poster Frames
You can assign poster frames to image items in the Project panel so that they represent the frames you intend to use if your sequences. This is particularly useful if your source clips contain handles of blank frames at the beginning of the footage.
To set a poster frame for source clips:
| 1. | Select the clip or clips in the Project panel. |
| 2. | Right-click the selection, and select Set Poster Frame. |
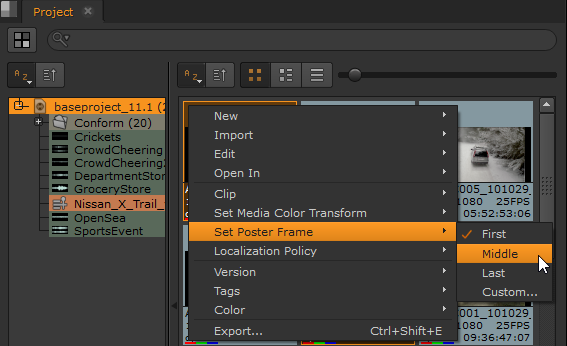
| 3. | Select a preset frame or click Custom to select an absolute or relative frame as the poster frame for the source clip: |
• Absolute - the poster frame number is derived from the file(s) on disk. For example, a .dpx sequence myClip.####.dpx 1001-1500 can have an absolute poster frame between 1001 and 1500.
• Relative - the poster frame number is derived from the number of frames in the clip starting at 0. For example, a .dpx sequence myClip.####.dpx 1001-1500 can have a relative poster frame between 0 and 499.
Note: If you select more than one source clip, you can't set an Absolute frame as the poster frame.