Search is based on keyword.
Ex: "Procedures"
Do not search with natural language
Ex: "How do I write a new procedure?"
Hue Shift Node
Access: Nodes > Filter > Hue Shift
The Hue of a Tiled node being adjusted with the Hue Shift node.
The Hue Shift node is a node that allows you to edit the color of your input. It does not change the saturation or value of the input so it has little to no effect on an image with mostly grayscale values.
For more color correction options, an HSV Node or HSL Node may be useful too.
Tip: Color correcting tiled textures and images in your resource manager is a great way to re-use textures and keep your scene tidier.
Hue Shift Node Inputs
Input: The Hue Shift node adjusts this input.
Hue Shift Node Properties
|
Hue Shift text field, slider |
Changes the hue of the input. By moving the slider either left or right, the hue cycles through the color spectrum. A value of 0 is the hue that your input is.
Default is 0. |
Hue Shift Node Workflow Example
Reusing Textures with Hue Shifting
Here we have a creature that was textured using a base tiled skin texture. However, while the tongue a similar texture, it’s more of a pinky tone. It would be great if we can reuse the texture rather than finding another one.
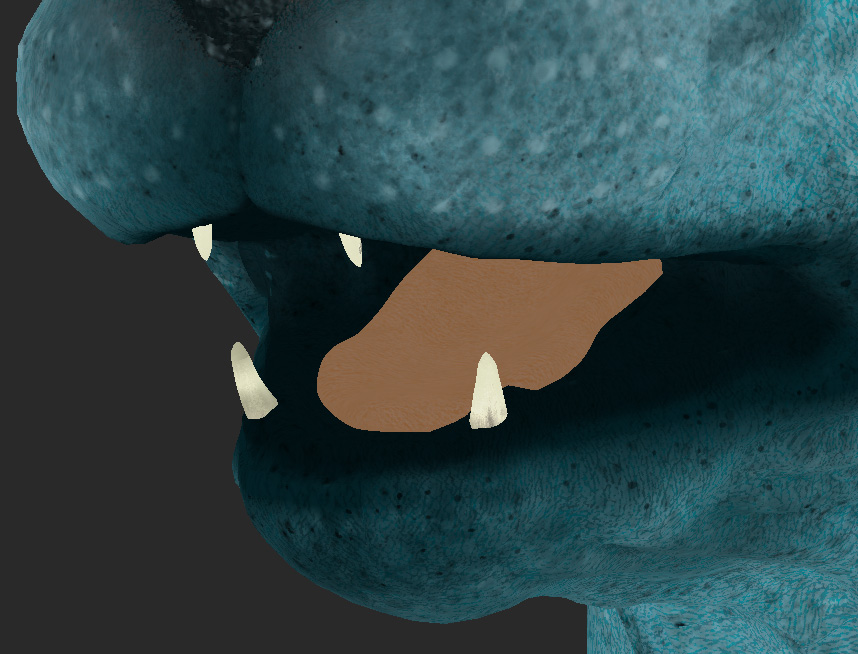
While it’s a good base for our textures, the color of the tongue is wrong.
To reuse that texture for that part of the mesh, a Hue Shift node can be added. By merging it on top of the Node Graph so far and masking off the tongue, a redder version of that texture can be used to correct the issue. As you can see below with a few simple nodes, it can be sorted and we have a great base for the tongue.

A simple node setup to add the corrected tongue texture into the Node Graph.
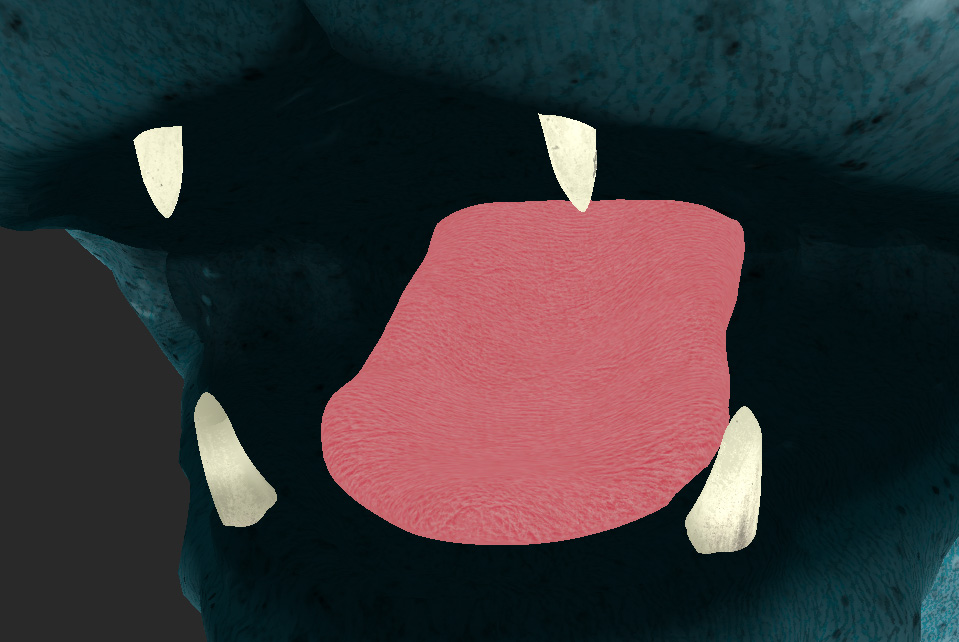
Below is an example of the mask being used.

This mask makes sure the Hue shifted texture is only added to the isolate tongue.
This is now a good base to start adding extra texture detail on top of. If you had a grass tiled image, you can use a Hue Shift node to make it more brown, and very quickly you have a desert grass variation.
Related Nodes
Sorry you didn't find this helpful
Why wasn't this helpful? (check all that apply)
Thanks for your feedback.
If you can't find what you're looking for or you have a workflow question, please try Foundry Support.
If you have any thoughts on how we can improve our learning content, please email the Documentation team using the button below.
Thanks for taking time to give us feedback.