Search is based on keyword.
Ex: "Procedures"
Do not search with natural language
Ex: "How do I write a new procedure?"
Saturation Node
Access: Nodes > Filter > Saturation
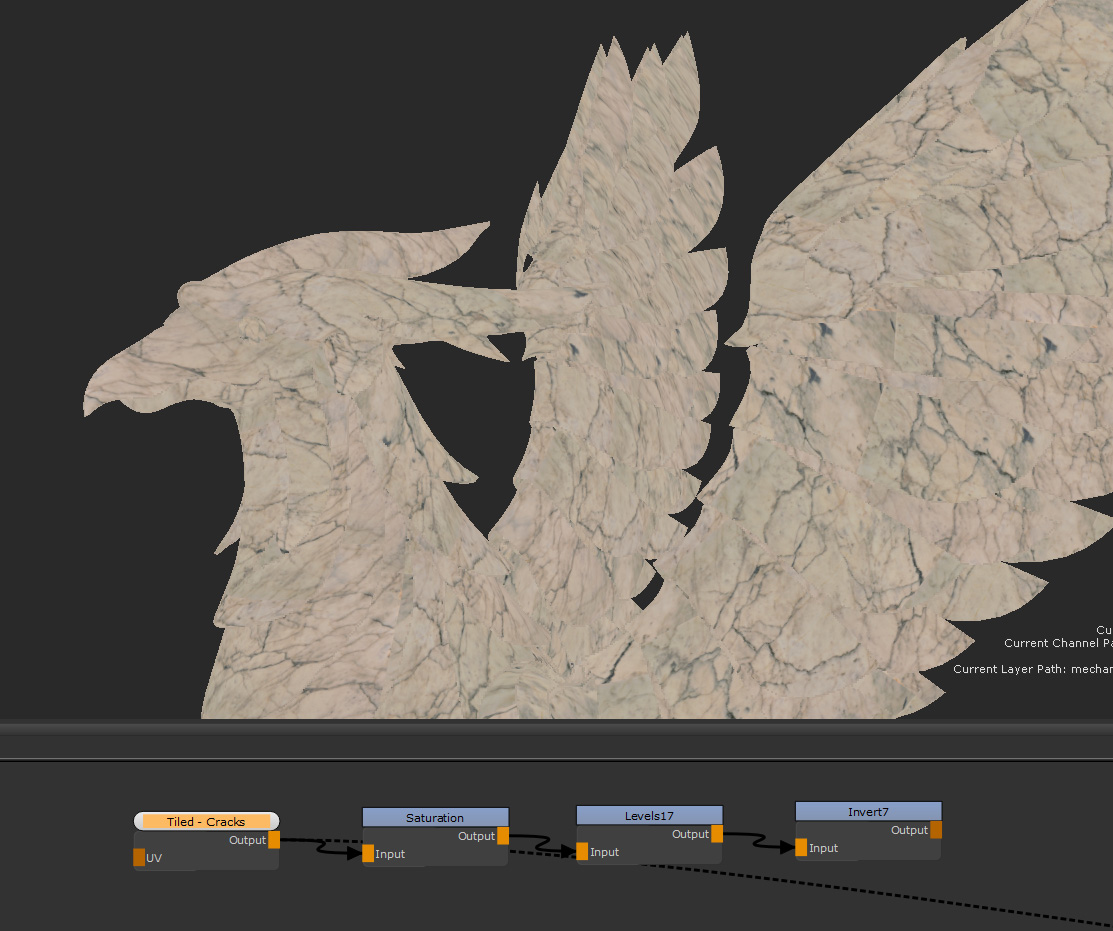
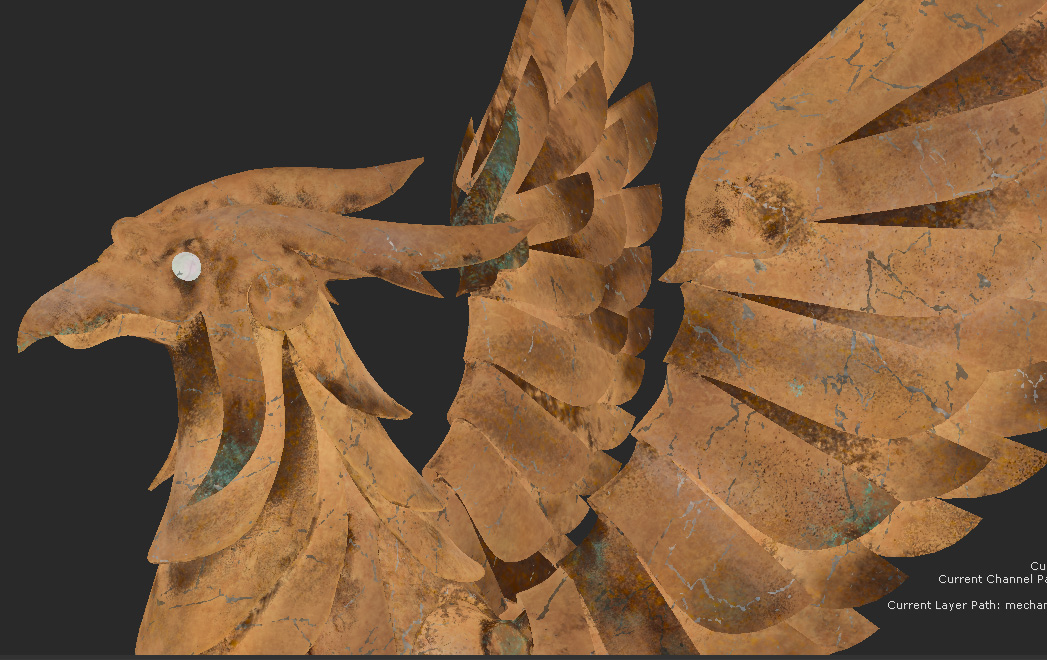
The Saturation node allows you to edit your inputs saturation.
The results of the Saturation node.
The Saturation node is a useful node for situations where you have imported images that don’t quite match your textures because they have too much or too little saturation. You can also use it to create a black and white image for masking from an image with color data.
Saturation Node Inputs
Input: Saturation node adjusts this input.
Saturation Node Properties
|
Saturation text field, slider |
A modifier to the amount of saturation the output has. Moving the slider to the left down to 0 will turn your input into a greyscale texture, where as sliding it right will make the texture more saturated. Default is 1. |
Saturation Node Workflow Example
Desaturating to make a Mask
To create a mask from an image in your Image Manager, you can use a Saturation node to desaturate it. In the example is an image of marble which has been desaturated. It’s a great texture to make a crack mask out of, let's break down how that has been achieved .
Using Saturation node lets you change Saturation to 0, resulting in a grayscale version of the image.
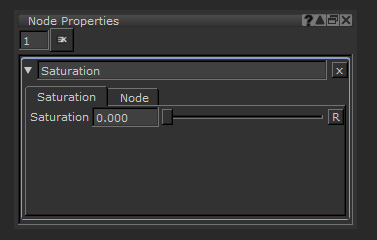
The value of the Saturation node.
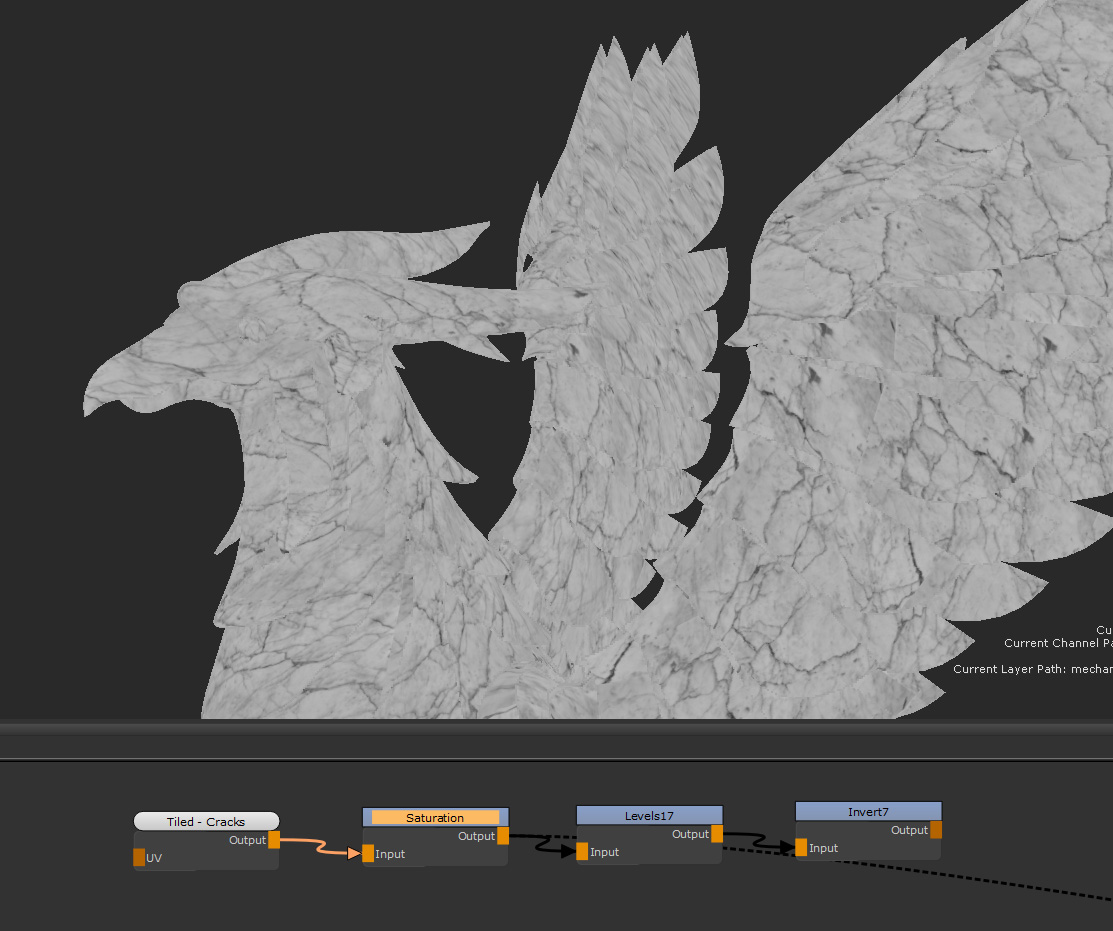
The desaturated Tiled image.
You can then use a Levels node to add contrast to the image to get just the cracks to show.
Then, an Invert node can be used if you want to use the cracks as a mask. This image is now ready to be used for anything. You could use it as a mask for another set of nodes, or merge it straight on top of your textures.
In this example, it has been used with a Merge node to add another tiled texture over the current base color.
Using the newly created mask to add a grunge texture in a cracked formation.
Using imported images in multiple ways, like making a mask from image with a Saturation node is a great way to keep your scene cleaner and helps you be more versatile as a texture artist!
Related Nodes
Sorry you didn't find this helpful
Why wasn't this helpful? (check all that apply)
Thanks for your feedback.
If you can't find what you're looking for or you have a workflow question, please try Foundry Support.
If you have any thoughts on how we can improve our learning content, please email the Documentation team using the button below.
Thanks for taking time to give us feedback.