Creating Geometry on a Mesh Using Preset Shapes
Primitive slice allows you to cut geometry on a mesh using a preset shapes or curves and is available as both a direct and procedural modeling tool.
The Primitive Slice tool is found under the Edit tab.
|
Name |
Example |
Description |
|---|---|---|
|
Rectangle |
|
Creates a rectangle 2D projection |
|
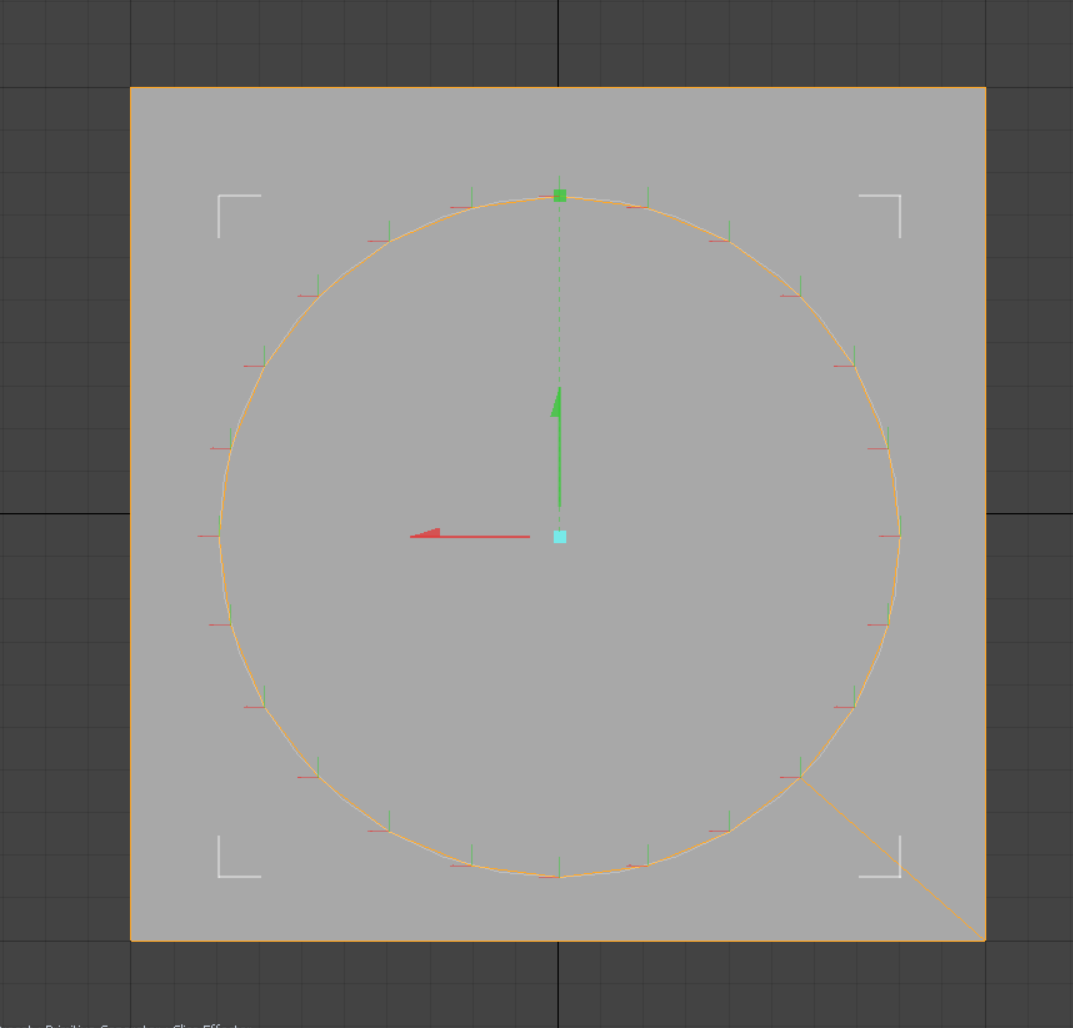
Circle |
|
Creates a circle 2D projection |
|
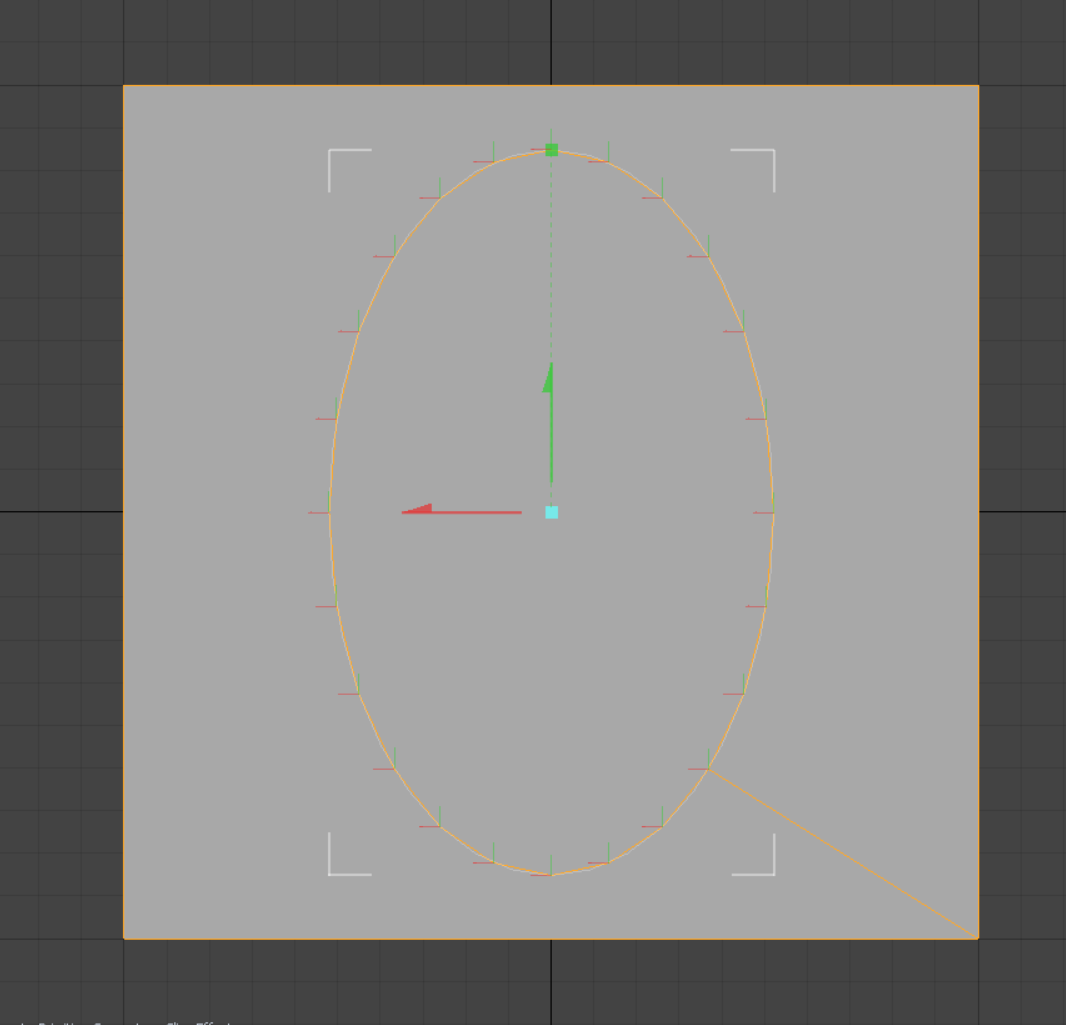
Ellipse |
|
Creates an ellipse 2D projection |
|
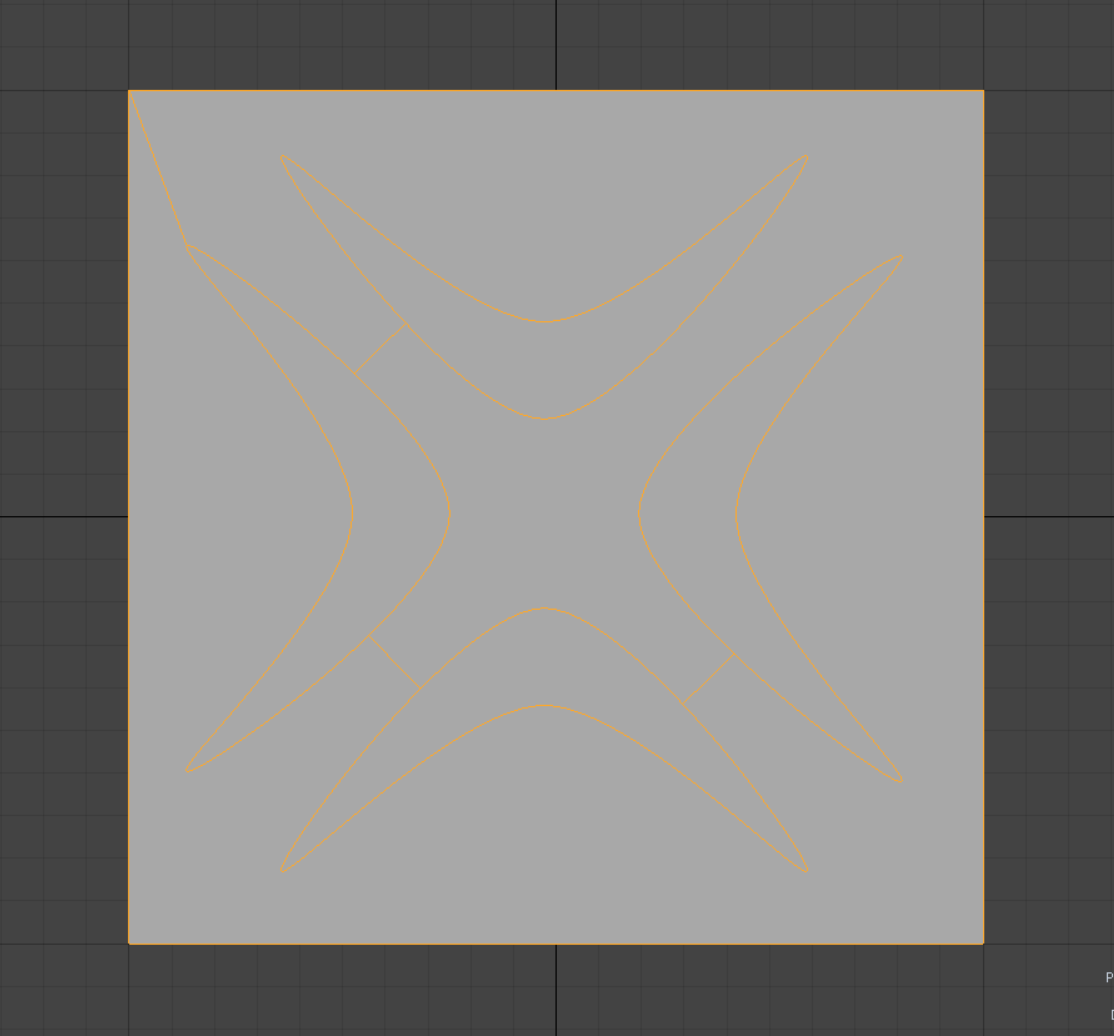
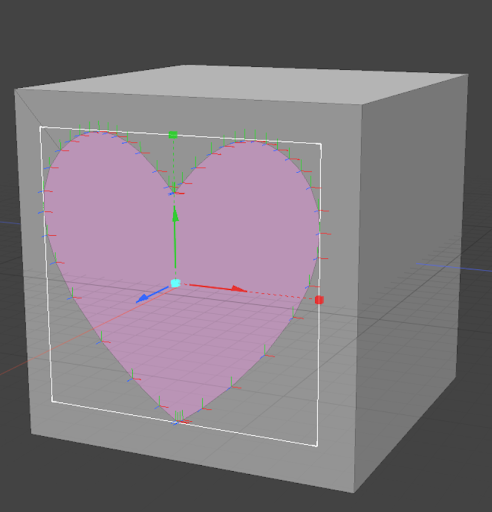
Preset |
|
Allows you to drive a slice using one of the profiles that Modo comes packaged with or with a profile that you have generated yourself. |

Tip: You can also create a Rounded Rectangle by adjusting a Rectangle’s Corner Radius and Exponent options under the Primitive Generator tab in the Tool Properties menu.
How to Cut a Shape Using Primitive Slice
To use the Primitive Slice tool:
- Create a new mesh
- Navigate to the Edit tab, and enable the Primitive Slice tool
- With the tool enabled, select what Type you want your slice to be. You can assign what type of shape you want your 2D projection to be by selecting one of the four primitive types from the Type dropdown in the tool's properties window.
- With your type assigned, click where on the mesh you want the slice applied
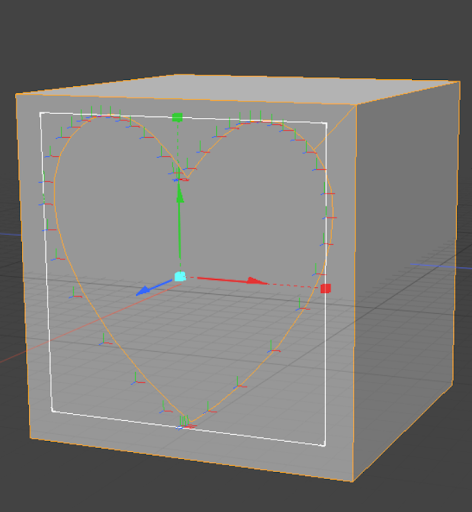
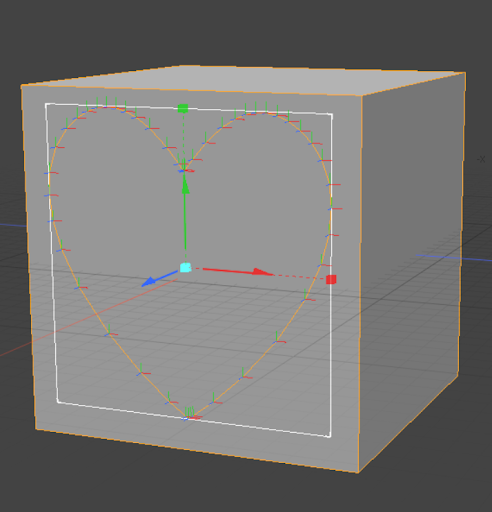
Depending on the size of the mesh you created, you may need to resize the 2D projection. This can be done by clicking and dragging the scale handles or dragging the corners of the bounding box around the 2D projection
2D Projections stay live until you drop the tool, so they can be moved from face to face by clicking within the viewport.
Tip: To keep the aspect ratio of your shape as you resize it, go to Profile Attributes in the Tool Properties menu and check Keep Aspect.
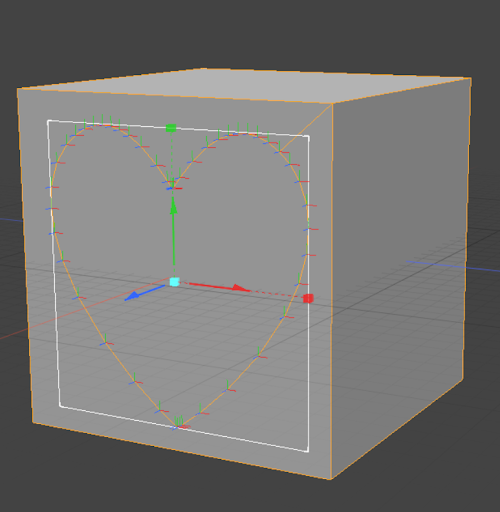
In addition to being scaled and translated, slices can also be rotated while the tool is live. This can be done by enabling Show Rotate Handles under the Primitive Generator tab in the Tool Properties menu.
Rotation can also be adjusted by changing the values in the Pitch, Bank, and Heading channels.
Cutting Types for the Primitive Slice
|
Name |
Example |
Description |
|---|---|---|
|
Core |
|
Everything outside of the 2D outline projected onto your mesh item is cut away. |
|
Stencil |
|
Projects the 2D outline onto your mesh item and applies an assigned material to the new geometry within the outline. Materials can be assigned via the Material input under the slice effector tab when stencil is enabled. This operation does not remove any mesh. |
|
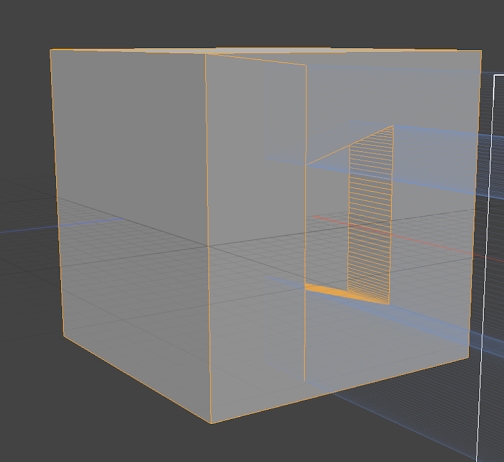
Tunnel |
|
The 2D projection is used as an outline, and any mesh that exists within it is removed. This operation is also repeated on the face opposite the face your curve is projected on, creating a hole through the whole mesh. |
|
Slice |
|
The 2D Projection acts as an outline projected onto your mesh. This operates in the same way as Stencil but does not impact the surface material. |
|
Union |
|
Combines the 2D projection with your mesh item and removes any overlapping geometry |
|
Intersect |
|
A mesh is created where the Mesh item and 2D projection overlap, while all sections where the Mesh item and 2D Projection do not overlap are removed. |
|
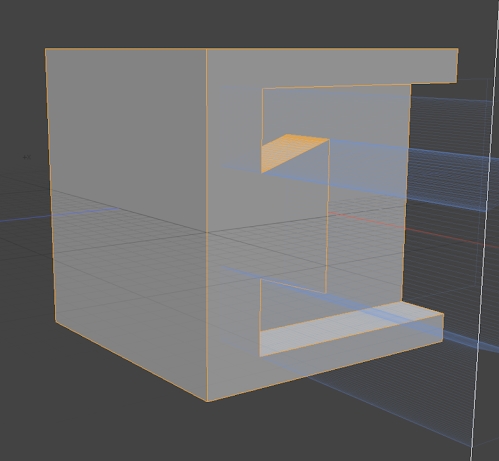
Subtract |
|
The 2D projection is used as an outline, and any mesh that exists inside of it is removed |
|
Add |
|
The 2D projection and Mesh Item are joined together to create a single mesh. |


Primitive Generator Clone Options
Primitive Generator allows you to duplicate a primitive shape along the X and Y axis for repeated shapes to use for your slice.
Clone X, Y - Sets the number of cloned primitives along X and Y directions.
Clone Gaps X/Y - Sets the gap size between cloned primitives along X and Y directions.
Center - Moves the bounding box center of the cloned primitive to the Center position.
Extending Open Edges
You may find that curves aren’t closed and are left open-ended with some presets and open-ended curves with certain operations, such as Subtract or Tunnel, may produce unwanted results. The Primitive Slice tool allows you to extend the edges of open curves and fine-tune your profiles to get the correct result.
To extend open edges, change the value in the Extend Open Edge channel under Profile Attributes in the Tool Properties menu.
|
|
|
|
Slice without extended edge. |
Slice with edge extended. |
Lazy Apply
Lazy Apply allows you to speed up the performance of the Primitive Slice tool by hiding the preset that is drawn on the mesh until your left mouse button is released. Once released, the preset becomes visible on the mesh. While drawing a preset, you are shown a bounding box that represents the size of the preset you are drawing onto your mesh.
|
|
|
|
Lazy Mode enabled |
Lazy Mode disabled |
Edit From Center
Edit From Center allows you to click on your mesh and then draw a primitive with that point acting as the center. This is useful, as it allows you to create uniform primitives from a central starting point. Uniform primitives can also be created by holding Ctrl/Cmd as you draw the primitive.
You can re-size the shape and continue to edit from the center while maintaining your size ratio by right-clicking and dragging up and down in the viewport. The right-click and drag action is assigned as an OmniHaul default preset, and can be changed to any other mouse action by holding your left, right or middle mouse button over the Half Size X and Half Size Y parameters and then dragging up and down, or left to right.
Note: For more information on OmniHaul, see OmniHaul.
Alternatively, you can manually adjust the Half Size X and Half Size Y in the tool Properties to adjust the size of your drawn shape while maintaining your aspect ratio and center point.