Rendering with mPath
mPath is a ground-up redesign of the Modo renderer, with dramatic reduction in controls, versatile hybrid compute capabilities, and granular refinement features. It offers many improvements over the
Note: Multiple GPUs are not currently supported by the mPath renderer.
If you have scenes with many lights and you want to render out separate light passes, mPath is a better option for you over the Default renderer as each light can be rendered to a separate render output as part of one single render process. This dramatically reduces render times and improves flexibility in compositing workflows.
Note: See Render Outputs Per Light for more information.
|
|
|
|
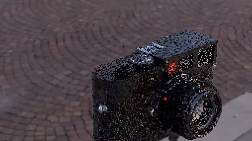
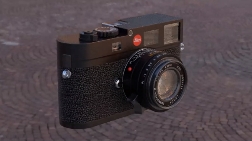
The Final Color output for this render, rendered using mPath. |
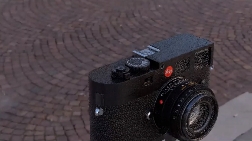
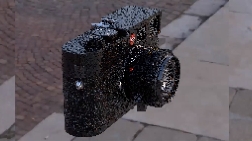
The Light Path Expression output generated for the light tagged "lumi" in the light's LPE Label. |
|
|
|
|
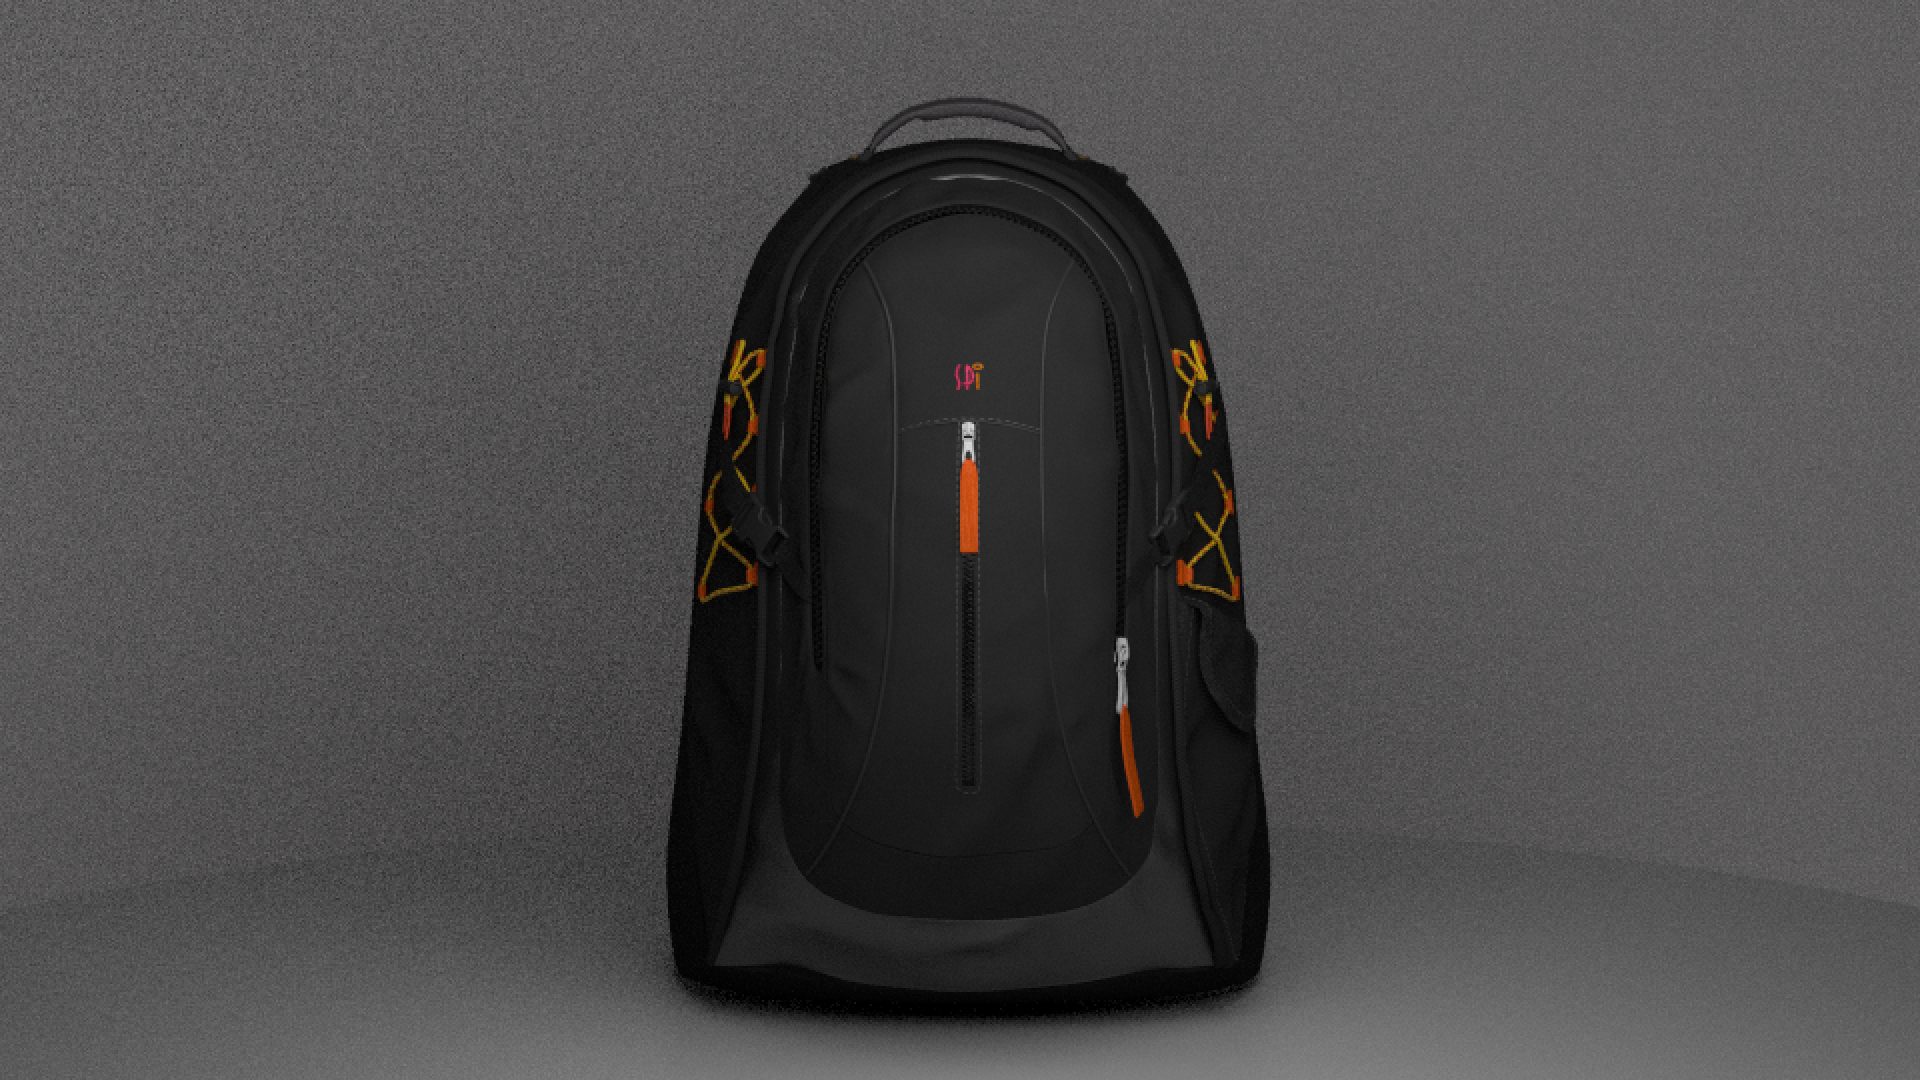
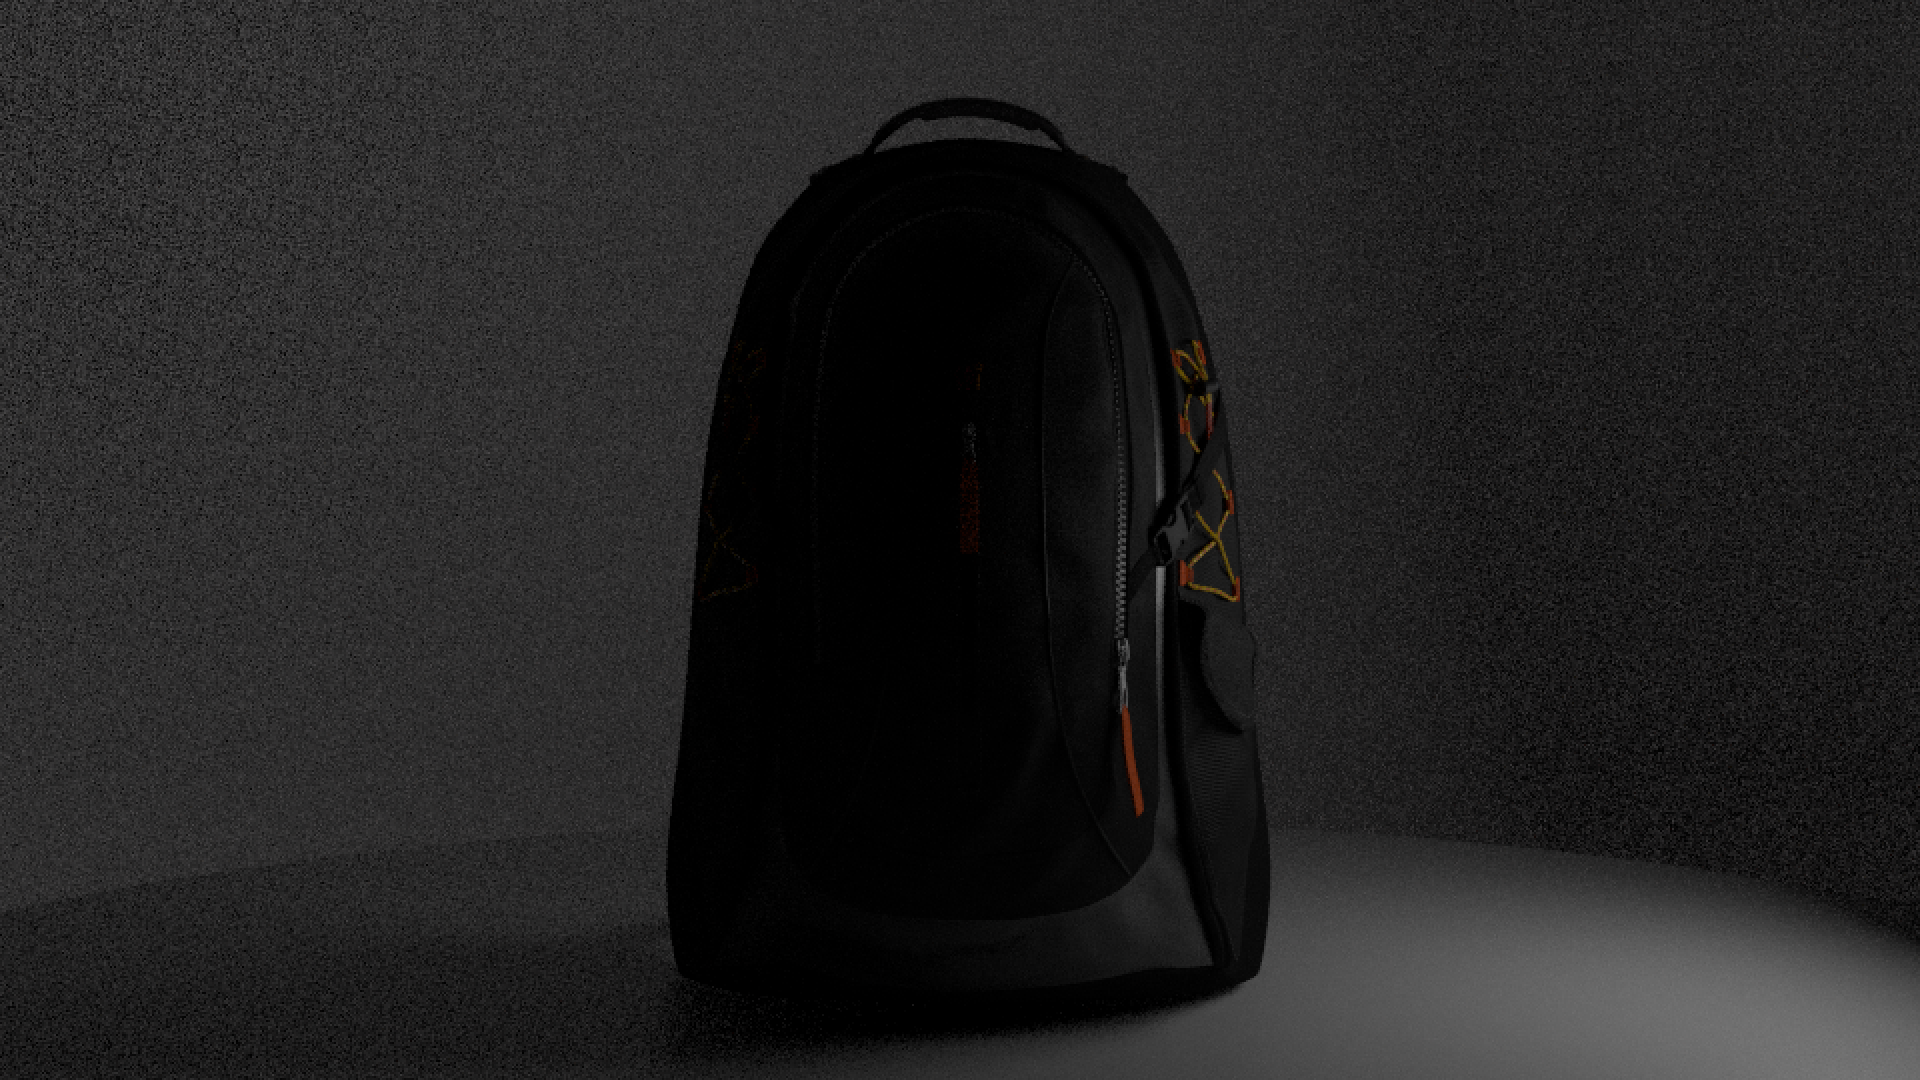
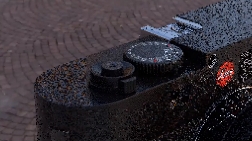
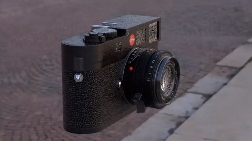
The Light Path Expression output generated for the light tagged "lumiL" in the light's LPE Label. |
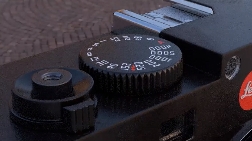
The Light Path Expression output generated for the light tagged "lumiR" in the light's LPE Label. |

The mPath rendering workflow is also best utilized for speed improvements in Ray Tracing and Shadow Ray Tracing, and for effects like depth of field. Shading results are also more accurate with mPath, for example in Fresnel and refractive materials.
The following images demonstrate different ray depth values. Improved contact shadows, and improved reflections between close reflective components occur as Reflection Depth increases. There is increased accuracy with transparent components as Refraction Depth is increased. Accurate refractions require high depth values.

Rendering Scenes Using mPath
| 1. | In the Shader Tree, select your Render item. |
This opens this render item's Properties.
| 2. | In the Frame sub-tab, set Renderer to mPath. |
| 3. | In the Settings sub-tab, select your Ray Tracing Engine. |
| 4. | Select your Shading Engine from the dropdown. |
See Current Limitations in mPath for a list limitations and supported features.
Tip: mPath is a hybrid renderer and can take advantage of the CPU and GPU in tandem. The default Foundry SSE (CPU) and Shading Tree (CPU) settings uses only the CPU for raycasting and shading. To use the GPU for raycasting and shading, select NVIDIA OptiX (GPU) and NVIDIA CUDA (GPU), or to use improved performance for CPU raycasting, select Intel Embree (CPU). If you're running Modo under macOS Catalina (10.15), or later, you can also select Metal (GPU) to improve render performance on Apple hardware.
| 5. | Adjust the other mPath settings in the Render Item's Settings sub-tab. |
For more information on what the different options are, see Render Item: mPath Renderer Settings.
Note: mPath automatically uses Environment Importance Sampling if an active texture layer such as an HDR image map is affecting the environment. See Environment Importance Sampling to learn more.
| 6. | Render your scene by pressing F9 or along the menubar, clicking Render > Render. |
The render starts and the Render window opens.
Note: To decrease noise in the rendered image, we recommend using a Denoiser. See Denoising mPath Renders for more information.
Note: Press P during an mPath render to pause to rendering. The current render can then be saved as an image.
Interactive mPath Renders
Modo's mPath renderer has an interactive mode, which allows you to pan, zoom, and rotate the camera in the Render viewport without adjusting the camera in the scene. In interactive mode, mPath constantly renders the scene to update the output when the camera position changes.
To start an interactive mPath render, you can:
• press Alt+F9,
• navigate to the Render menu and select mPath QuickCam, or
• click and hold the Render button in the Render viewport and select mPath QuickCam.
Render iterations continue until you press Abort in the Render viewport, Esc on the keyboard, or P to pause the render.
Tip: You don't need to select mPath from the Render dropdown to start an interactive render. If you have the Default renderer active, Modo activates mPath for the interactive render and then switches back to Default automatically.
In interactive mode, you can:
• pan the camera by left-clicking and dragging in the viewport,
|
|
|
|
|
Panning from left to right. |
||
• dolly in and out by scrolling the mouse wheel, and
|
|
|
|
|
Dollying in. |
||
• rotate the camera around the center of interest by holding Alt and left-clicking and dragging in the viewport.
Tip: You can also rotate the camera directly by holding Alt and right-click and dragging in the viewport.
|
|
|
|
|
Rotating left to right. |
||
• Adjust the Intensity of selected lights
• Adjust the Focal Length, Target Distance, Focus Distance and F-Stop of your render camera
Note: Additional settings such as light and camera settings can be accessed by pressing Space on your keyboard and navigating to the QuickCam tab.
Denoising mPath Renders
Rendering with mPath can produce noisy results due to the way path tracing resolves an image. In path tracing, the render direction of each path relies on random numbers which are different for each pixel. This results in nearby pixels having differing results from one another, creating a noisy looking image. As more samples are added to each pixel, eventually the image becomes less noisy but this can take a long time.
Using a denoiser with your mPath renders means the path tracing process can be completed before all pixels are fully converged, but you still end up with a smooth, high-quality image. This saves you a lot of time without compromising on quality. You must select a denoiser from the Denoising property inside your render output if you want to denoise your renders.
Tip: See Denoising for more information on the available denoisers.
To denoise your mPath renders before rendering:
| 1. | Select your Render Output item in the Shading list, for example the Final Color Output. |
For more information, see Render Outputs and Basic Render Outputs.
| 2. | In the Render Output Properties, select a denoiser from Denoising. |
If a denoiser is not available on your system, Modo displays a warning icon ![]() next to it. You can still select it, allowing you to set up the scene for rendering on a different system, but a warning dialog is produced when the render is started on an unsupported system.
next to it. You can still select it, allowing you to set up the scene for rendering on a different system, but a warning dialog is produced when the render is started on an unsupported system.
| 3. | In the Render Output Properties, enable Denoise Per Iteration if you are using Render Outputs per Light. |
See Render Outputs Per Light for more information.
| 4. | Render your scene by pressing F9 or along the menubar, clicking Render > Render. |
The render starts and the Render window opens. You can verify the denoiser in the Denoising section in the Statistics panel of the Render window.
Render Outputs Per Light
With Modo's Default renderer, you have to create separate renders for each light. mPath rendering allows you to create individual light outputs within a single render by giving you the ability to add Light Path Expressions.
Tip: If you are using a Denoiser with your mPath render, enable Denoise Per Iteration in the render output settings to ensure each light pass is denoised correctly. See Denoising for more information.
Light Path Expressions
Light Path Expressions are character strings that can be used to restrict which kinds of light paths contribute radiance to a particular render output image. A path contribution is only added to a render output if its sequence of events (the vertices of the path) matches the pattern specified by the render output's Light Path Expression string.
All paths start at the camera and end at something that emits light, which can be an emissive surface, a volumetric effect, a light source, or the environment. In between the starting and ending events, zero or more scattering events can occur, in which light bounces off or passes through a surface.
To add a Light Path Expression:
Tip: To use Light Path Expressions, make sure mPath is selected as your Renderer in the Render item Properties.
| 1. | Click Render > Add Per-Light Render Outputs. |
A Light Path Expressions Output is added to your Shader Tree for each individual light present in the scene, using the naming convention LPE: C.*'<name of light / LPE label>'.
Tip: Use the LPE Label inside the item Properties to specify a label to be used on that item for Light Path Expressions. LPE labels can be added to lights, materials, environments, and volumetric surfaces.
| 2. | Select the Light Path Expressions Output in the Shader Tree. |
| 3. | Enter your Light Path Expressions in the Light Path Expression field in the Properties. |
Use the following examples to specify your Light Path Expression, or use one of the presets from the Light Path Expression dropdown.
Starting Event Types
C signifies the camera. Since all paths begin at the camera, all valid Light Path Expressions must begin with C.
Scattering Event Types
| Syntax | Usage |
|
<RD> |
Diffuse reflection event. |
|
<RS> |
Specular reflection event. |
|
<TD> |
Diffuse transmission event, which includes subsurface scattering and translucency. |
|
<TS> |
Specular transmission event, which includes refraction and dissolve. |
|
R |
A reflection event, where the path continues on the same side as the surface normal. It can be either Diffuse (<RD>) or Specular (<RS>). |
|
T |
A reflection event, where the path continues on the opposite side from the surface normal. It can be either Diffuse (<TD>) or Specular (<TS>). |
|
D |
A diffuse scattering event. It can be either Reflection or Transmission (<RD> or <TD>). |
|
S |
A specular scattering event. It can be either Reflection or Transmission (<RD> or <TD>). |
Ending Event Types
| Syntax | Usage |
|
O |
Object. An emissive object (a surface with a nonzero Luminous Amount and Luminous Color). |
|
V |
Volumetrics. Currently in Modo it is only used for light added by fog. |
|
L |
Light. A direct light source. |
|
B |
Background. In Modo this means the light from the environment item. |
Special Characters
| Syntax | Usage |
|
. (period) |
A wildcard that can match any event type. |
|
* (asterisk) |
Zero or more instances of the preceding event type. Currently in Modo '*' can only occur immediately after the wildcard '.', once per light path expression. |
| [ ] |
An 'or' group, which can match any of the event types listed within the brackets. |
|
' ' (single quotes) |
A text label that can restrict the preceding event to one or more items that have been assigned the label appearing within the quotes. Currently, labels cannot appear within square brackets or in between the '.' and '*' characters. |
Examples
| Syntax | Usage |
|
C.* |
All paths. This is equivalent to the Final Color render output. |
|
C<RD>.* |
Direct and indirect diffuse reflection. |
|
C<RS>L |
Highlights (specular reflection of direct lights). |
|
C.*L'sun' |
All shading resulting from direct lights having the label 'sun'. |
|
C.*[OB] |
All shading resulting from light from emissive objects or the background. |
|
CDS.* |
Caustics (light that has scattered from a specular to a diffuse surface). |
Viewing Render Outputs Per Light
Once you have created a render using F9 or one of the render commands in the Render menu, you can switch between your different light outputs in the Render window Output dropdown.
Current Limitations in mPath
There are currently a number of limitations within the mPath renderer. As these limitations are resolved, this section will be updated.
Unsupported Features in CPU Render Settings
- Volumetrics are not supported
- Shading models other than Physically Based or Principled are not supported and will give results differing form what is expected
- Custom materials such as skin, hair, and cel shading are not supported
- The Matte Clipping feature is not supported
- Direct Caustics (photon mapping) are not supported. However, indirect caustics are supported
- The Ambient Light feature is not supported
- The Vertex Irradiance Cache feature is not supported
- Negative weights in antialiasing filters are not supported, so filters that include negative weights, such as Catmull-Rom and Mitchell-Netravali, produce different results
- Shadow Density render outputs are not supported
- Multiple frame passes are not supported
- Same Surface Only subsurface scattering is not supported
- Double Sided off is not working (all surfaces are double sided in mPath)
- Keying (animating) the Renderer channel of the Render item is not supported
- Rendering a pass group with mixed renderers can cause unexpected results
Note: We recommend that you group outputs and passes for each renderer in separate pass groups and then render them with separate render commands.
mPath Limitations specific to the Intel Embree Ray Tracing Engine
- Deformation motion blur is not supported, but transformation blur is supported
Unsupported Features in GPU Render Settings
mPath Limitations specific to the NVIDIA OptiX Ray Tracing Engine
- Non-NVIDIA GPUs and older NVIDIA driver versions are not supported
- Deformation motion blur is not supported, but transformation blur works as expected
mPath Limitations specific to the Metal Ray Tracing Engine
- Motion blur is not supported
- Cylinder primitives (hair/fur) are not supported, but fur strips can be rendered with the Metal ray engine
mPath Limitations specific to the NVIDIA CUDA Shading Engine
- Motion blur is not supported
- Render booleans are not supported
- Rounded edges are not supported
- Anisotropic specular reflection is not supported
- Sheen is not supported
- Dispersion is not supported
- Image map projections other than UV are not supported
- UDIM tiles other than 1001 are not supported
- Procedural textures (other than displacement mapping) and gradients are not supported
- Volumetrics are not supported
- Light types: Photometric, Cylinder, Dome, Mesh, and Portal are not supported
- Light falloffs other than Inverse Distance Squared are not supported
- Light linking is not supported
- Fog types: Underwater and Layered are not supported
- Multiple environment items are not supported
- Environment importance sampling is not supported
- Render outputs other than Final Color, Alpha, Albedo, and Shading Normal are not supported
- Alpha types other than Opacity are not supported
- Light path expressions are not supported
- Texture Blending Modes
- Shadow Catcher
- Textured Lights
- Texture Locator Item (UV Rotation, Texture Offset Strength, Texture Falloff, and Texture Replicator)
- Scale on Material Groups
mPath Effects Only Supported by the NVIDIA CUDA Shading Engine
Basic Channels
- Diffuse Color
- Dissolve
- Roughness
- Specular Amount
- Transparent Amount
- Transparent Color
Fur
- Fur Curls
- Fur Density
- Fur Direction
- Fur Flex
- Fur Growth Jitter
- Fur Length
- Fur Root Bend
- Fur Root Frizz
- Fur Stray Hairs
- Fur Vector
Special Effects
- Stencil
Surface Shading
- Normal