Using GeoBindMaterial to Assign Materials
The GeoBindMaterial node allows you to bind a material to geometry if you’ve imported or referenced a USD file into your scene.
|
1.
|
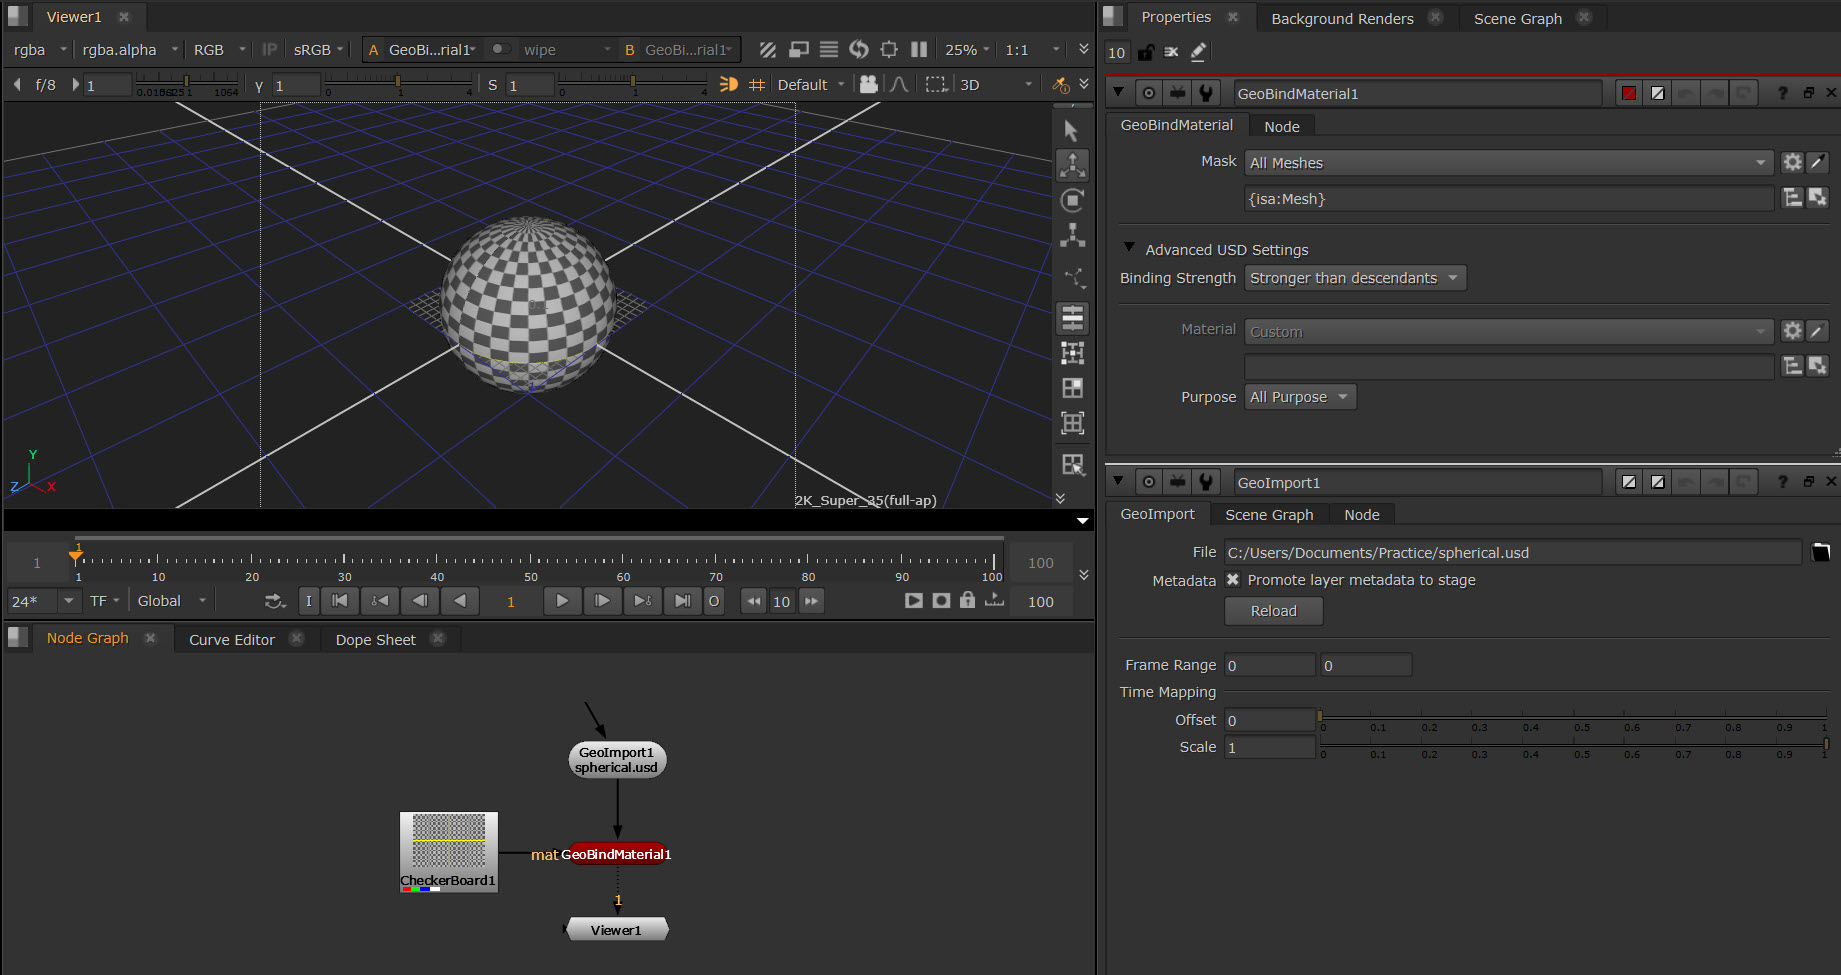
Use the GeoImport or GeoReference node to import geometry. In this example we are importing a simple sphere prim via the file spherical.usd. |
|
4.
|
The Mask knob defaults to ‘All Meshes’ essentially allowing any mesh that exists in the stage to have your desired material bound to it. If you want a specific target, you can choose custom and use the picker to select it. The material should now show up on your prim. |
|
5.
|
In USD, material bindings have their own purpose strengths and if you import geometry with existing material bindings, this may interfere with your material being applied. Under Binding Strength, the default is set to Stronger than descendants, so that your materials will show up regardless of this. However, if you want the opposite of this, you can choose Weaker than descendants, or if you want to use native USD behaviour, you can choose Passthrough. |
|
6.
|
The Material knob allows you to bind an existing material to a piece of geometry in your scene. |
|
7.
|
You can also use the Purpose dropdown to determine which rendering context the material applies to. By default, Preview bindings only show up in the Viewer, and Full bindings only show up in ScanlineRender. All Purpose can be viewed in both. |
Note: In USD, Preview and Full bindings will always take precedence over All purpose bindings. By default, ScanlineRender will display Full bindings over All Purpose ones, but if something only has an All Purpose binding, it will display that.
Note: Instanced prim restrict how they can be edited and therefore you can’t bind materials to them. See more about this at Instancing Geometry.