Importing with GeoImport
GeoImport brings an entire scene into Nuke, including any lights, cameras, and materials in the scene. In Nuke's USD-based 3D system, importing the same file twice does not duplicate the objects because USD only allows objects with unique paths to exist in the scene.
Note: If you do want to import another object, use the GeoReference node, see Referencing with GeoReference.
With GeoImport, there is the option to use payloads and activation to improve the loading performance, as explained below.
Note: Nuke doesn’t support the import of instanced prims. In USD typically, an instanced prim would be resistant to certain processes, for example, binding a material wouldn’t work on those instances. In Nuke, instanced prims behave like non-instanced prims and you would need to set up instances in Nuke separately. See Instancing Geometry to learn more.
To import a USD file:
| 1. | In the top menu bar, click Workspace > 3D to switch to Nuke's dedicated 3D workspace. |
| 2. | Create a GeoImport node by clicking 3D > Create > GeoImport in the left-hand toolbar, OR press Tab in the Node Graph to display the node selector, type GeoImport, and then press Enter. |
A GeoImport node is added to the Node Graph and its Properties are displayed.
| 3. | In the File field, enter the path on disk of the USD file you want to import. GeoImport supports .usd and .usda for USD (as well as .abc and .mltx files). |
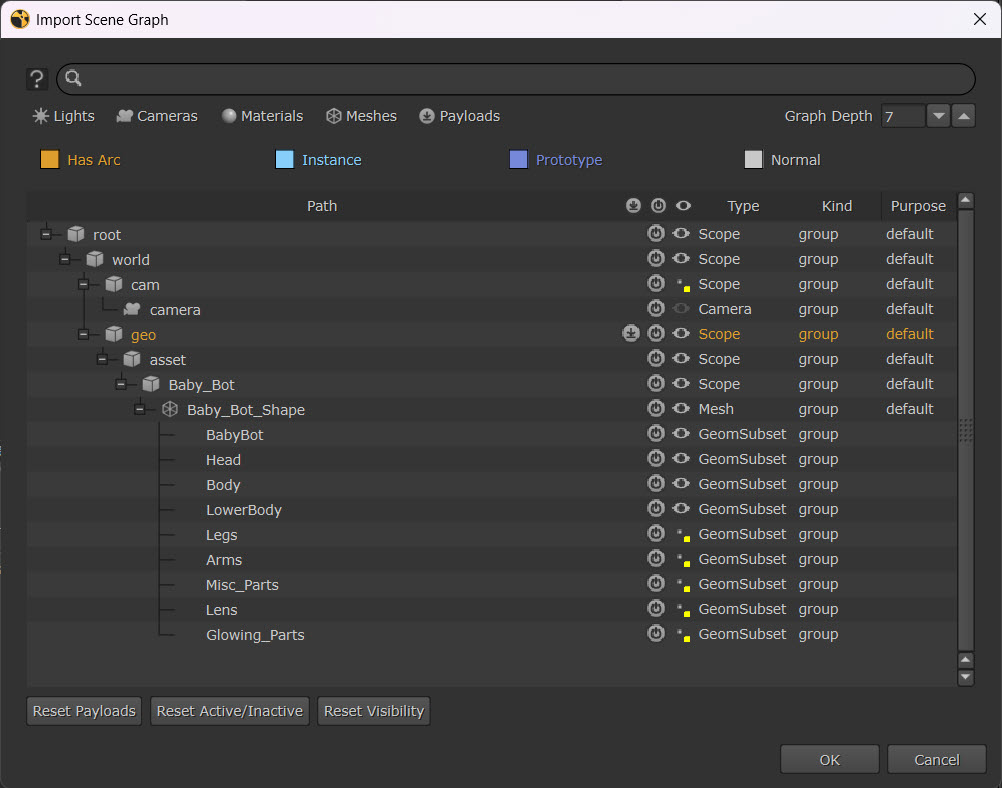
| 4. | Once you’ve selected a file, an Import Scene Graph dialog will appear. |
Tip: You can also use the R keyboard shortcut to open the Import Scene Graph Dialog.
On this dialog, you can select what payloads are loaded/unloaded and what is active/deactivated via the buttons.
Payloads: By default all payloads will be loaded - you’ll see the light grey icon  when payloads are loaded on an item. You can toggle this button on and off for individual items, or use the button at the top of the column to unload all the items at once. When the button is dark grey
  , the payload is unloaded.
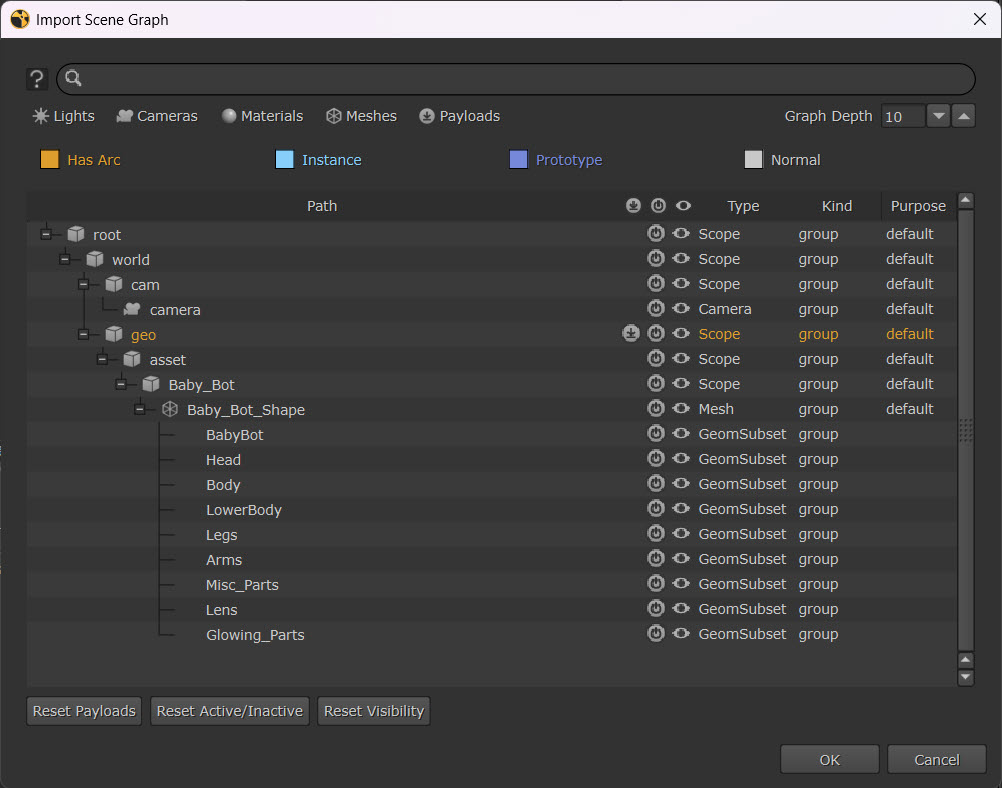
Activation: By default all items will be activated - you’ll see the light grey icon ![]() when an item is active. You can toggle this button on and off for individual items, or use the button at the top of the column to deactivate all the items at once. When the button is dark grey, the item is deactivated.
when an item is active. You can toggle this button on and off for individual items, or use the button at the top of the column to deactivate all the items at once. When the button is dark grey, the item is deactivated.
Visibility: By default all items will be visible - you’ll see the light grey icon ![]() when an item is visible. You can toggle this button on and off for individual items, or use the button at the top of the column to deactivate all the items at once. When the button is dark grey, the item is invisible.
when an item is visible. You can toggle this button on and off for individual items, or use the button at the top of the column to deactivate all the items at once. When the button is dark grey, the item is invisible.
Note: To see a full explanation of the controls on the GeoImport dialog, see Import Scene Graph Dialog below.
Note: To learn more about the concepts of payloads in USD, see Payloads and Deferred Loading.
| 5. | Once you have made your selections you can hit OK, and GeoImport will load your stage into Nuke with payloads and activation that you have enabled. |
| 6. | You may wish to move sublayer metadata to the root layer of the stage so that this is not lost. If so, you can use the Promote layer metadata to stage checkbox on the GeoImport node. |
| 7. | Connect a Viewer to the GeoImport node to display the scene in the Viewer. |
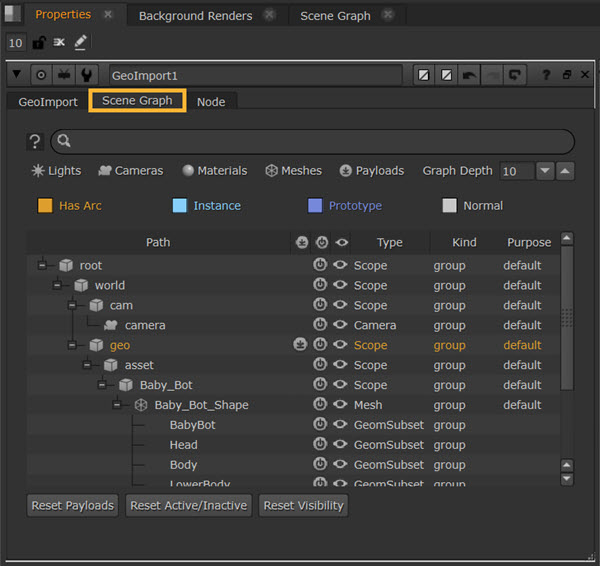
| 8. | If you wish to amend the payloads, activation, and visibility after the initial import, you can do so by accessing the Scene Graph tab inside the GeoImport node. |
Import Scene Graph Dialog
This dialog appears the first time you use the File knob of GeoImport. After that point you can access the same options via the Scene Graph tab inside the node.
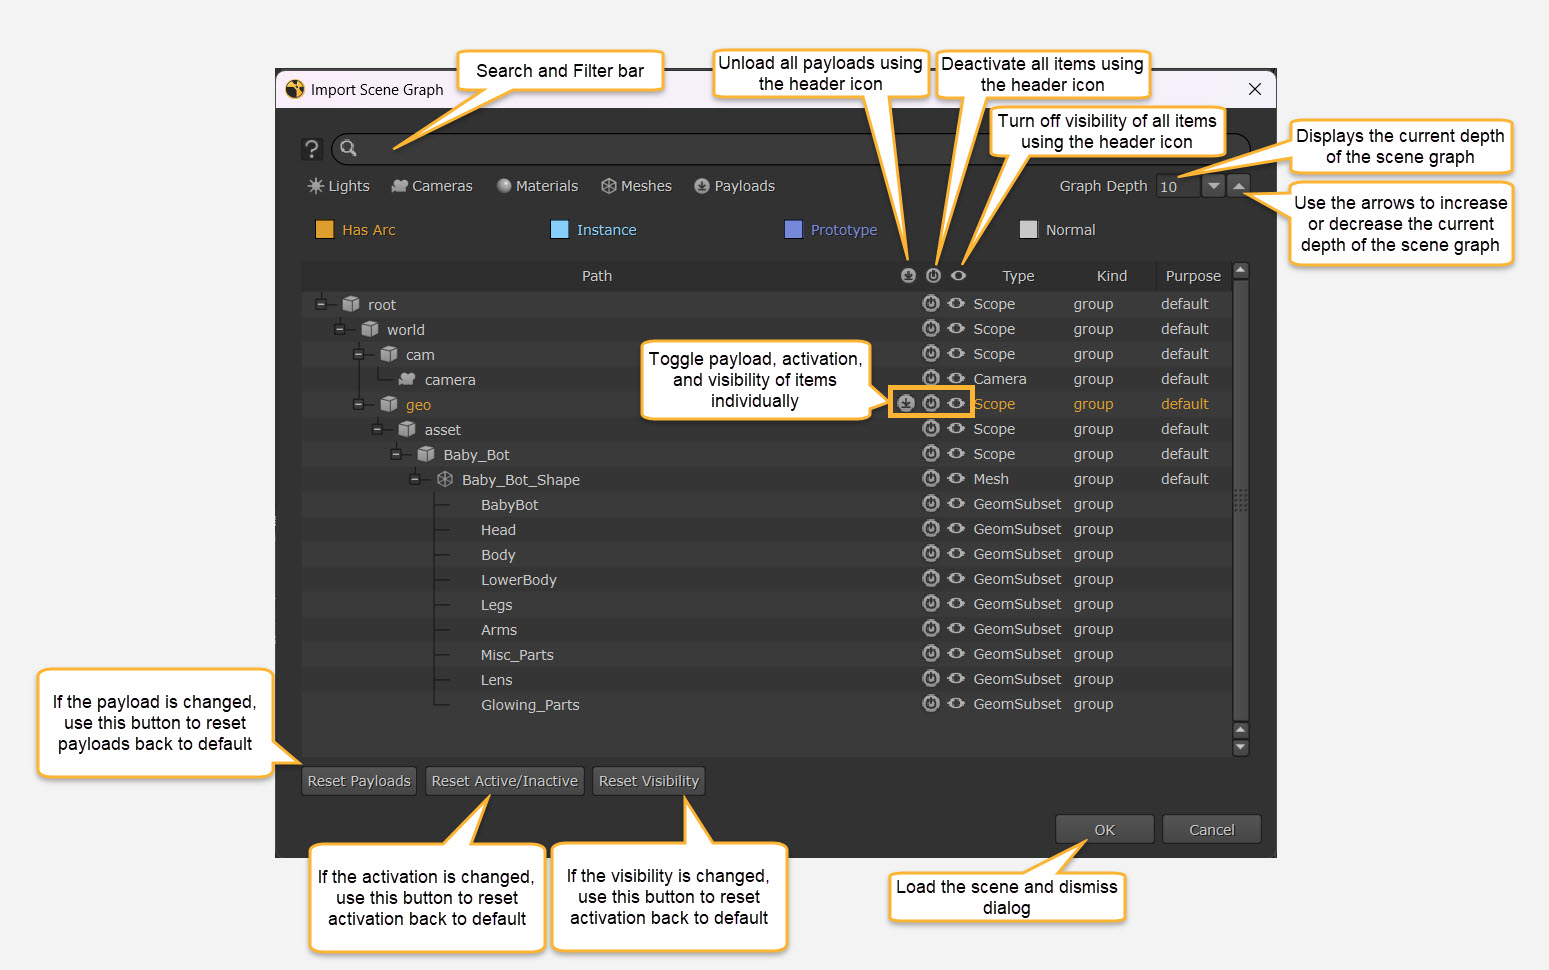
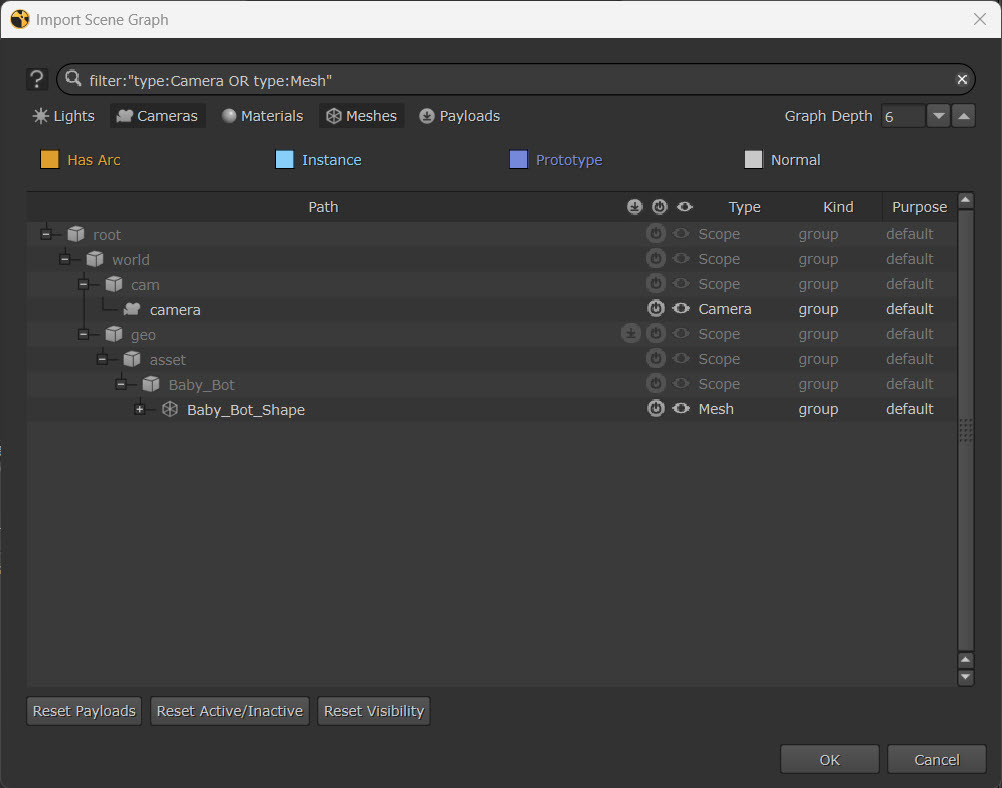
Using the Search and Filter bar, you can either type the name of the prims to search for, or use the preset type filter buttons below (Lights, Cameras, Materials, Meshes, Payloads) which will show you the prims of that type, with other prims greyed out.
Tip: You can apply multiple filters at once.
In this example, Cameras and Meshes have been applied:
Note: If you use the filters, the Graph Depth will automatically adjust based on what you’ve searched for.
If you make changes to the payloads, activation, or visibility, any changes will appear with a yellow override icon.