ReflectiveSurface: Generating Reflections
The ReflectiveSurface node allows you to generate mirror-like reflections, translucency, transmission and more from ScanlineRender’s ray-tracing architecture.
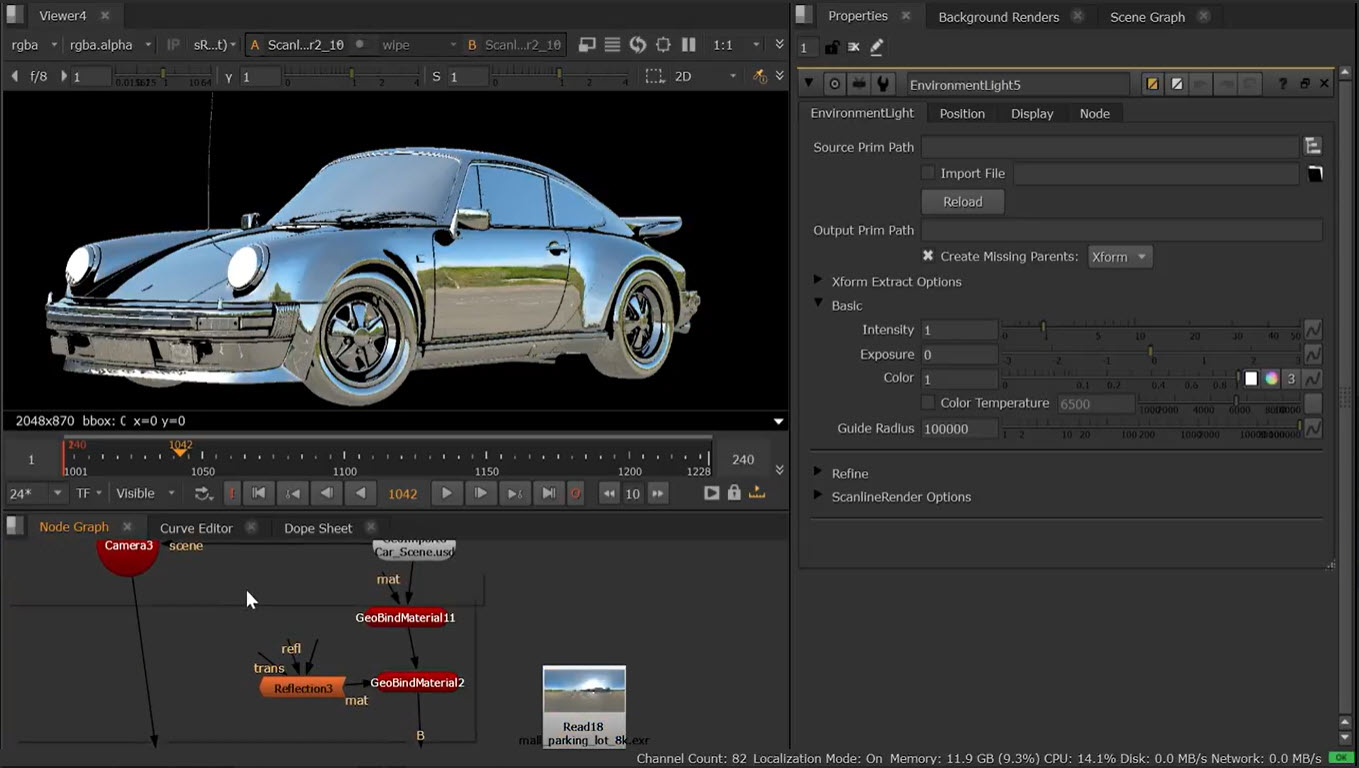
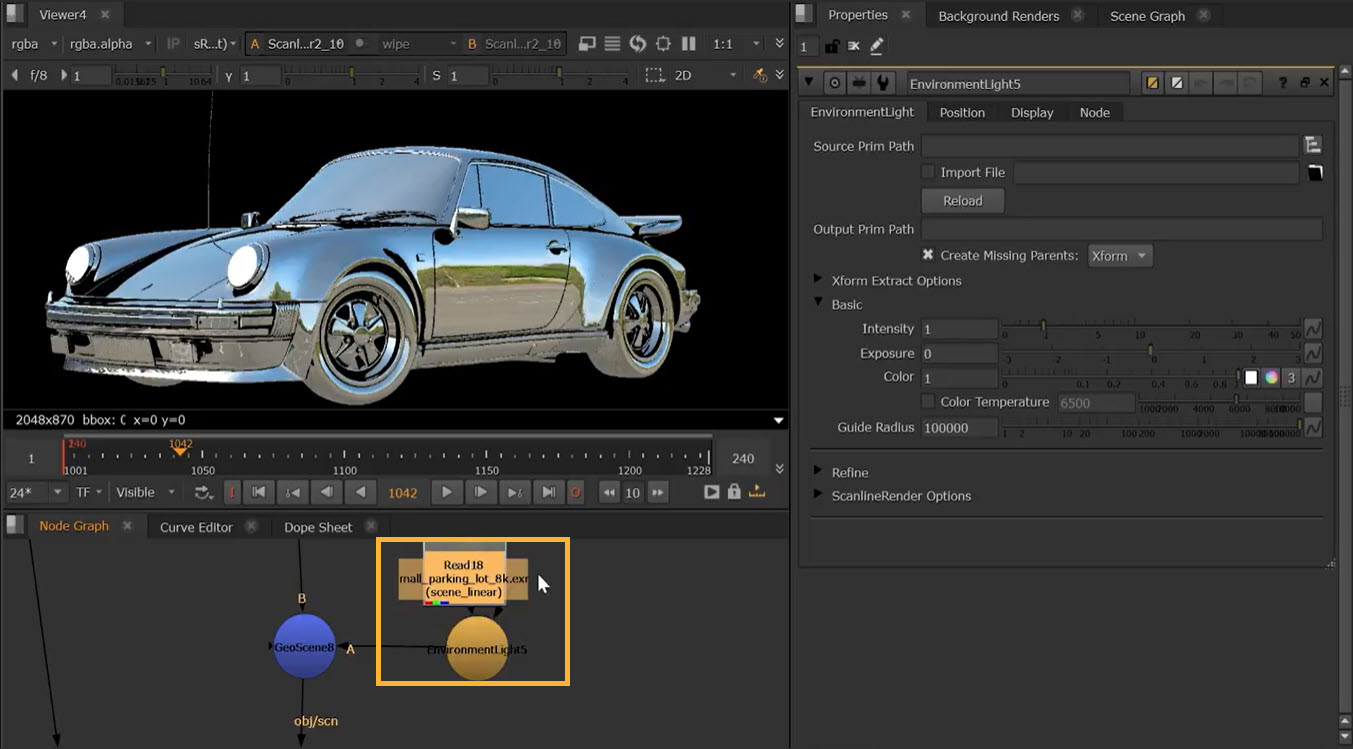
Note: To view the reflections, you’ll need to connect a ScanlineRender and a Camera node and view the results in the 2D panel.
|
3.
|
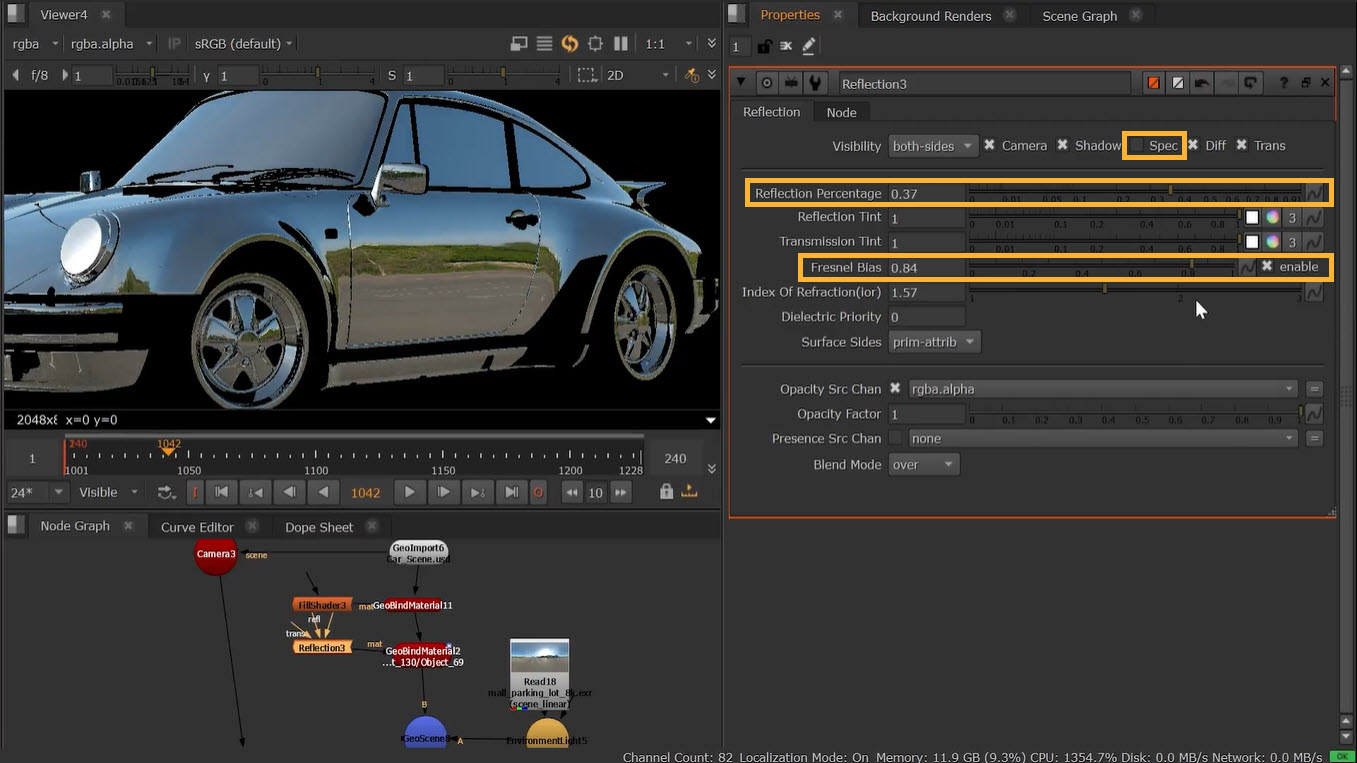
In the ReflectiveSurface node Properties, the Visibility knobs allow you to set if the material is visible to each of the respective knobs, so enabling Camera means the material will be visible to the render camera and disabling it would make the material invisible to the render camera which could be useful if setting up a HDR dome that you want in reflections, but not in the background. |
In this example, we are turning off the Spec visibility knob so that we can then use the Fresnel Bias option and lower the Reflection Percentage without getting any visual artifacts:
|
4.
|
The Reflection Percentage knob lets you balance between reflection and transmission with 1 being a fully reflective surface and 0 being a transmissive surface. |
|
5.
|
The Reflection Tint alters the reflection colour. Transmission Tint doing the same for transmission. |
|
6.
|
The Fresnel Bias sets the amount of reflectivity you see, typically based on the angle that you look at a surface. |
|
7.
|
The Index of Refraction lets you control how much the light is bent when going through the material. |
|
8.
|
The Surface Sides knob essentially lets you set if the renderer should render a single side or both sides. |
|
9.
|
You can also use the bottom section for additional options such as controlling the Opacity - this is additional opacity/transparency added on top of any existing opacity (premulting) present in the surface’s color and opacity values. Blend Mode is the operation used when combining this surface’s color result with the next surface’s color further away in depth. This is renderer dependent - some renderers may support all, none, or only some of these blend operations.. |