Search is based on keyword.
Ex: "Procedures"
Do not search with natural language
Ex: "How do I write a new procedure?"
What's New in Modo 14.0
Animation and Rigging
Markup

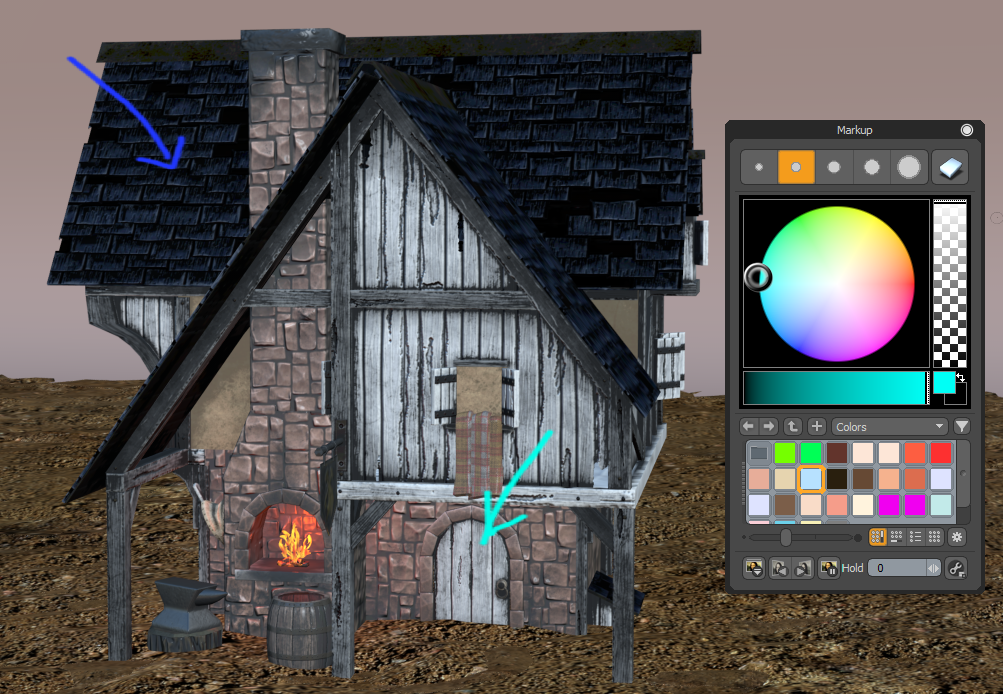
The Markup tool allows you to draw directly onto selected camera views so you can add annotations, notes, and comments to your animations or stills. For more information, see Markup.
Direct Modeling
Bevel Enhancements
Unbevel
Unbevel collapses beveled faces between two selected edge loops. For more information, see Unbevel.
Add Point Option for Edge Relax
This option allows you to insert new points or remove existing ones along selected edges. For more information, see Edge Relax Properties.
Edge Chamfer Enhancements
• Profile Preset Support - You can now select a 1D profile shape to determine the shape of the chamfer.
• Reverse Direction - When using a profile preset, this option allows you to reverse the start and end of the profile curve.
• Reverse Depth - When using a profile preset, this option allows you to reverse the depth direction of the profile shape.
• Falloff Support - Edge Chamfer now supports falloffs.
For more information, see Edge Chamfer.
Face Slide
The Slide tool has a new Face mode, which allows you to slide a vertex on a connected face. For more information, see Sliding a Vertex using Face Mode.
MeshFusion
Surface Strip Embossing
A new workflow that allows you to create embossed surface strips on Fusion Items using simple, Bezier, B-Spline curves, or text. For more information, see Embossing Surface Strips with MeshFusion.
Procedural Modeling
Mesh Operations
You can now create vertex maps and set weight values, seams, and RGBA values procedurally. The following tools are now available as mesh operations:
• Create Vertex Map
• Set Weight
• Set Edge Weight
• Set Seam
• Set RGB
• Select Vertex Map Value selection operation
For more information, see Working With Vertex Maps Procedurally and Select Vertex Map Value.
Shading and Rendering
mPath Improvements
• Light Path Expression names have been simplified, making it easier to work with them in the Shader Tree.
• mPath now supports the rendering of AxF materials.
For more information, see Rendering with mPath and AxF Material.
Scale Groups in the Shader Tree
Manually scaling individual texture layers in the Shader Tree may be difficult. The separate layers might not contain the same relative scale or tiling, which means you have to figure out what the relative scaling is. These parameters allow you to scale all layers within a material relative to one another in the Shader Tree. For more information, see Scale Options.
Topology
Transparency Overrides
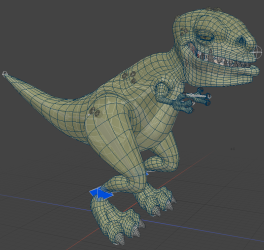
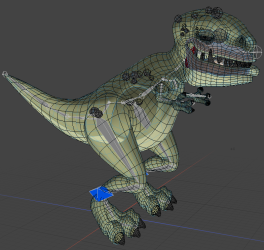
The X-Ray and Ghost 3D viewport transparency modes have been added to help you differentiate between background and foreground wireframes, so you can easily understand the topology you're working with. This option is especially useful for decluttering heavy wireframe models. For more information, see Viewport Toggle Buttons.
|
Ghost |
X-Ray |
|
Model courtesy of William Vaughan |
|
UV Enhancements
Unwrap & Relax
The Unwrap & Relax tool combines the Unwrap Tool and UV Relax into one tool, allowing you to perform two operations on your UVs in one step to create a UV pelt. For more information, see Unwrap & Relax.
UV Relax Enhancements
The Ignore Edge Selection option has been added to the UV Relax tool. UV Relax is frequently run after Unwrap, which requires edges to be selected. You then need to drop the tool before running UV Relax. When this option is enabled, the UV Relax operation ignores any currently selected edges. For more information, see UV Relax.
Workflow and UI Improvements
• Select Partial for Lasso Selection - The Lasso Partial Selection Mode (keyboard shortcut: 8) allows you to select entire edges or polygons by only selecting part of it. For more information, see Lasso Select.
• Always Raycast Option for Element Move - This option allows you to manipulate polygons in in Wireframe viewport mode. When disabled, only vertices and edges can be edited in Wireframe mode. For more information, see Element Move.
• Use World Transforms option for Falloffs - This option allows falloffs to affect all selected mesh surfaces as one surface and deform them as one. This option has been added to the following falloffs:
• Rename Vortex Deformer to Twist - Vortex Deformer has been renamed to Twist Deformer. For more information, see Twist Effector.
• No Trackball Rotation by Default - Trackball Rotation is now disabled by default for all viewports. For more information, see Remapping.
• Numeric Command Queries on Key Assignments - Support has been added to numeric arguments in the input remapping system.
Sorry you didn't find this helpful
Why wasn't this helpful? (check all that apply)
Thanks for your feedback.
If you can't find what you're looking for or you have a workflow question, please try Foundry Support.
If you have any thoughts on how we can improve our learning content, please email the Documentation team using the button below.
Thanks for taking time to give us feedback.

