What's New in Mari 4
Mari 4 has several new features and feature enhancements in addition to bug fixes. This page documents the new features, and links to the appropriate page of the online help so you can get the information you need to start working with the new features right away. To read about bug fixes and feature enhancements, navigate to a specific release.
Note: See the navigation bar on the left for links to specific release notes by version.
Mari 4.8
USD Preview Look Export
Mari now ships with a built version of our open source USD plug-ins. Our mission at Foundry is to continually grow Mari's USD integration by adding to the features available in our USD plug-ins. For Studios who want to build their own version of the plug-in, to better tailor how it reads or writes USD suited to Studio pipeline needs, a handy preference is available (Preferences > USD > General > Load USD Plugin) to disable the shipped USD plug-in, allowing Studio versions to load unconflicted in its place.
See Exporting a Flattened USD Preview of Your Asset's Look for more information.
Filtering Non-Destructively Using Bake Point Filters
In Mari, certain Filter effects like Blur could only be applied to a Paint layer/node. In order to perform a Blur operation on a graph network of procedural nodes, artists would have to first convert the graph to a Paint node, then apply the Filter there. This would disrupt the flow of the artists' creativity and was a completely destructive workflow.
We have addressed this opportunity to increase Mari's proceduralism by bringing Filters to Mari's Bake Points. Artists can now insert a Bake Point into their Node Graph network and apply a stack of Filters to the baked result.
See Bake Point Node for more information.
Changing Brush Color Dynamically
We've introduced new brush dynamic controls to the Brush Settings. With the addition of precise range controls for new Jittering techniques, artists can now create more stylistic brush strokes than have ever been possible before.
See Changing Brush Color Dynamically for more information.
Brush Tip Improvements
Previously, bringing in custom brush tip images into Mari required artists to ensure the desired brush Alpha was encoded into an image's Alpha Channel. Our improved Brush Engine now allows you to specify whether a brush tip's Alpha is generated from an image file's Red, Green, Blue, Alpha or Luminance Channels, giving artists complete control on how their custom brush tips are generated.
Have you ever wanted to create a brush that stamped down a full color image, along with all the ability to stylistically control each splat with the various jittering controls of the brush settings. Now you can, with the new ability to utilize the full RGBA color data from an image file. Including colorspace controls, this new addition unlocks artistic freedom with Mari's brush engine.
Gradient Procedurals
We’ve introduced five new types of Procedural patterns that can be used in conjunction with our Projectors and Locators to create powerful Procedural Masks that drive complex materials.
See Projection Nodes for more information.
Math Nodes
We've introduced new math nodes to perform various mathematical operations on incoming vector data:
- Max - Outputs the larger of the two input values, per-component.
- Min - Outputs the smaller of the two input values, per-component.
- Sin - Outputs the sine of the input, per-component.
- Cos - Outputs the cosine of the input, per-component.
See Math Nodes for more information.
Node Graph Snapping
Mari's Node Graph now comes with Grid Snapping. From Mari's Preferences, artists can now toggle grid snapping with Node Graph > Grid > Snap to Grid and enable a visual grid in the Node Graph view background with Node Graph > Grid > Show Grid.
See Snapping Nodes in the Node Graph for more information.
VFX Reference Platform CY2020
Mari's third party libraries have now been upgraded to the versions specified by the VFX Reference Platform. See Third-Party Licenses for a full list of third-party libraries.
Mari 4.7
Redesigned Shelf Palette
An updated Shelf palette has been introduced to allow artists to organize their content with ease. Shelves can be grouped and categorized for improved organization between projects or shows. You can also now search for your content across single or multiple shelves, by item type, name, or tags for Materials and Custom Procedurals.
See Shelf Palette.
Shelf Item Tagging
Certain Shelf items are now assigned tags for more efficient library filtering. For Materials or Custom Procedurals tags can be added both before and after export. Tags can be used to search shelf content for specific types of Materials and can be edited at any time in the material's Node Properties or by right-clicking the material in the Shelf palette and selecting Edit Tags.
Procedural Masks
You can now author your own procedural masks by starting with a new type of Group node called the Custom Procedural node. When this node is exported, all reference texture maps will be bundled into a single packaged file with a generated thumbnail for display on the Shelf, making it easier to share them with a team. Procedural masks can be imported into the Node Graph or directly onto layers as a mask, with all the promoted attributes accessible for a non-destructive workflow.
See Smart Mask Node.
Custom Procedurals
Like procedural masks, you can now also compose your own custom procedural layers. An artist is able to stack groups of procedural nodes together in one simple Custom Procedural node that can be shared into layer stacks to give a unique final look. As with procedural masks, Custom Procedurals can be used in both the Node Graph and layer stack, whilst giving the artist full control to tweak and promote attributes without ever having to dive into the sub-graph.
See Smart Mask Node.
Material Bake Point Nodes
When working with materials in the Node Graph, you can use a Multi-Channel Bake Point node in order to reduce the complexity of your projects. Multi-Channel Bake Point nodes allow you to batch create and manage individual Bake Point nodes for each of your Shader streams in one place.
See Multi-Channel Bake Point Node.
Bake Point to Texture Streaming
In Mari 4.7, we've added post processing to the Bake Point Export feature. This means that Look Development artists can now include command-line processes that convert exported image files into render engine native texture files with one seamless multi-threaded background process. Artists can now stream Mari texture data directly into third party render engine formats inside of Katana, allowing for faster and more efficient iterations of painted data that feed into Katana Network Materials.
See Post Process.
Material Isolation
A new Current Material shader type has been added which allows artists to quickly switch to viewing their selected Material in full Shader preview without destructively adjusting their User Shader. Artists can easily adjust the look of individual Materials in isolation to each other without affecting the downstream shader. In the NodeGraph, all Multi-Channel nodes now provide a new output to view all output streams together in a full Shader preview.
See Adjusting the Look of a Material with the Current Material Shader.
Node Graph Enhancements
Whilst the Node Graph has always championed streamlined and powerful workflows, new improvements have been made in order to better match the user experience across Mari, Nuke and Katana. To improve artist efficiency, new keyboard gestures for selection and navigation have been added as well as a context aware node creation for Multi-Channel nodes.
Mari 4.6
Geo-Channels
Mari 4.6v1 extends the Material System to include Geo-Channels, allowing for material looks to be driven by mesh maps like AO and Curvature. Geo-Channels are slots on objects for storing named, mesh-specific texture maps. Either imported from disk or exported from the project via Channels, Modo Bake Presets, and Bake Points. Geo-Channel Nodes and Layers display the texture map of any Geo-Channel by choosing its name, allowing you to dynamically inject your mesh maps directly to the Node Graph or Layerstack. The new Sync on Bake options in Mari's Bake Point node, lets you share the results of a graph network across your current project. Geo-Channels can be used as an intermediate caching point to allow complex node sharing without the hard to navigate spaghetti of shared connections in the Node Graph.
Collapsible Nodes
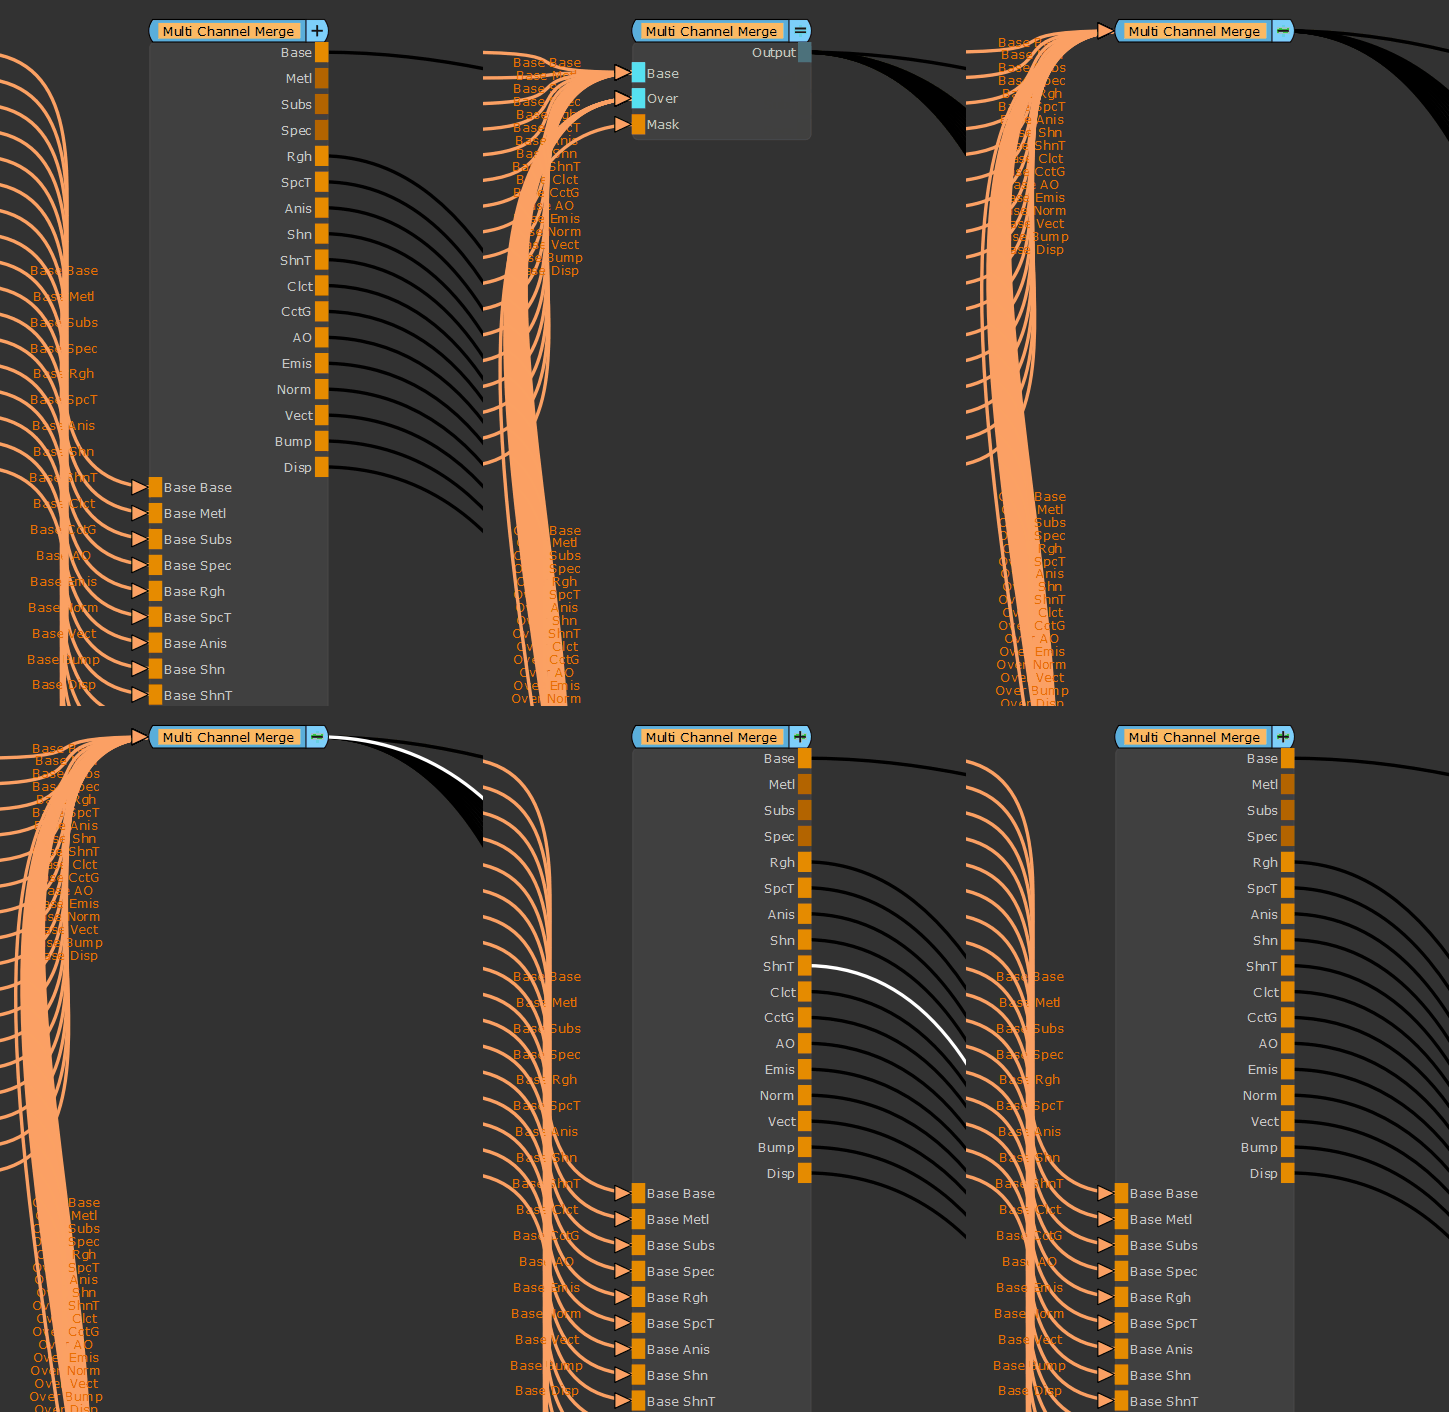
With the Material System, we’re encouraging you to take advantage of Mari’s incredibly powerful Node Graph for material designing, so we’ve taken steps to improve the user experience. All of Mari's nodes can now be set to one of three visual states. Fully Expanded, Connected Ports Only, and Fully Collapsed. These new collapsed states give you fine-tuned flexibility to reduce the visual clutter of complex graphs, making the Mari Node Graph easier to read and navigate. See Working with Nodes.
Multi-Channel Stream Collapsed Nodes
Stream collapsed Multi-Channel nodes take up a minimal, optimized amount of space in the Node Graph, grouping parallel stream connections into a single connection. Reducing the visual clutter of the tall multi-channel nodes allows you to navigate your material driven projects more efficiently. See Working with Nodes.
Improved Node Auto-Placement
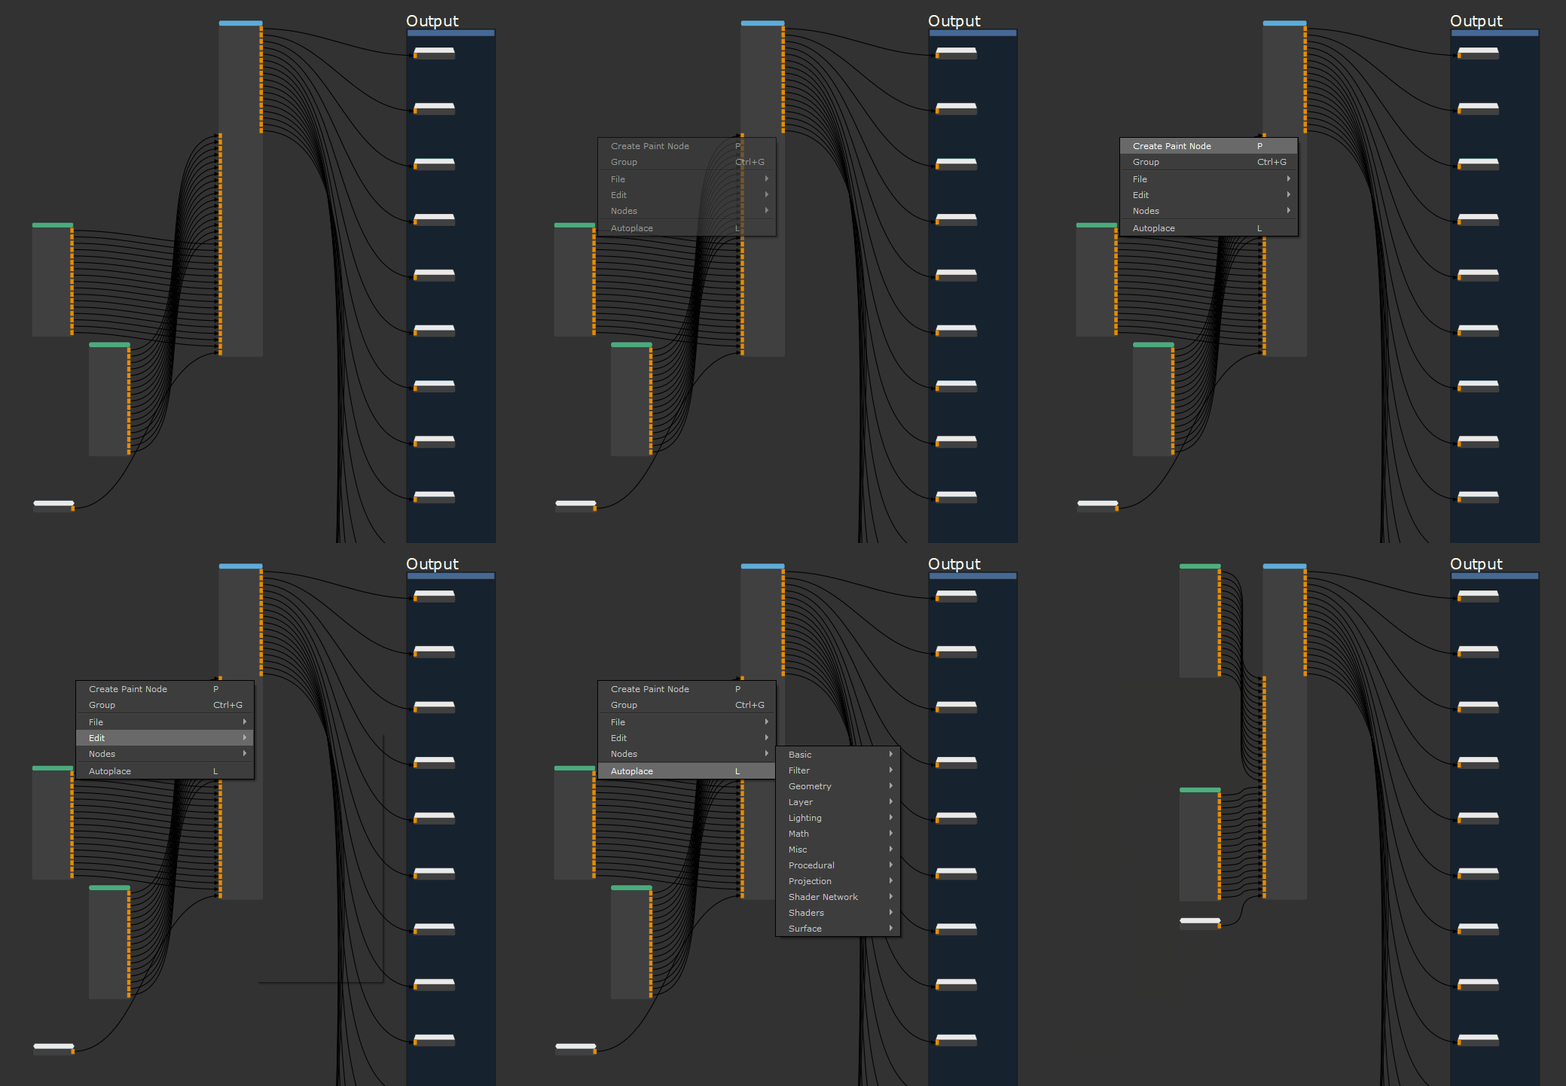
We re-engineered the auto-place logic to align all upstream nodes into equally spaced columns, with Merge node chains forming a backbone along the top of the layout. This creates easier to follow graphs and improves navigation. See Working with Nodes.
Limited Patch Range Baking
In previous versions of Mari, baking would flatten the upstream graph results for all patches within a project even if the results would be masked for a small range of patches downstream. This would waste a lot of computation time when your objects had a large amount of UDIMs. Mari 4.6v4 introduces the ability to use a Limited Patch Range when flattening upstream results to a Bake Point node. You can now limit baking to the required UDIM patches by specifying a patch range and then select a background color for patches outside the given range - reducing bake times and giving the user more control to reduce project complexity with Bake Points.
Export on Bake
Users now have the option to automatically export the flattened results of a Bake Point to disk after updating its upstream results. If Export on Bake is enabled, Mari will rewrite textures to a given path when patches are baked instead of requiring the user to manually export the updates. This streamlines the process of sending your iterative updates to other applications.
Transform Tool: Local Space Mode
A new Local Space Mode has been added to the existing Transformation Tool allowing you to manipulate the transform gizmo along the object axises once it has been rotated. Manipulating the Transformation Tool handles while holding the CTRL key now edits the transformation in iterative steps. Additionally, the hit area for Transformation Tool has been increased, removing the requirement of pixel perfect handle picking.
Customize Material Thumbnails
It is now possible for you to customize your material preset icon generation to conform to your desired standard of material art asset display. Geo-Channels, Geometry, Environment Lights, and Projectors can now all be set in the new Mari Preferences > Thumbnail tab. See Creating Materials with the Material Ingest Tool.
Custom Ingest Material Templates
With the introduction of Material Ingest Template Materials, you can now increase the complexity of your ingested Materials with customized promoted controls and user driven sub-graph networks. These changes allow for a more bespoke, automated Material creation workflow. See Creating Materials with the Material Ingest Tool.
Material Ingest Search Results
Material Ingest Tool users can now validate your search parameters without running the full material creation process. A table of PBR texture set search results can be displayed based on the parameters set in the tool. See Creating Materials with the Material Ingest Tool.
New Vendor Shaders
As Mari’s Material System is driven by the inputs of your project’s shader, it has become more beneficial to have Mari approximations of the render engine shaders your textures are destined for, in order to design materials for your render engine of choice. Mari 4.6 brings two more render vendor contributed approximation shaders to Mari.
V-Ray Shader
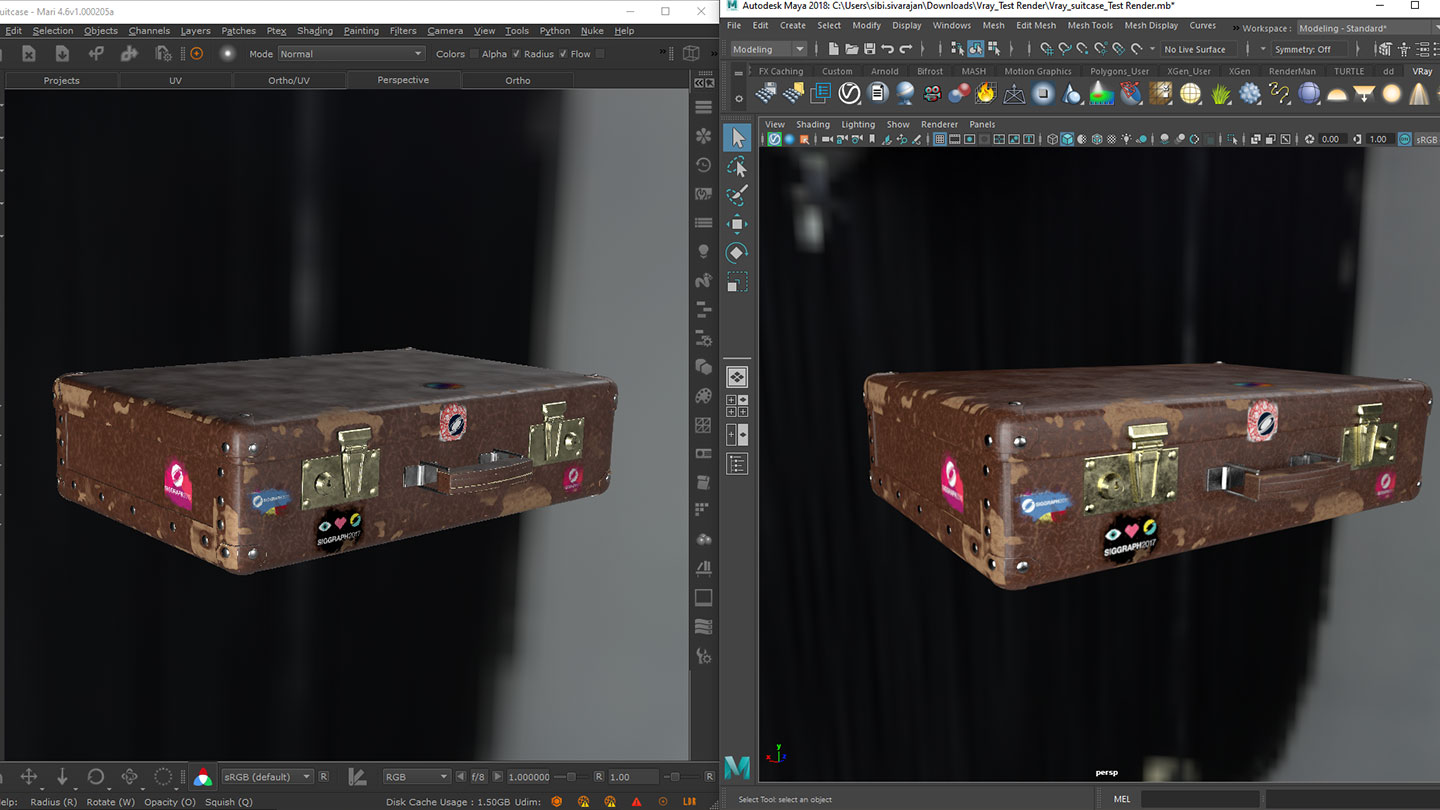
The legacy V-Ray shader has been replaced by a new shader from the Chaos Group team behind V-Ray 2019. Artists that use the V-Ray render engine can now paint textures in Mari with a higher degree of confidence that your art looks correct in your final render. See VrayMtl.
|
|
|
VRayMtl shader in Mari (left) and a rendered image from Maya (right) |
3Delight Shader
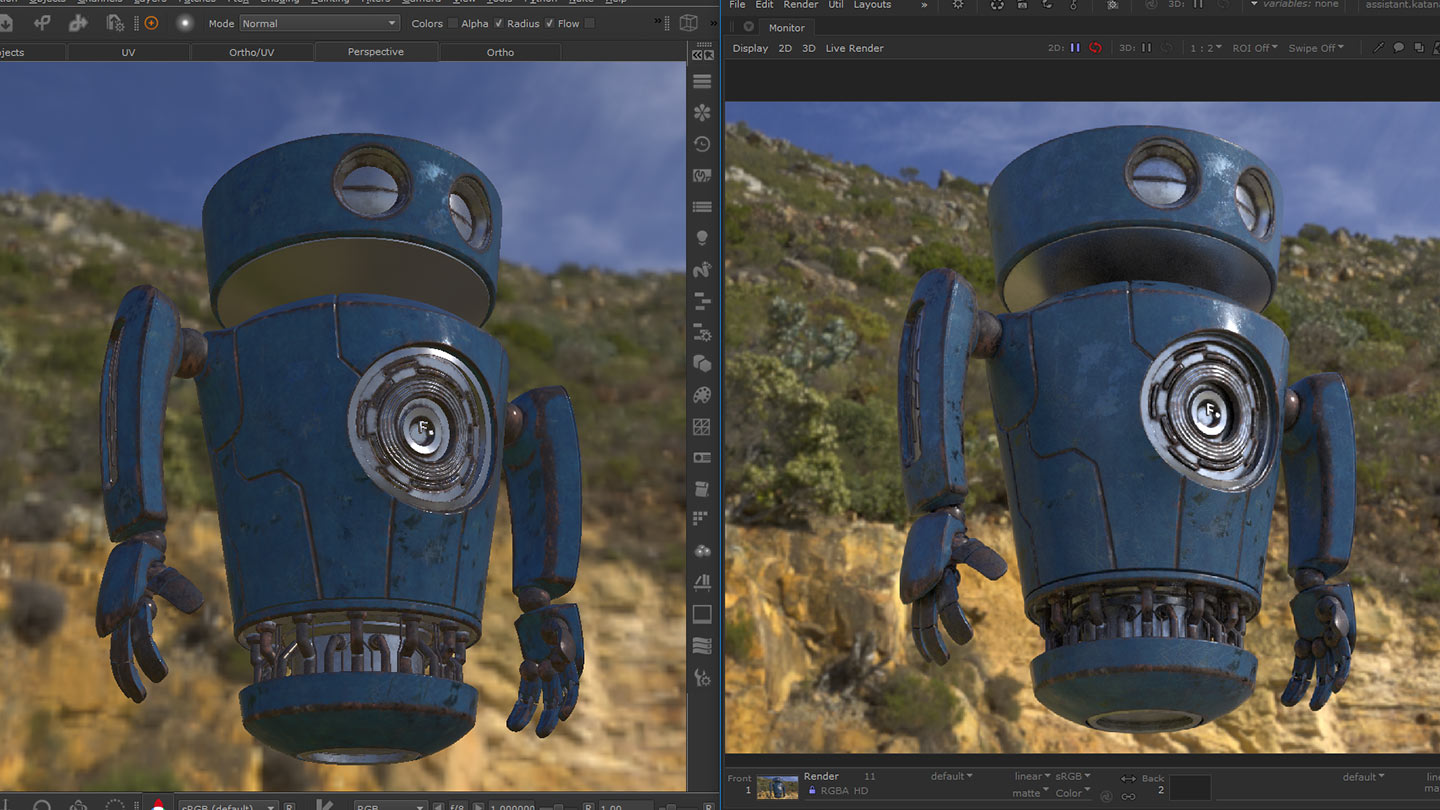
A new 3Delight shader has been contributed to Mari by the 3Delight team. With the introduction of the 3Delight Surface shader, you can now paint textures in Mari that produce an approximation of the 3Delight render engine result. This makes it easier to iterate lookdev between Mari and Katana. See 3Delight Principled.
|
|
|
3Delight Principled shader in Mari (left) and Katana (right) |
New Procedural Nodes
A selection of new procedural patterns and filters have been added to enable you to create more complex non-destructive node networks inside materials and your projects. See Nodes.
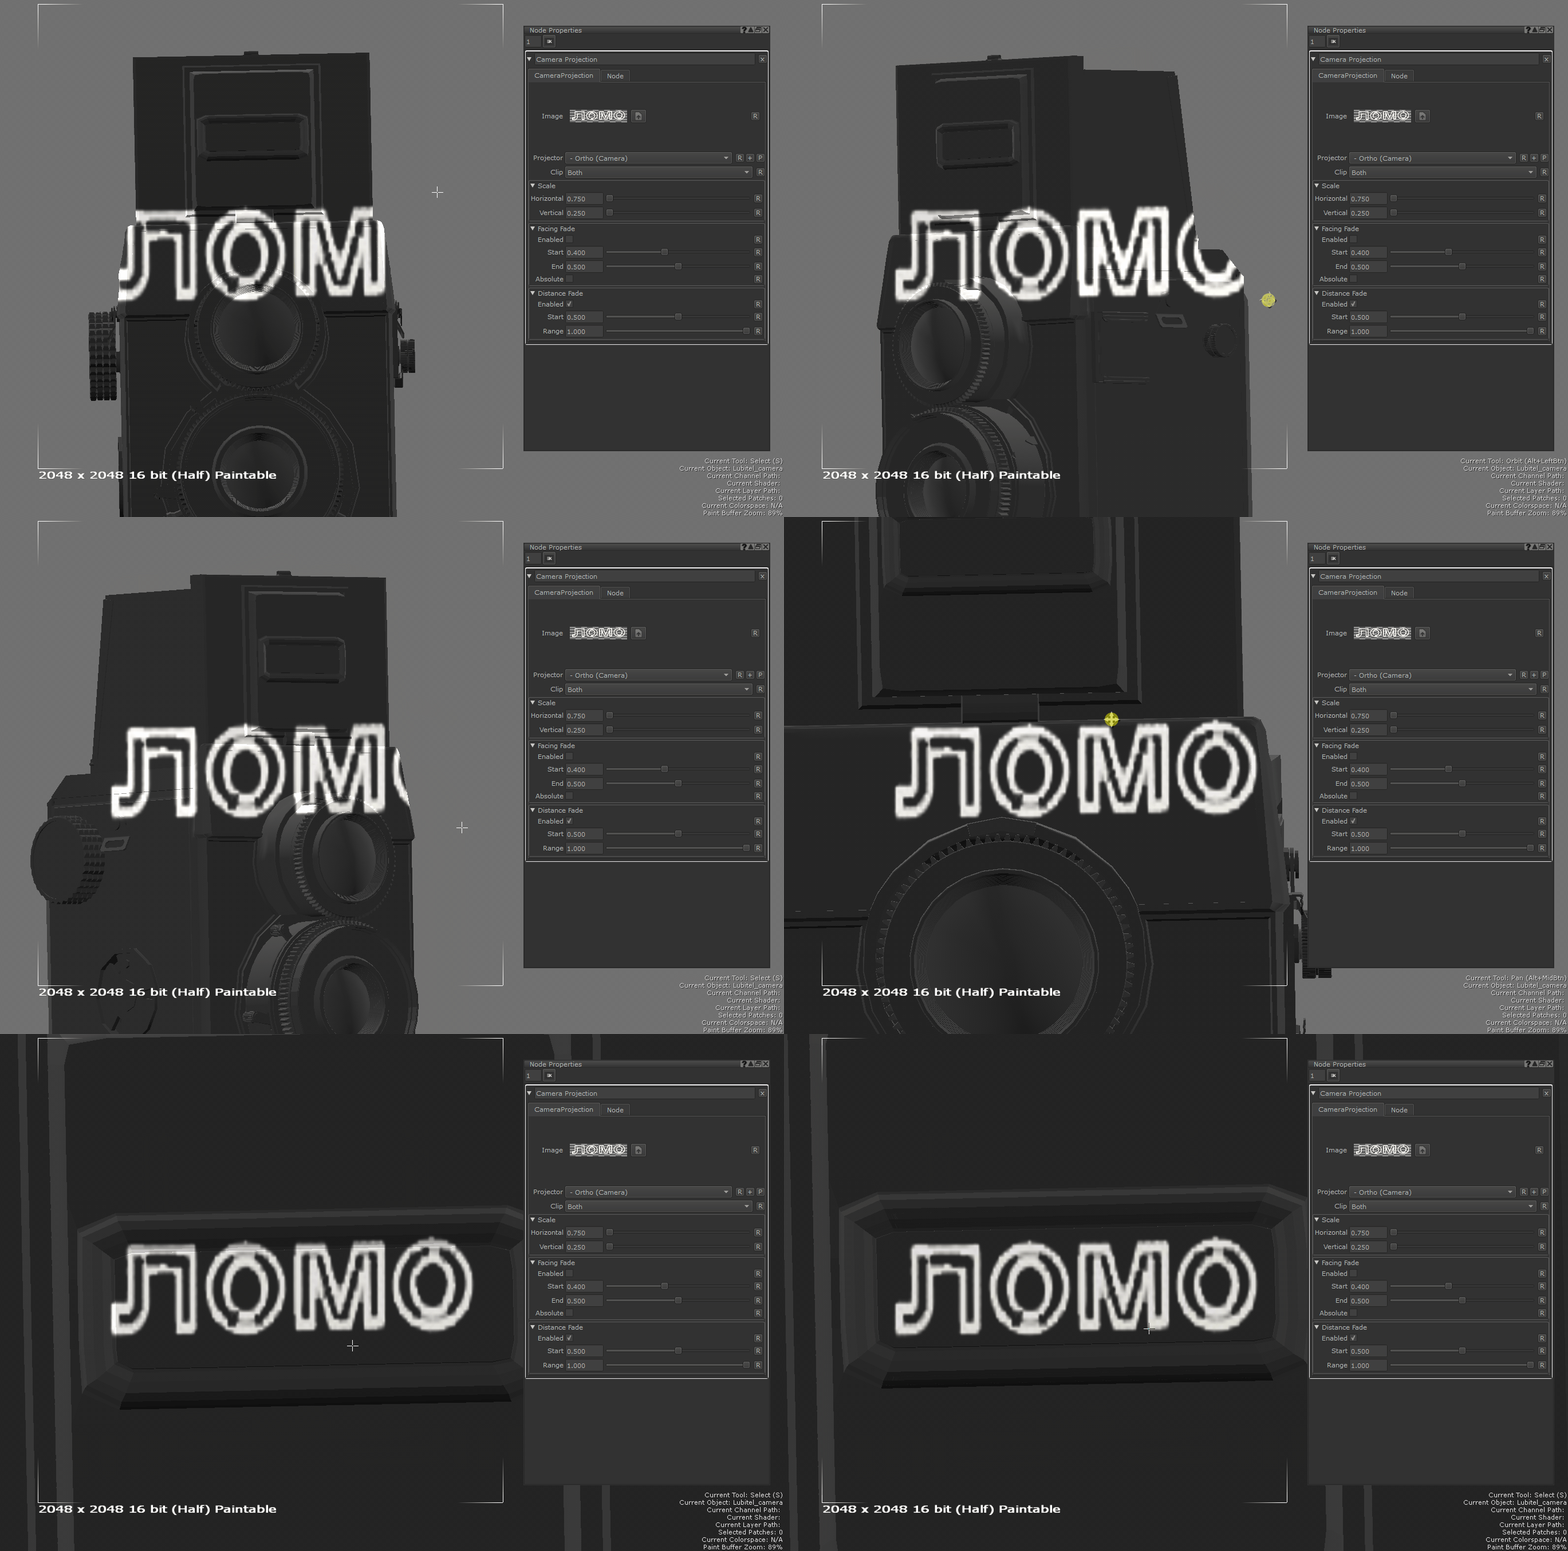
Camera Projection
Camera Projection projects an image onto a surface from the perspective of a Projector. See Camera Projection.
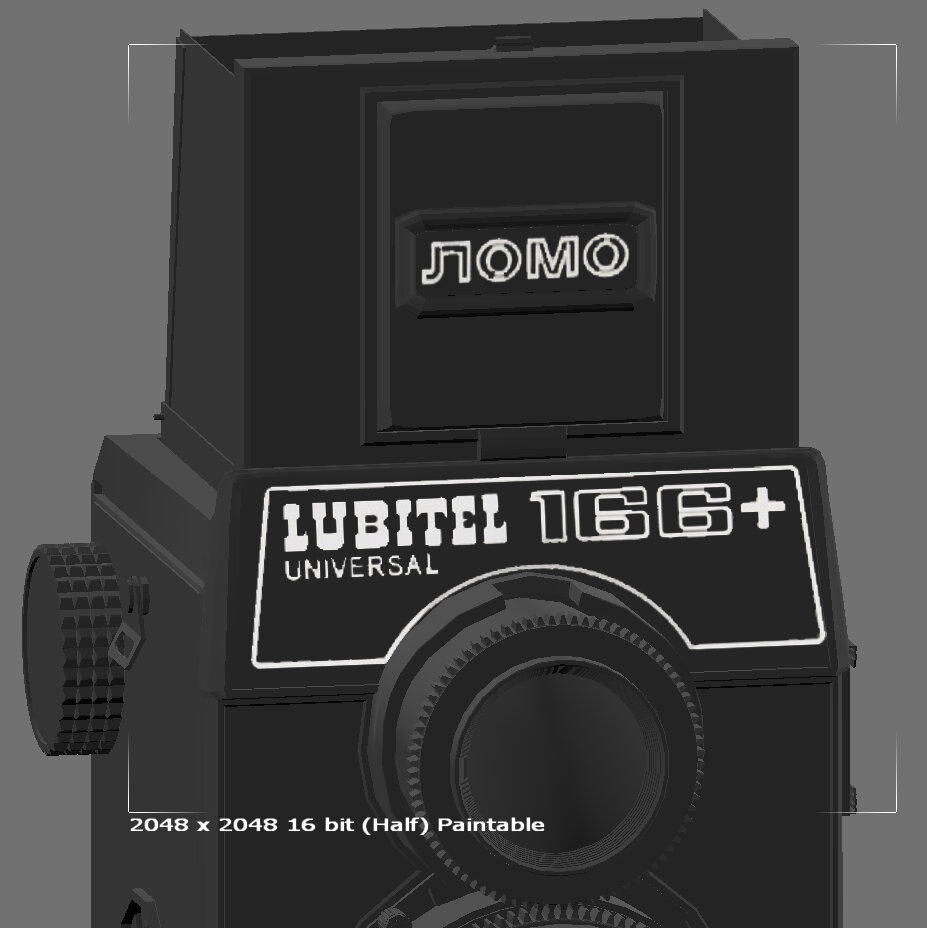
Projection
Projection projects an image onto the mesh using planar, cylindrical, or spherical projection. See Projection.
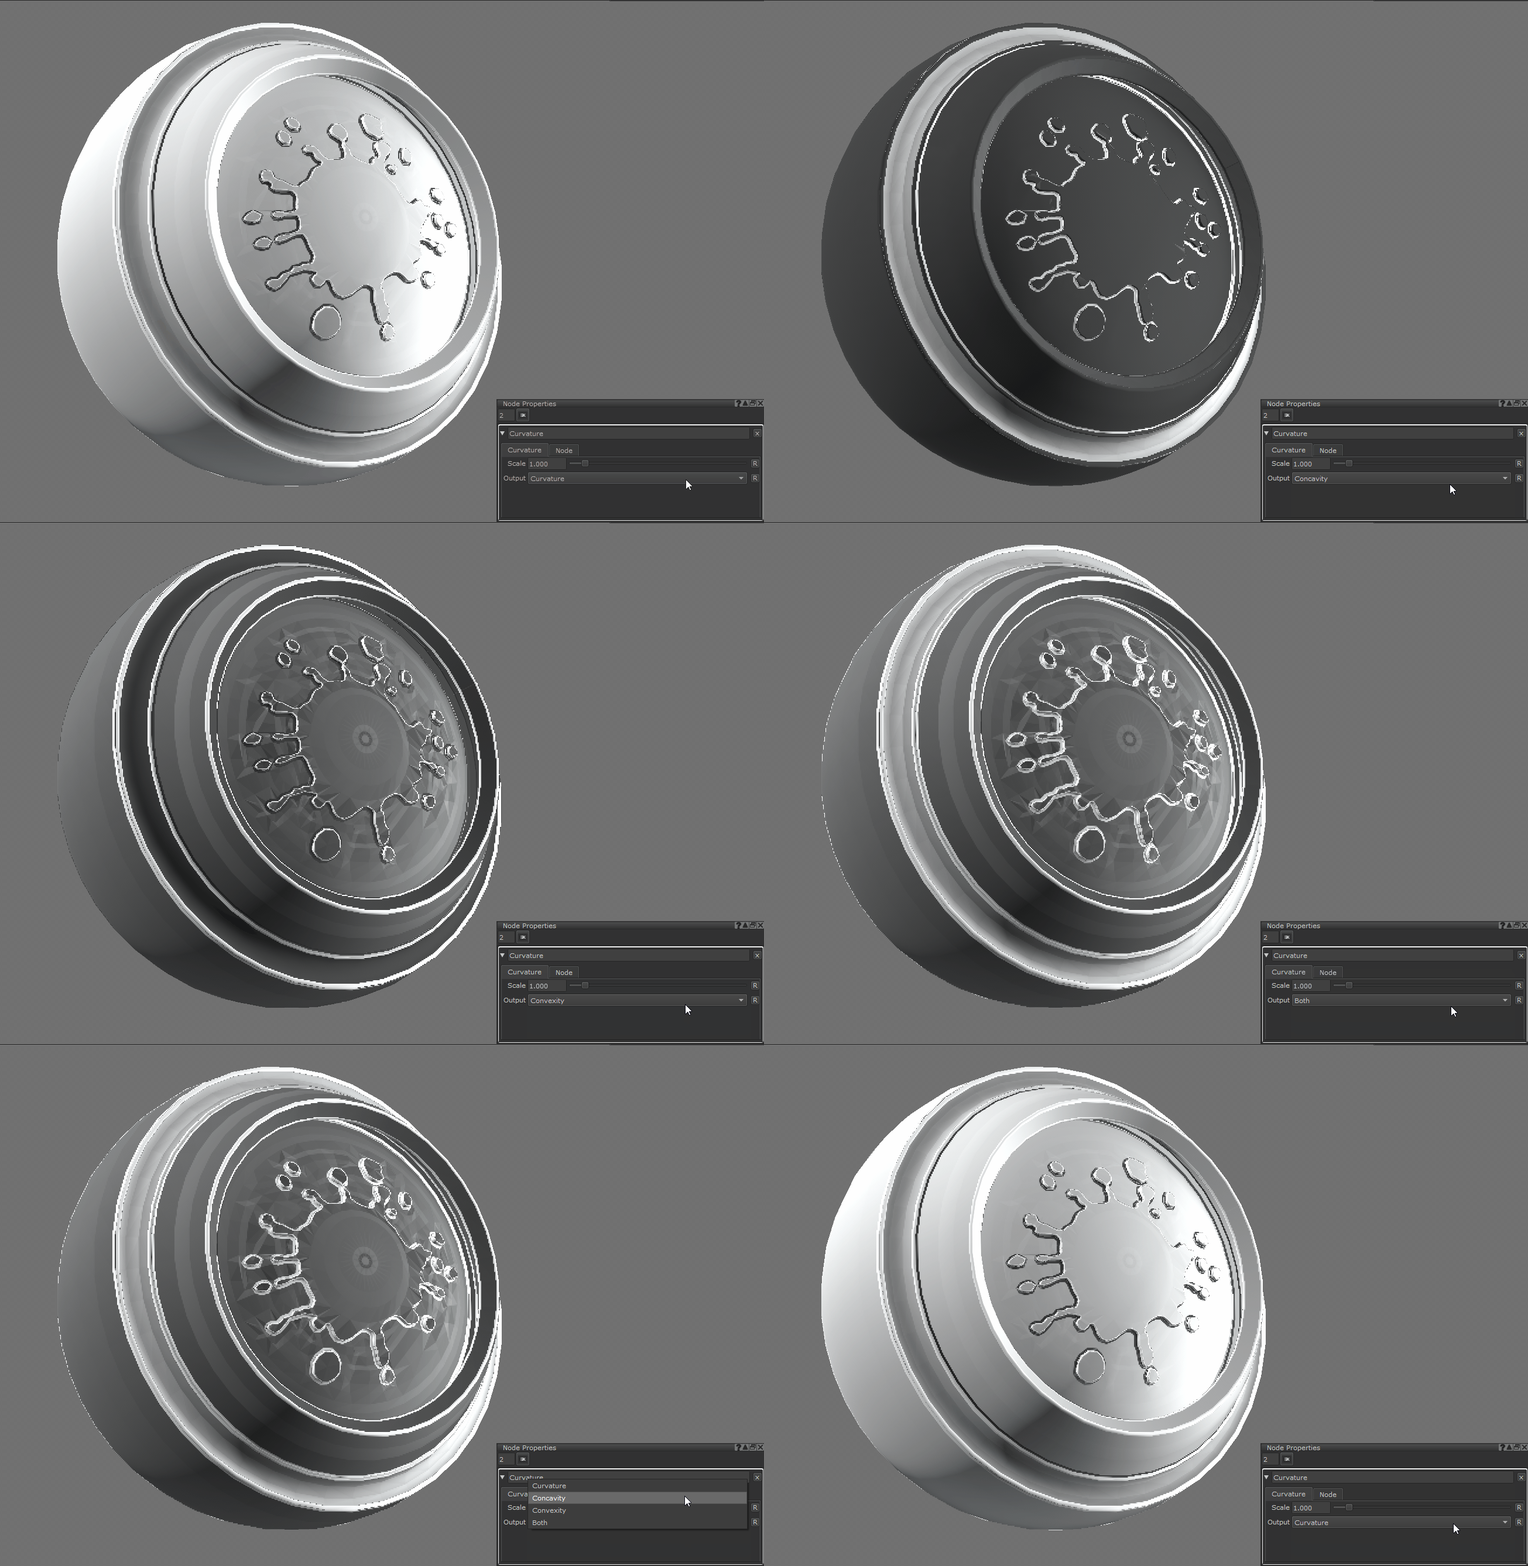
Curvature
Curvature has been added to approximate surface curvature. See Curvature.
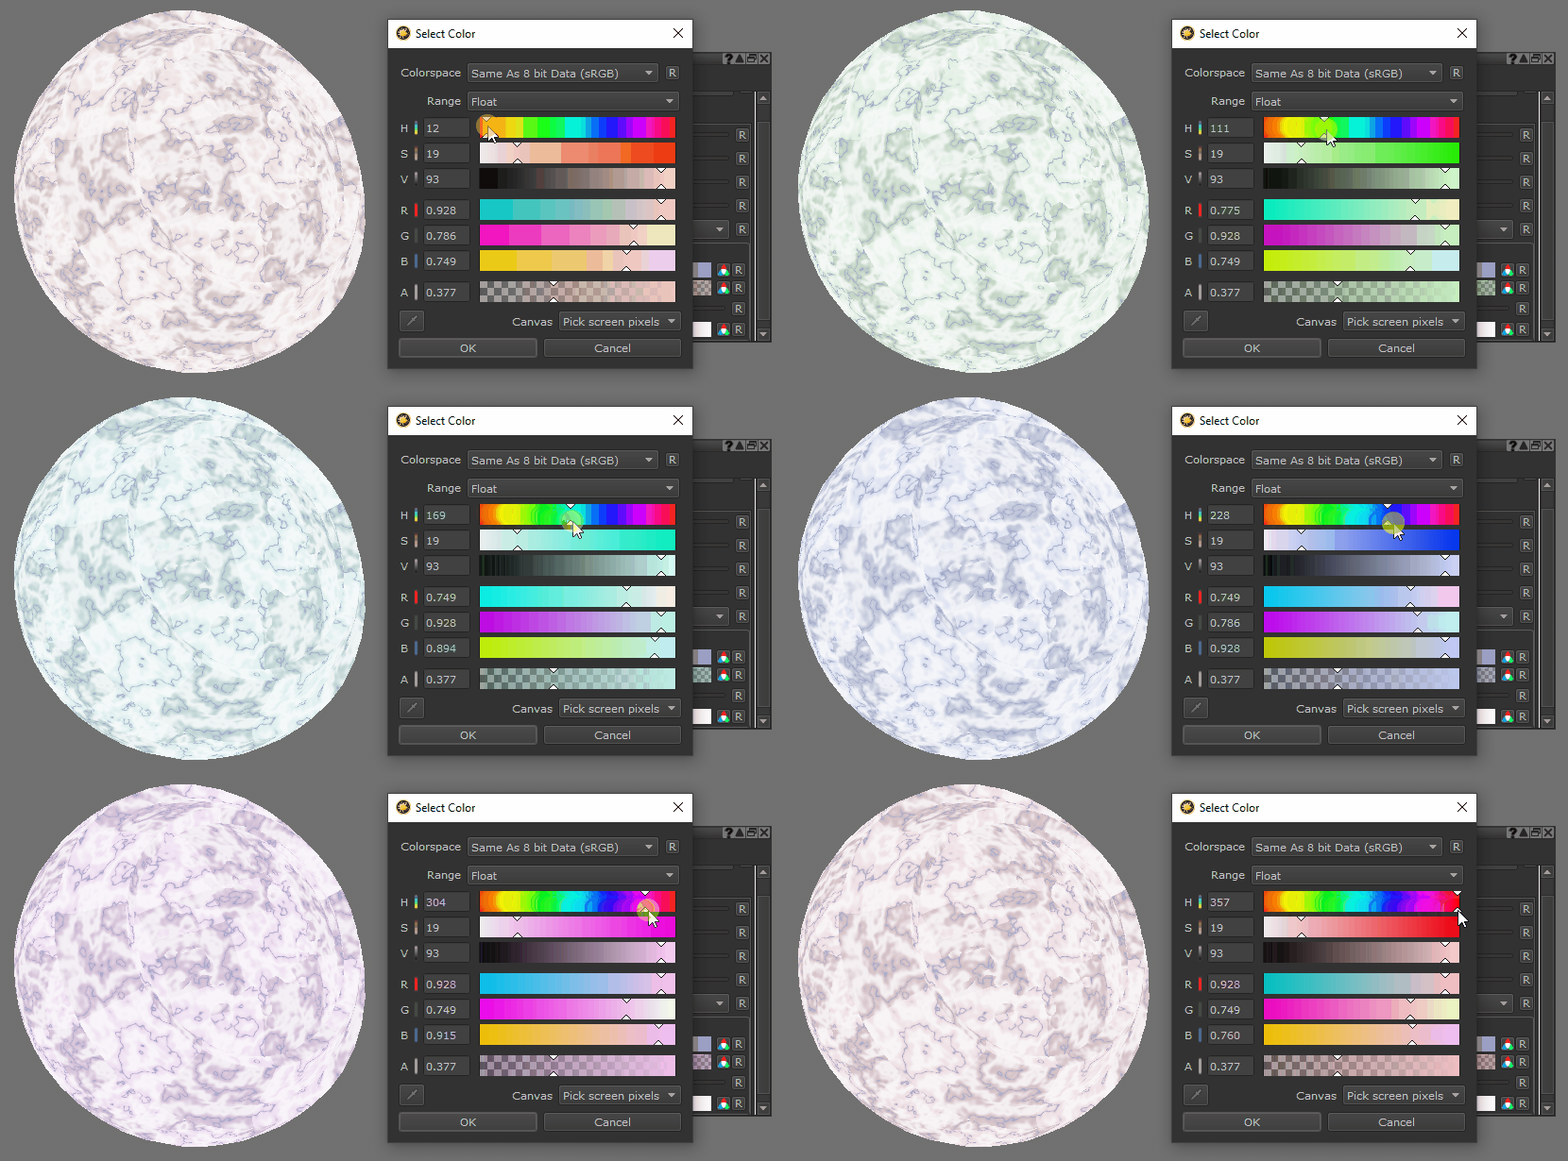
Marble
Marble has been added to create marble-like veins. See Marble.
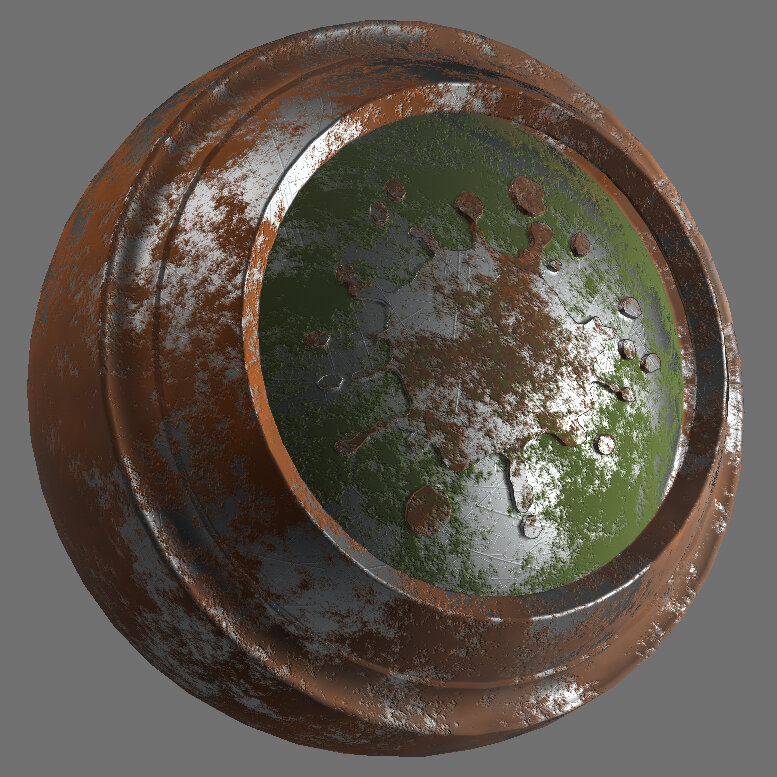
fBm
fBm outputs Fractal Brownian Motion. See fBm.
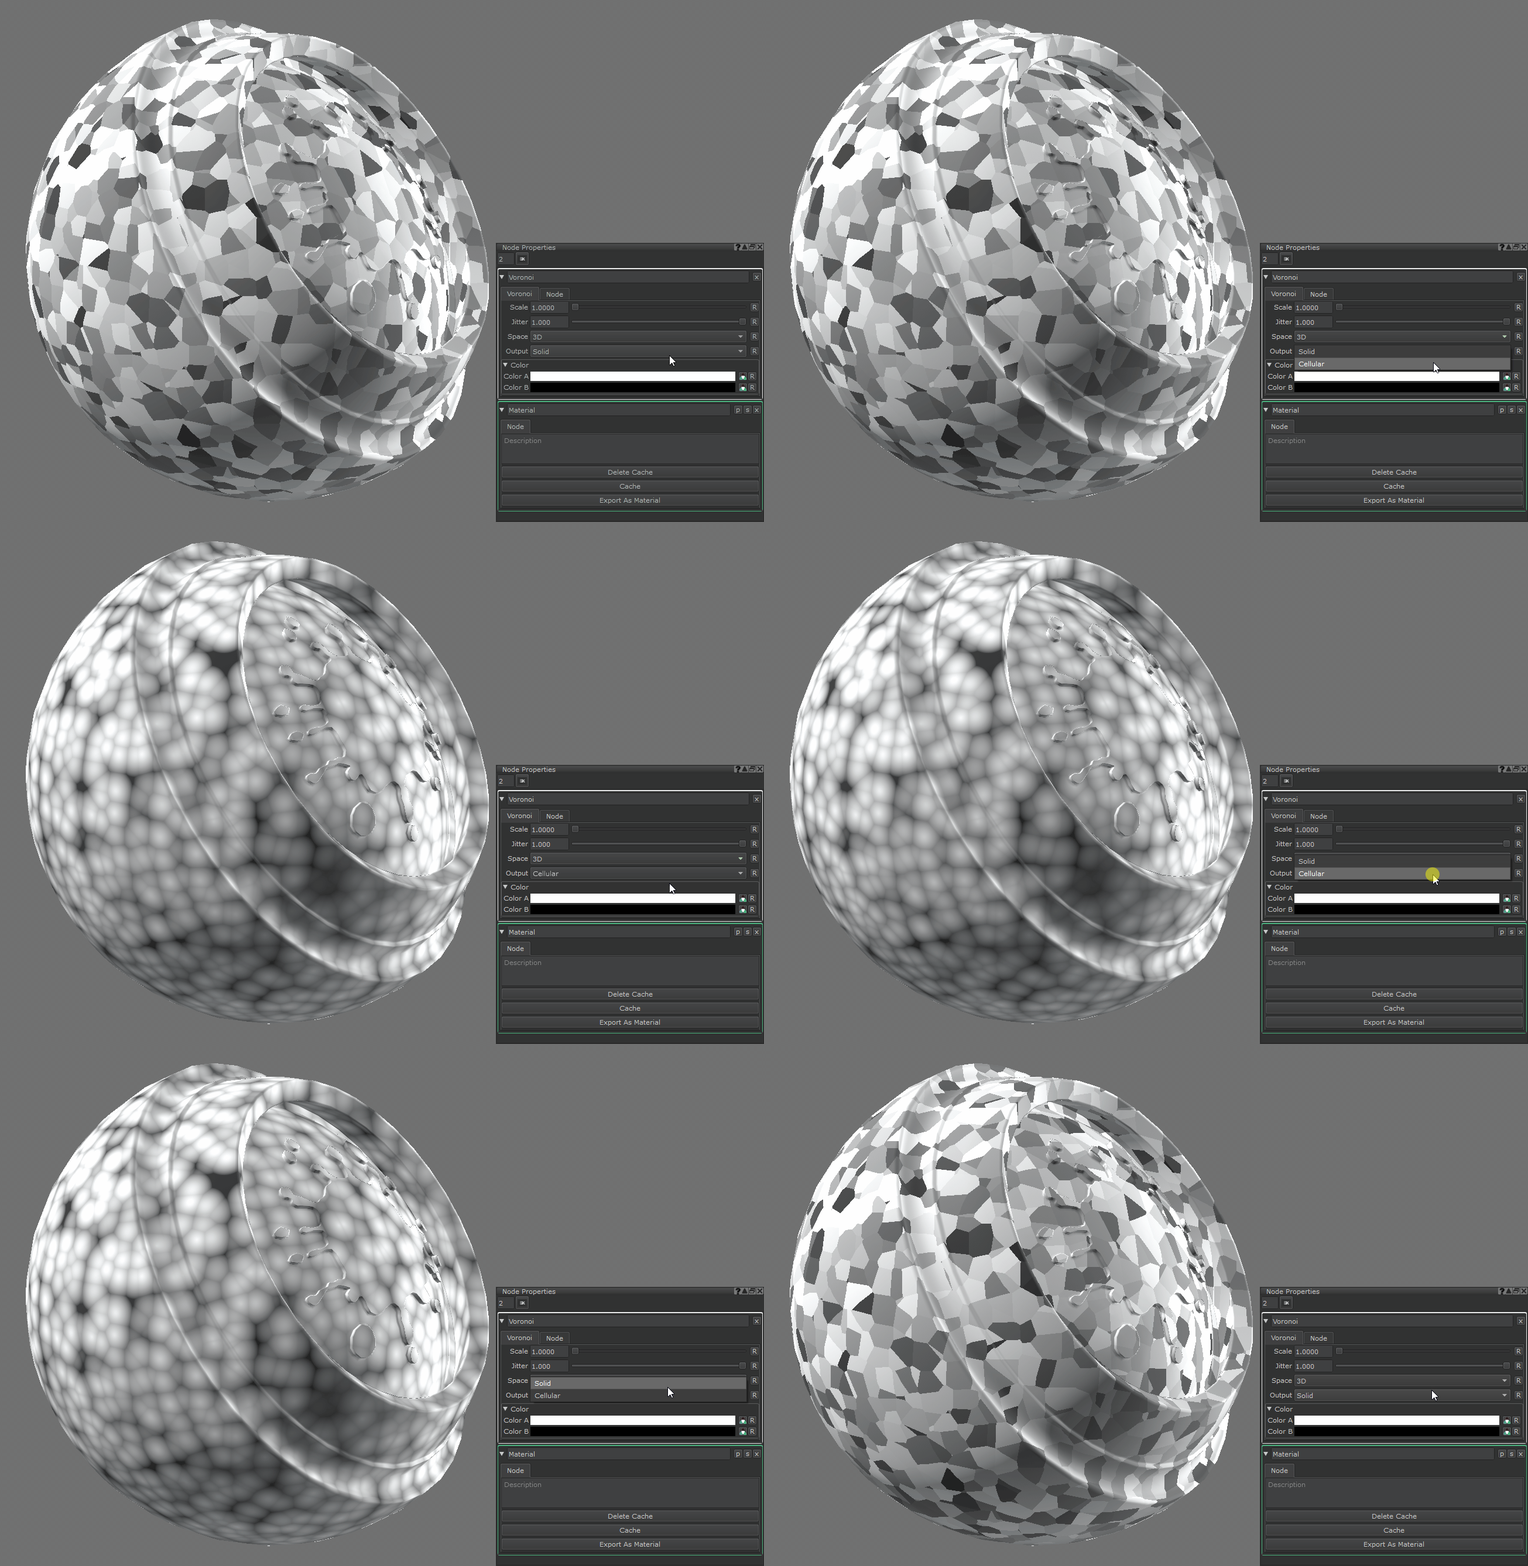
Voronoi
Voronoi has been added to generate Voronoi cells. See Voronoi.
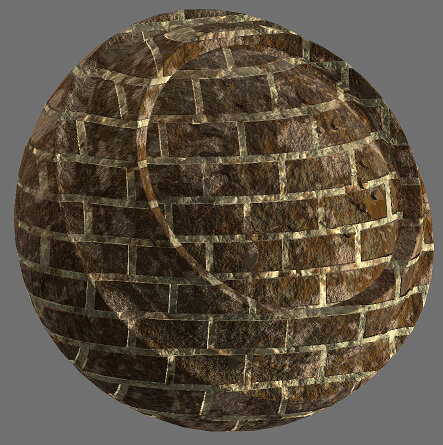
Bricks
Bricks projects configurable brick or tile patterns onto a surface. See Bricks.
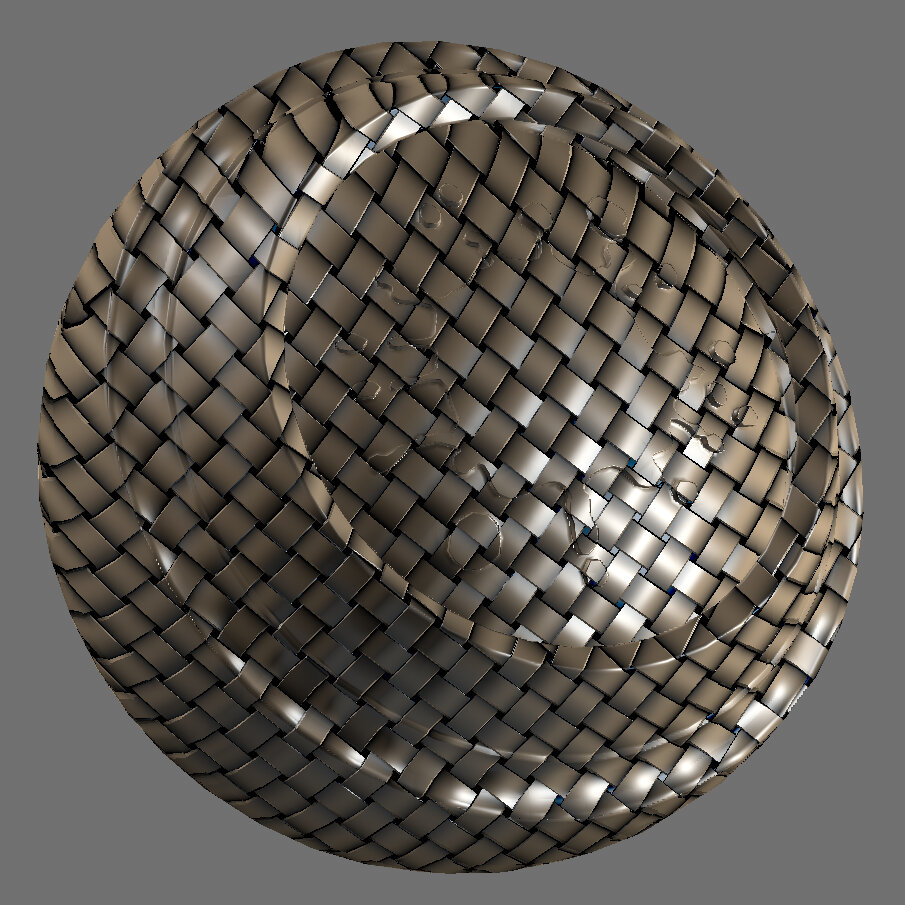
Weave
Weave projects configurable interlaced strand patterns onto a surface. See Weave.
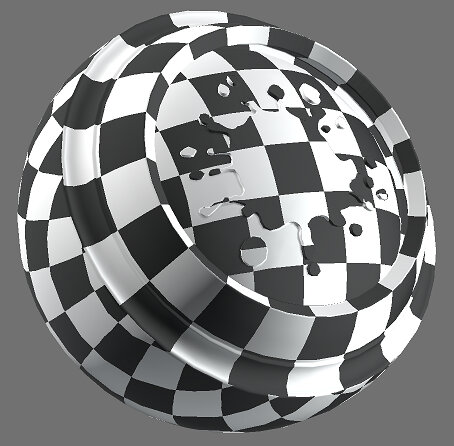
Checkerboard
Checkerboard generates a simple checkerboard pattern on a surface in UV space. See Checkerboard.
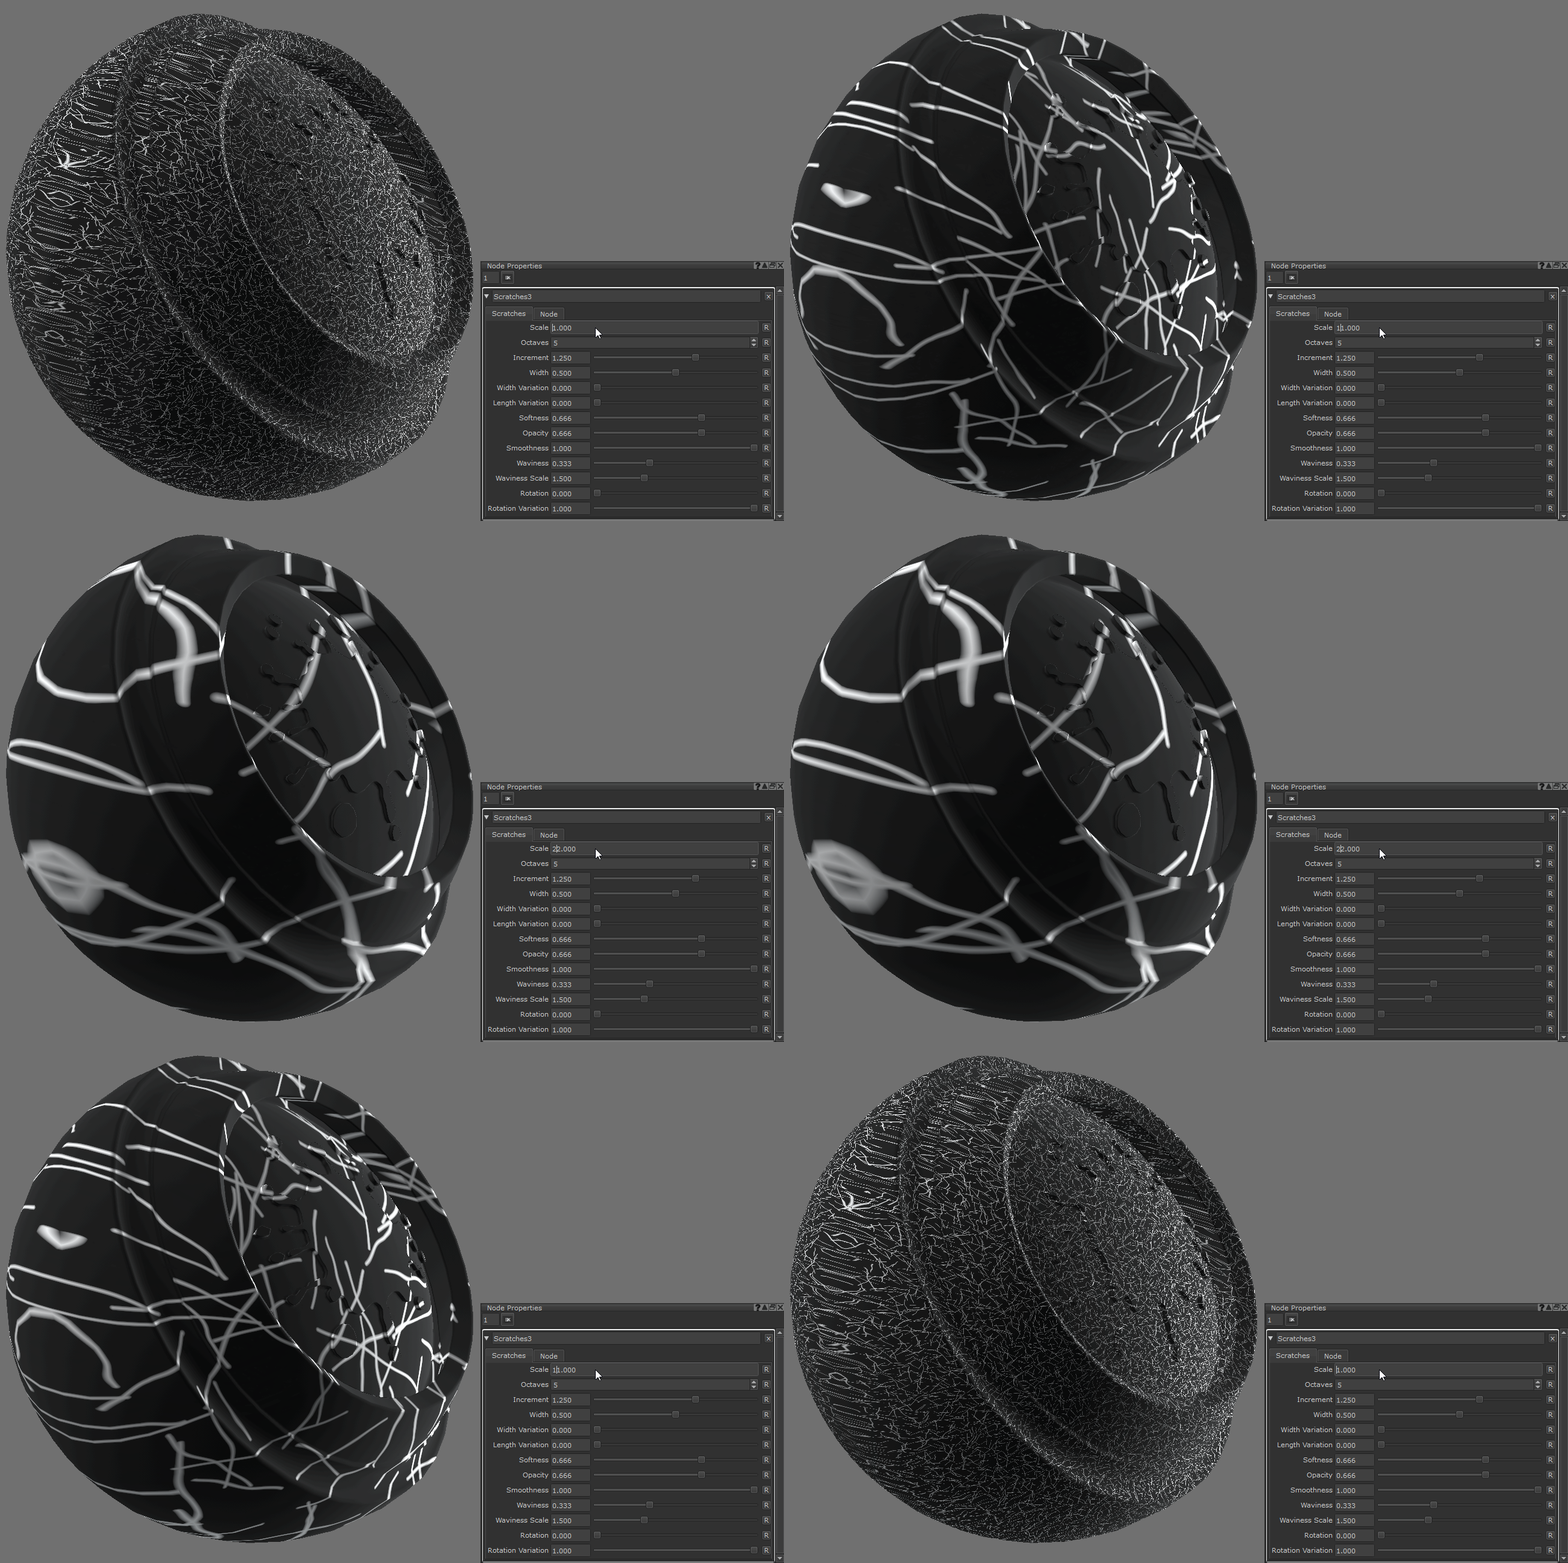
Scratches
Scratches generates non-uniform lines in UV space. See Scratches.
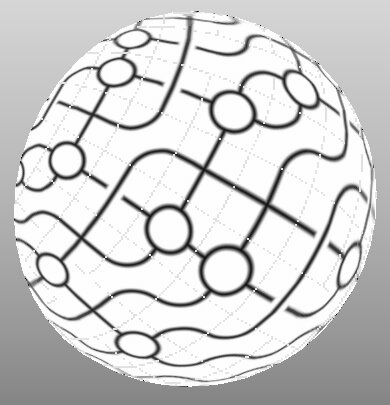
Atlas Random
Atlas Random applies a random tile from an atlased image for each patch. See Atlas Random.
Ceil
Ceil rounds the input up to the nearest whole number. See Ceil.
Distance
Distance outputs the distance between two input vectors. See Distance.
Floor
Floor rounds the input down to the nearest whole number. See Floor.
Fract
Fract outputs the decimal place remainder of the input. See Fract.
Length
Length outputs the length of the input vector. See Length.
Mix
Mix linearly blends between two inputs. See Mix.
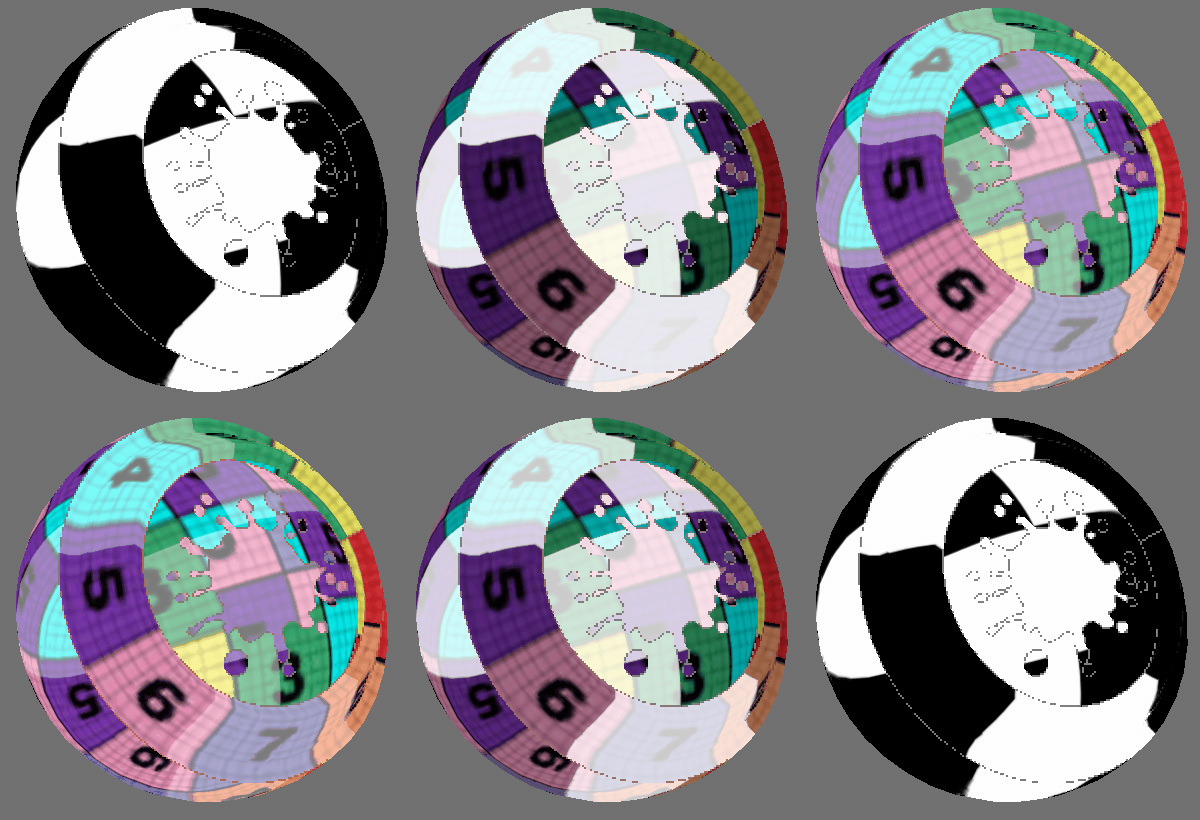
Modulo
Modulo outputs the input A modulo the input B, this is the remainder after dividing A by B. See Modulo.
Normalize
Normalize outputs the input vector normalized to display in unit length. See Normalize.
Power
Power outputs the input A raised to the power of input B. See Power.
Square Root
Square Root outputs the square root of the input. See Square Root.
Vector Dot
Vector Dot outputs the dot product between two input vectors. See Vector Dot.
Vector Split
Vector Split has been added which splits out a vector into it's individual components. See Vector Split.
Vector Combine
Vector Combine has been added which combines components of four inputs into a single output vector. See Vector Combine.
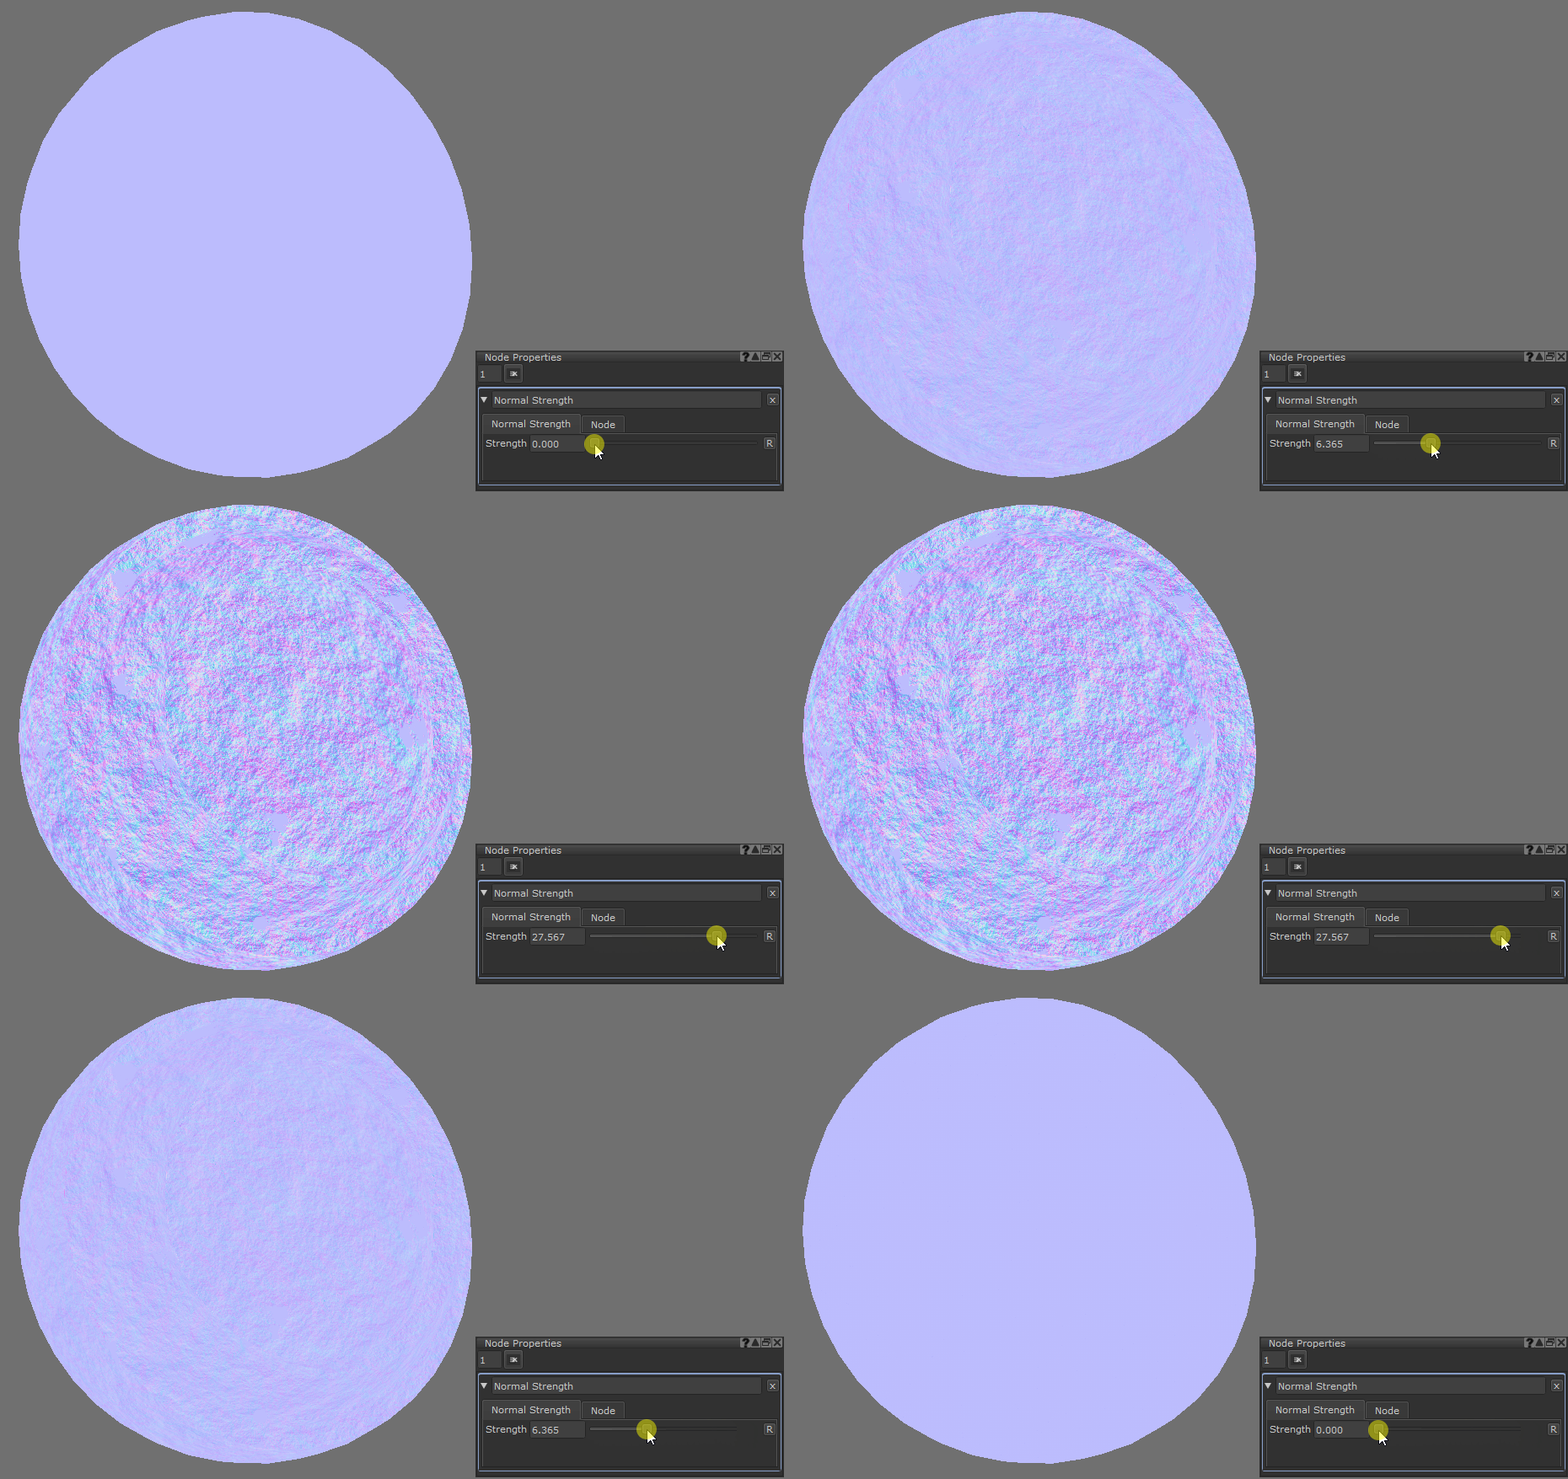
Normal Strength
Normal Strength controls the strength of a tangent space normal map. The higher the strength, the further the input normal points from a flat surface. See Normal Strength.
Mari 4.5
Material System
Mari now features a workflow for rapid application of material presets that describes the look of a surface in Mari using a new file format containing the information Mari needs to make an area of an asset look like a particular material. See Managing Materials in Mari.
Material Ingest Tool
Mari now features a tool that allows artists to quickly convert any set of texture maps into a Mari material preset. See Creating Materials with the Material Ingest Tool.
Material Layers
Mari now features a new type of layer that applies a Material file to a project through a simple and familiar layering workflow, which is more compatible with artists that are more familiar with Photoshop than with complex 3D programs. See Working with Materials in the Layers Palette.
Improved Node Graph User Experience
• You can now expose node properties of a Group node by clicking the Promote  button.
• Multi-Port Batch connection: you can now batch connect sibling output ports to similar sibling input ports.
• Simpler methods to access a Group node subgraph have been added.
To enter a Group node, Ctrl+double-click the Group node to open its subgraph. Alternatively, select the Group node and press Ctrl+Enter or in the Node Properties palette, click the S button.
• Group nodes now support more than one output.
See Working with Materials in the Node Graph.
Multi-Channel Group Layers
Mari now features a Group layer type that spans multiple painting Channels. See Multi-Channel Layer Workflow Rules.
Arnold Standard Surface Shader
Mari now features an approximation of the Arnold Standard Surface vendor shader. See Arnold Standard Surface.
Mari 4.2
Mirrored Projection
Mirror Projection brings highly-requested simultaneous, symmetrical painting workflows to Mari, without the need for specialized UV layouts. Previously, painting the same designs on both sides of a symmetrically formed model required a considerable amount of asset preparation with a lot of repetitive actions. Now, artists can paint on one side of a mirror plane while Mari projects the same paint to the other side of the mirror plane, dramatically increasing artist efficiency.
Mirror Plane Masking
Mirror masking prevents secondary projected paint overlapping across the mirror plane. The masked side of the mirror plane can change automatically based on the artist's view, or be locked to one side. Ordinarily, mirror-projected paint would overlap at the mirror plane where one side meets the other, resulting in an asymmetrical center. By masking the opposite side of the mirror plane for each projection, the paint meets at the mirror plane with a perfectly reflected edge.
Mirror Plane Manipulation
The mirror plane can also be locked onto an object or locator, allowing the reflected edge of the mirror projection to be manipulated to the best symmetrical position and orientation. Ordinarily, to paint a model symmetrically, the artist first has to ensure it’s correctly aligned to the center of the scene. The ability to manipulate the mirror plane gives the artist full freedom on where the symmetrical paint will fall, without any prep in other applications beforehand, increasing artist efficiency and creative control.
Note: For more information, see Mirror Projection.
Mari 4.1
Simplified Color Picking
Mari now uses a single OCIO color-picking colorspace to define all saved colors and color-picking tool colorspaces. This achieves a 'what you see is what you get' workflow when managing your chosen colors.
Simplified View Transform
The Colorspace toolbar has been refreshed and renamed to the View Transform toolbar. Labels have been replaced with tooltips, controls have been combined, and there is now a visual indicator of the data type being viewed. See View Transform Toolbar .
Note: The Color Manager (Viewer Transform) palette is deprecated and will be removed in a future release.
Channel Property Indicators
Mari now contains visual indicators in the Channels palette, to define whether a channel contains color or scalar data and to display the channel's bit-depth. This lets you manage channel configurations at a glance. See Channels Palette.
See Color Data and Scalar Data for more information.
OCIO Colorspace Filter
Mari now contains the OCIO Colorspace filter. This allows you to convert paint target and buffer's colors to another colorspace within the currently loaded OCIO config, without affecting any channel settings. See Filter Functions.
General Color Performance
Mari's colorspace processing has been optimized. This results in faster project load times.
Accelerated Procedural Layer Color Management
The existing GPU accelerated color management system has been extended for paint data to work with procedurals as well.
Perceptually Linear Scalar Display
A new scalar monitor colorspace has been added to the View Transform allowing artists to view scalar data perceptually linear. For example, in a scalar channel a linear ramp now appears in a similar fashion as other 8-bit based imaging applications, rather than displaying the raw data like Nuke does. The information as used by Mari is still in the expected data format, providing the best results with the most artist-friendly workflow.
Scalar Toggle for Color Attributes in Procedurals
In Procedurals that include color attributes, the color controls contain a toggle ![]() that sets the context in which the procedural effect is to be used for Scalar or Color data. By default, Mari detects the channel's color data type and sets the toggle accordingly for layers created through the Layers palette. For Procedural nodes created through the Node graph, this color/scalar toggle defaults to color. Procedural nodes that are to be used within masks and scalar channels have to be set to scalar manually. See Color Data and Scalar Data for more information.
that sets the context in which the procedural effect is to be used for Scalar or Color data. By default, Mari detects the channel's color data type and sets the toggle accordingly for layers created through the Layers palette. For Procedural nodes created through the Node graph, this color/scalar toggle defaults to color. Procedural nodes that are to be used within masks and scalar channels have to be set to scalar manually. See Color Data and Scalar Data for more information.
OCIO Role Driven Project Colorspace Defaults
Mari now recognizes and uses new OCIO role names to configure the project's colorspace defaults. For full details of roles and targets, please refer to Project Settings Dialog.
Selection Groups Preserved Between Object Versions
When a new object version is added, Mari now attempts to match selection group's membership across to the new version. This allows you to define selection groups once and have them applied across all subsequent object versions. See Adding and Removing Object Versions.
Non-Active Selection Group Indication
Selection Groups containing selection members that are not present in any active object versions now show as gray in the Selection Groups palette. See Adding and Removing Object Versions.
Mari 4.0
Project Startup
The New Project Dialog layout has been refreshed with new tabs for setting up the initial project lighting. When using channel presets, Mari now automatically builds a shader and connects the created channels to the corresponding Node Graph shader inputs.
Export Manager
A new Export Manager Dialog for managing the batch exporting of channels and Bake Point nodes has been implemented. You can now configure and manage multiple export targets from the same source, as well as perform format conversions during export.
Palettes Toolbar
A new Palettes toolbar that contains a button for each of Mari's palettes has been introduced. This allows for quick and easy access to your palettes. See Configuring Your Workspace.
Tool Grouping
With so many tools stacked in a toolbar, on some systems they would not all fit on screen. Mari's tools of similar function have been grouped under a single button in the Tools toolbar. See Toolbars.
Node Graph's Advanced Mode
Having the full Node Graph locked away behind a preference was an obstacle. So the basic Node Graph mode has been removed and the Advanced mode is now standard. This unlocks the full Node Graph in Non-Commercial too. See Node Graph.
Texture Sets Palette
There is now a palette for managing texture sets inside of Mari. You can drag-and-drop to load multiple related images, texture sets, into the Image Manager in a single action. The first supported texture sets are from Megascans with a dedicated tab that can browse through the keywords and tags that come with each downloaded library item. See Texture Sets Palette.
UI Declutter
The HUD has been updated to match Modo’s style. Various control palettes have been merged and tools have been grouped together to declutter the UI. The Projection palette has been merged with the Painting Palette and the Brush Editor palette has been removed. To create custom brushes in Mari 4.0, adjust the brush properties in the Tool Properties Palette. Then drag the new brush preview from the toolbar to your shelf for later use. See Configuring Brushes.
Drag and Drop Fill Mechanism
A drag-and-drop triggered mechanism can now be used to fill your current item selection with the color being dropped. The fill works across all selection modes (Object, Patch, and Face). When using the Marquee Select tool, dragging a color to the canvas fills the selected area of the paint buffer. See Selection Functions.
Color and Control Precision
The Colors Palette is now scalable for better precision, and the component sliders have been improved to show the resulting color at each point along the control. You can now adjust numerical values with your keyboard and mouse wheel as you would in Nuke. See Changing Numerical Values.
Group Layer Workflow
The Layers Palette is now more intuitive when working with Group layers. Creating new Group layers, with layers selected, now groups those layers inside the new Group Layer. Creating new layers when a Group Layer is selected, adds those new layers to the selected Group Layer. See Groups, Pass-Through, and Mask Stacks.
Curve Editor
A curve attribute now displays as a grayscale gradient in Mari's properties panels and a separate, scalable curve editor window displays to allow for precise editing.
Principled BRDF
Mari now contains a new shader, which is based on the 2012 paper from Brent Burley of Walt Disney Animation Studios, describing a BRDF shader that follows a set of principles to make BRDF shader control more intuitive, less complex, and artist friendly. See Principled BRDF .
OpenSubdiv 3.1
The latest features from OpenSubdiv, including scheme choice, geometry, and UV boundary interpolation methods have been added. Mari now matches renderer mesh subdivision more closely, increasing efficiency when painting. See Subdividing Objects.
VFX Platform 2017
All libraries present in the VFX reference platform have been upgraded to the versions stated in the 2017 edition (http://www.vfxplatform.com). See Third-Party Licenses.
Extended Source Grade
The source grade mechanism has been extended to match the grading controls available in the grade adjustment layer.
Palette Expansion
You can now maximize/minimize any palette by pressing the spacebar while the pointer is hovered over the palette. This allows you to easily focus on a single palette.
Mari Per-Version User Preferences
Mari's user preference files are now saved with the application version embedded in the file names. This allows you to switch between different versions of Mari without the danger of corrupting the UI layout or preferences.
